-

- Cutting the pieces
-
- Cutting the pieces
-
- Use tape to hold the pieces together whilst the glue is drying
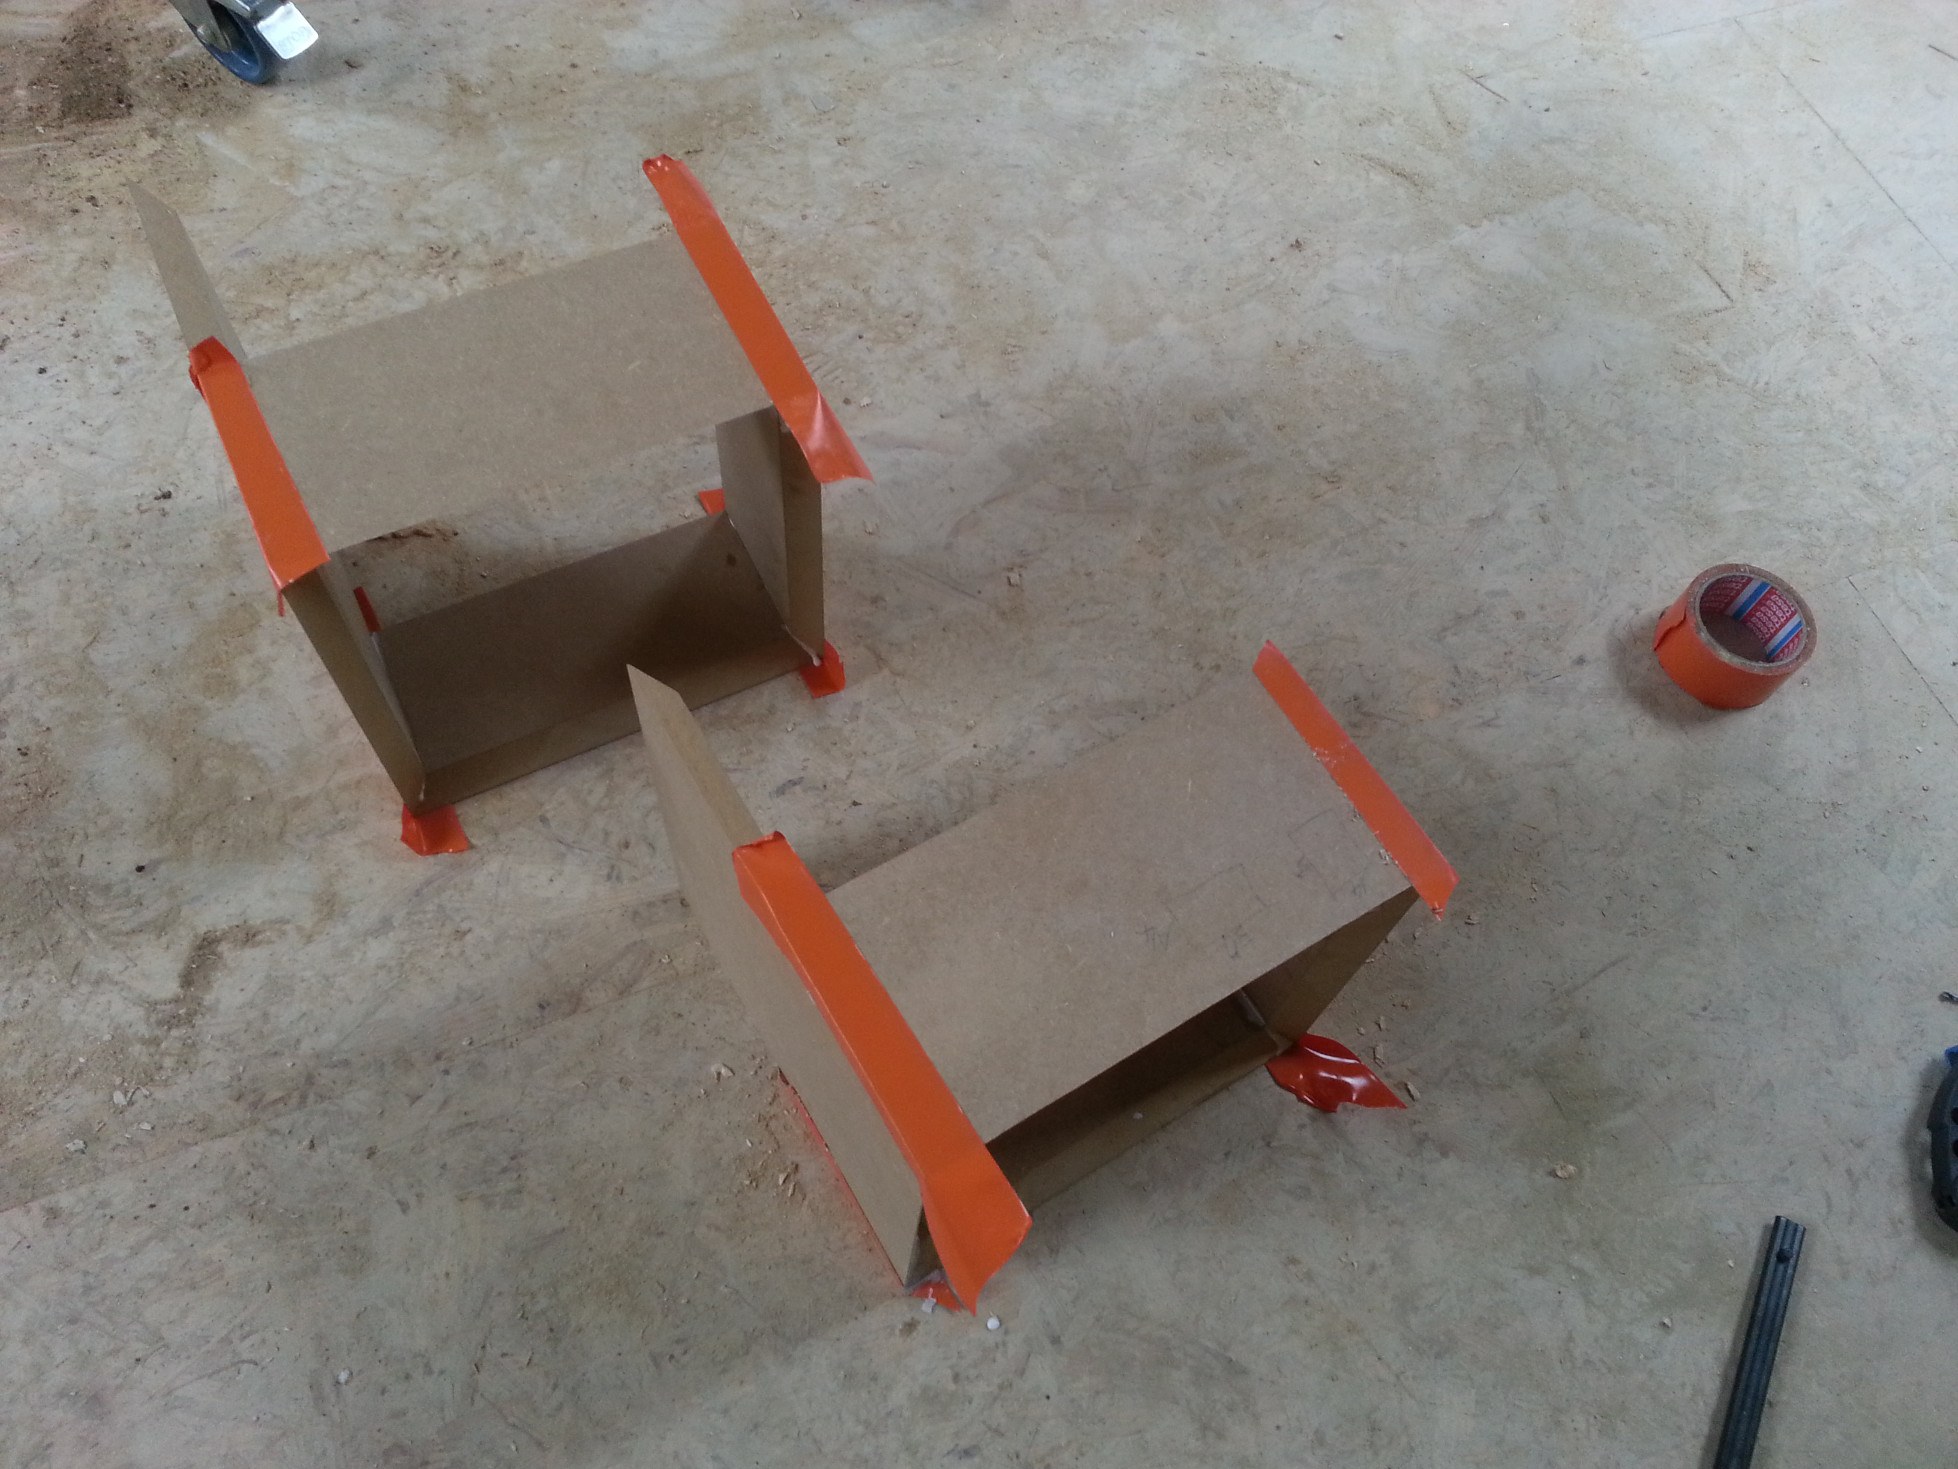
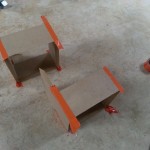
Building night-stands
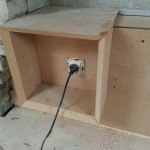
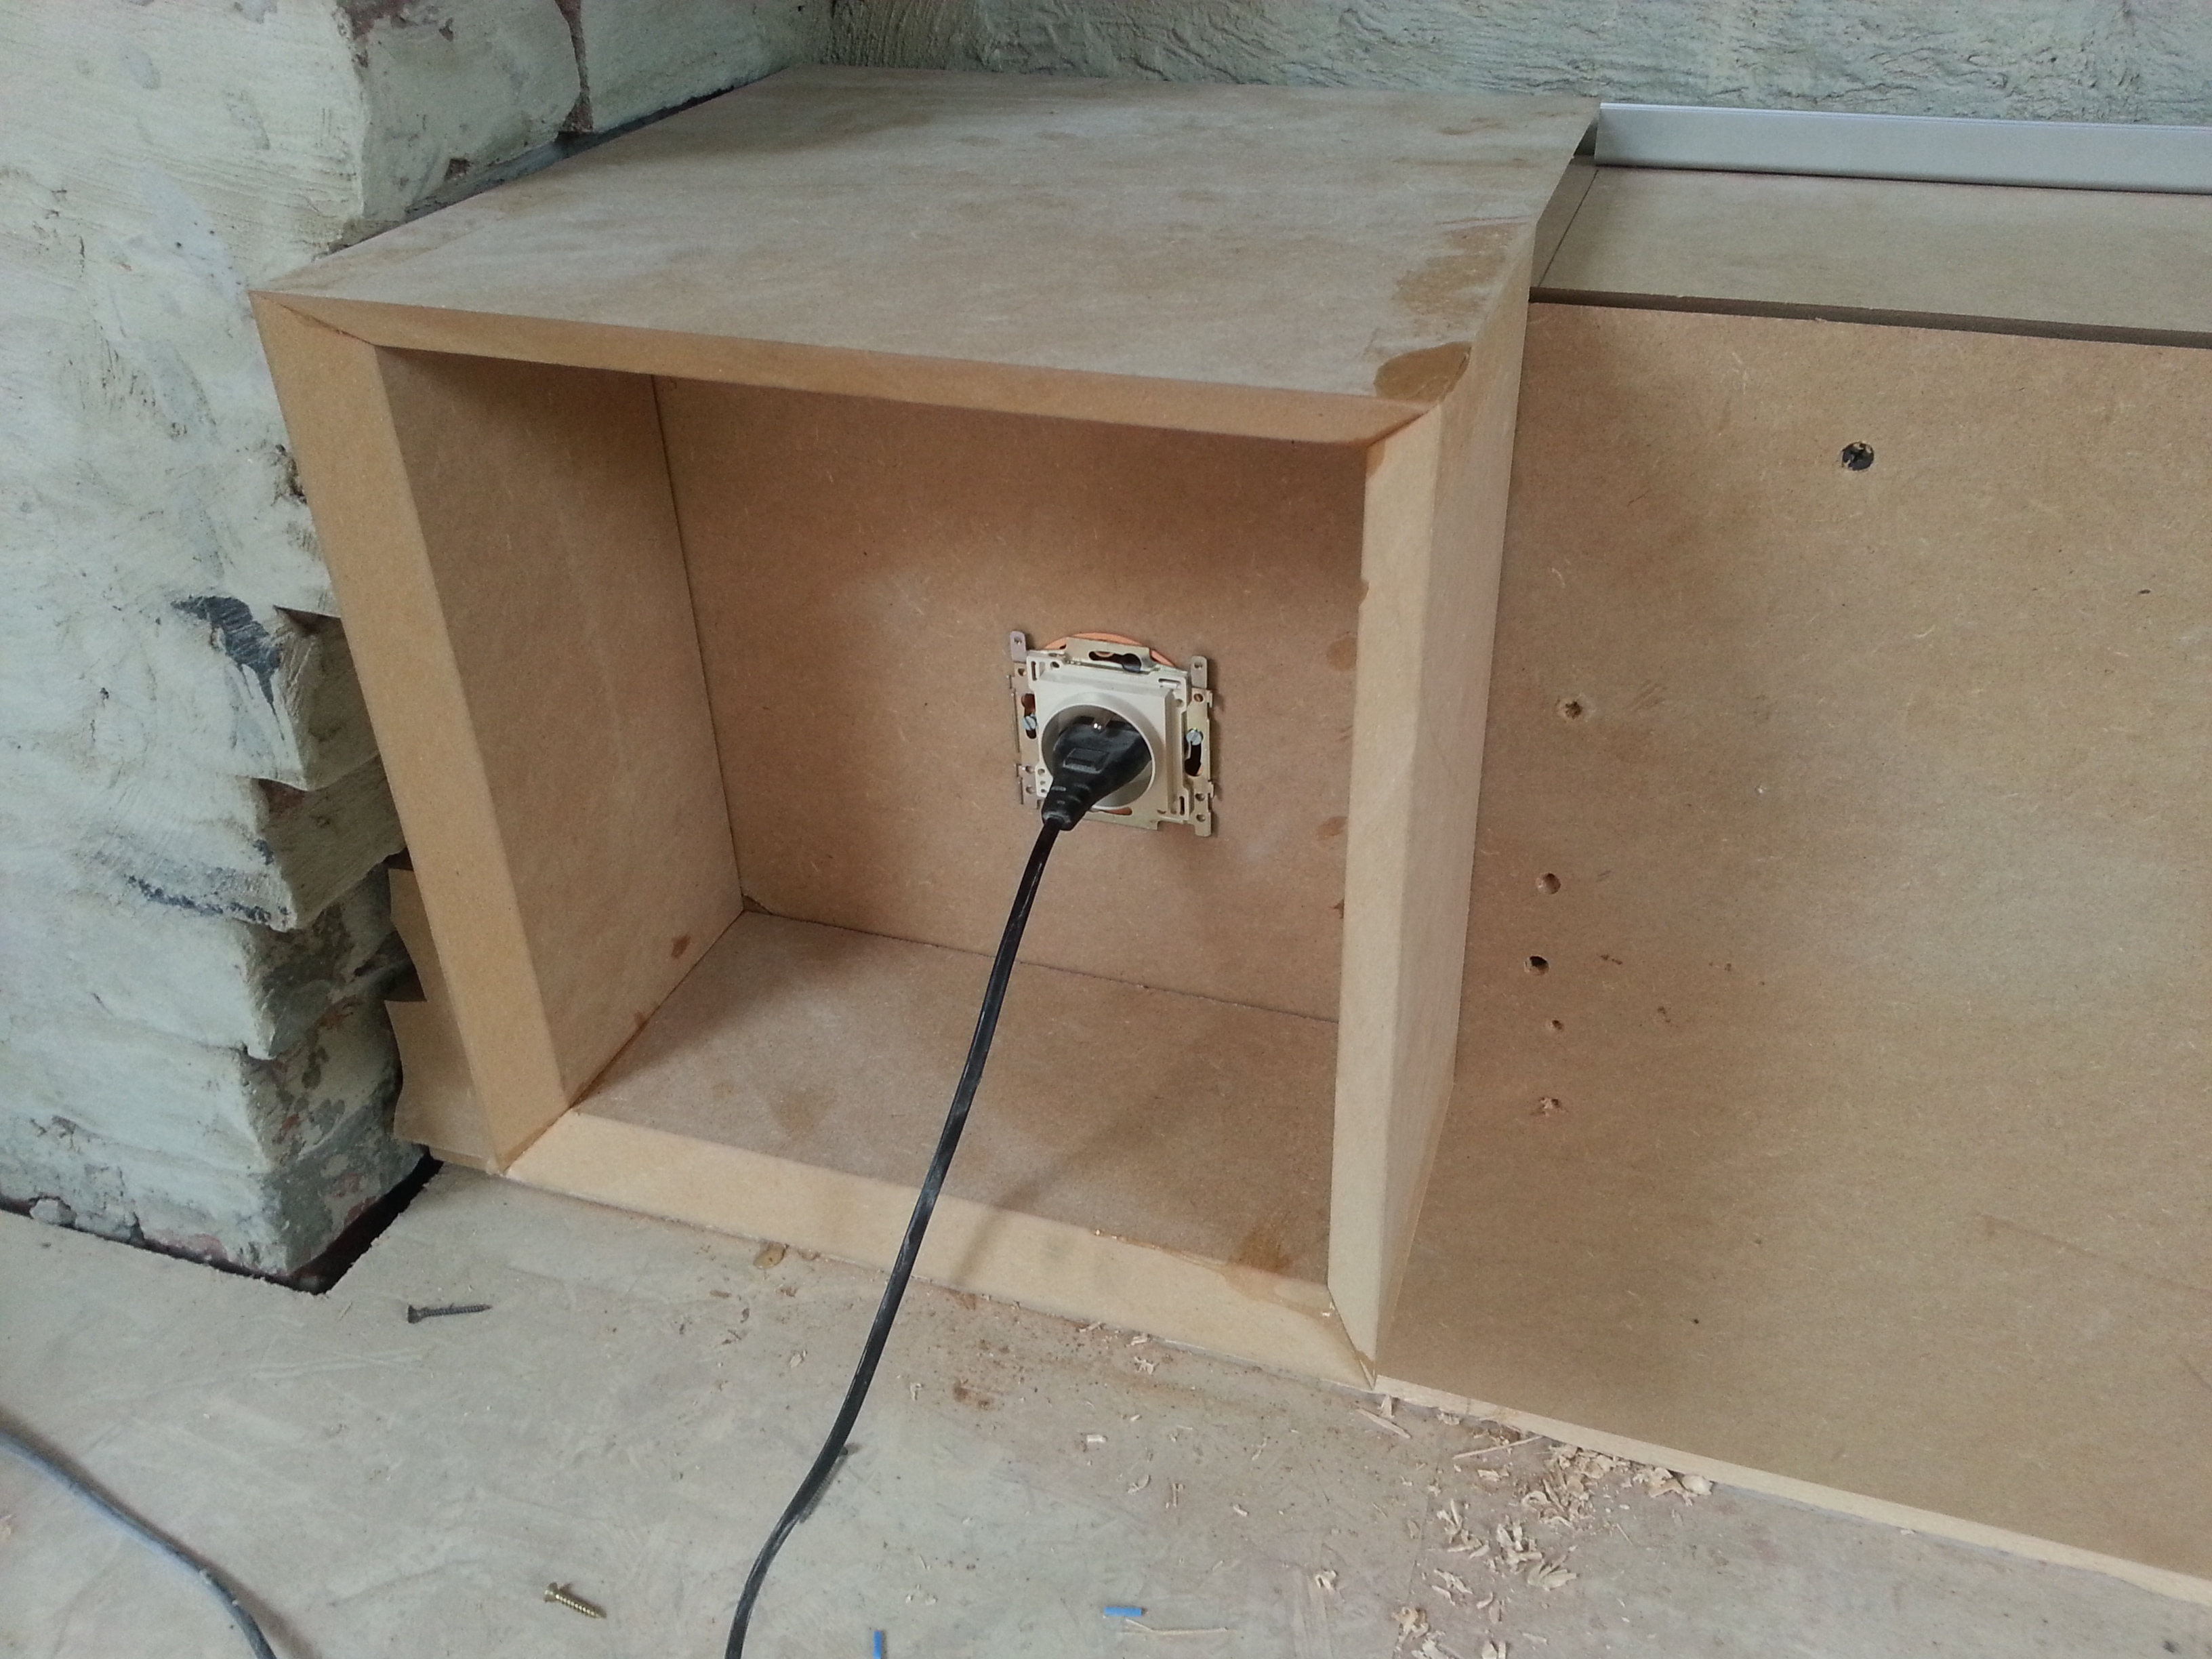
In the attic we built a low wall for the switches and sockets to go into. We are going to build some floating night-stands to accompany it.
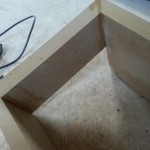
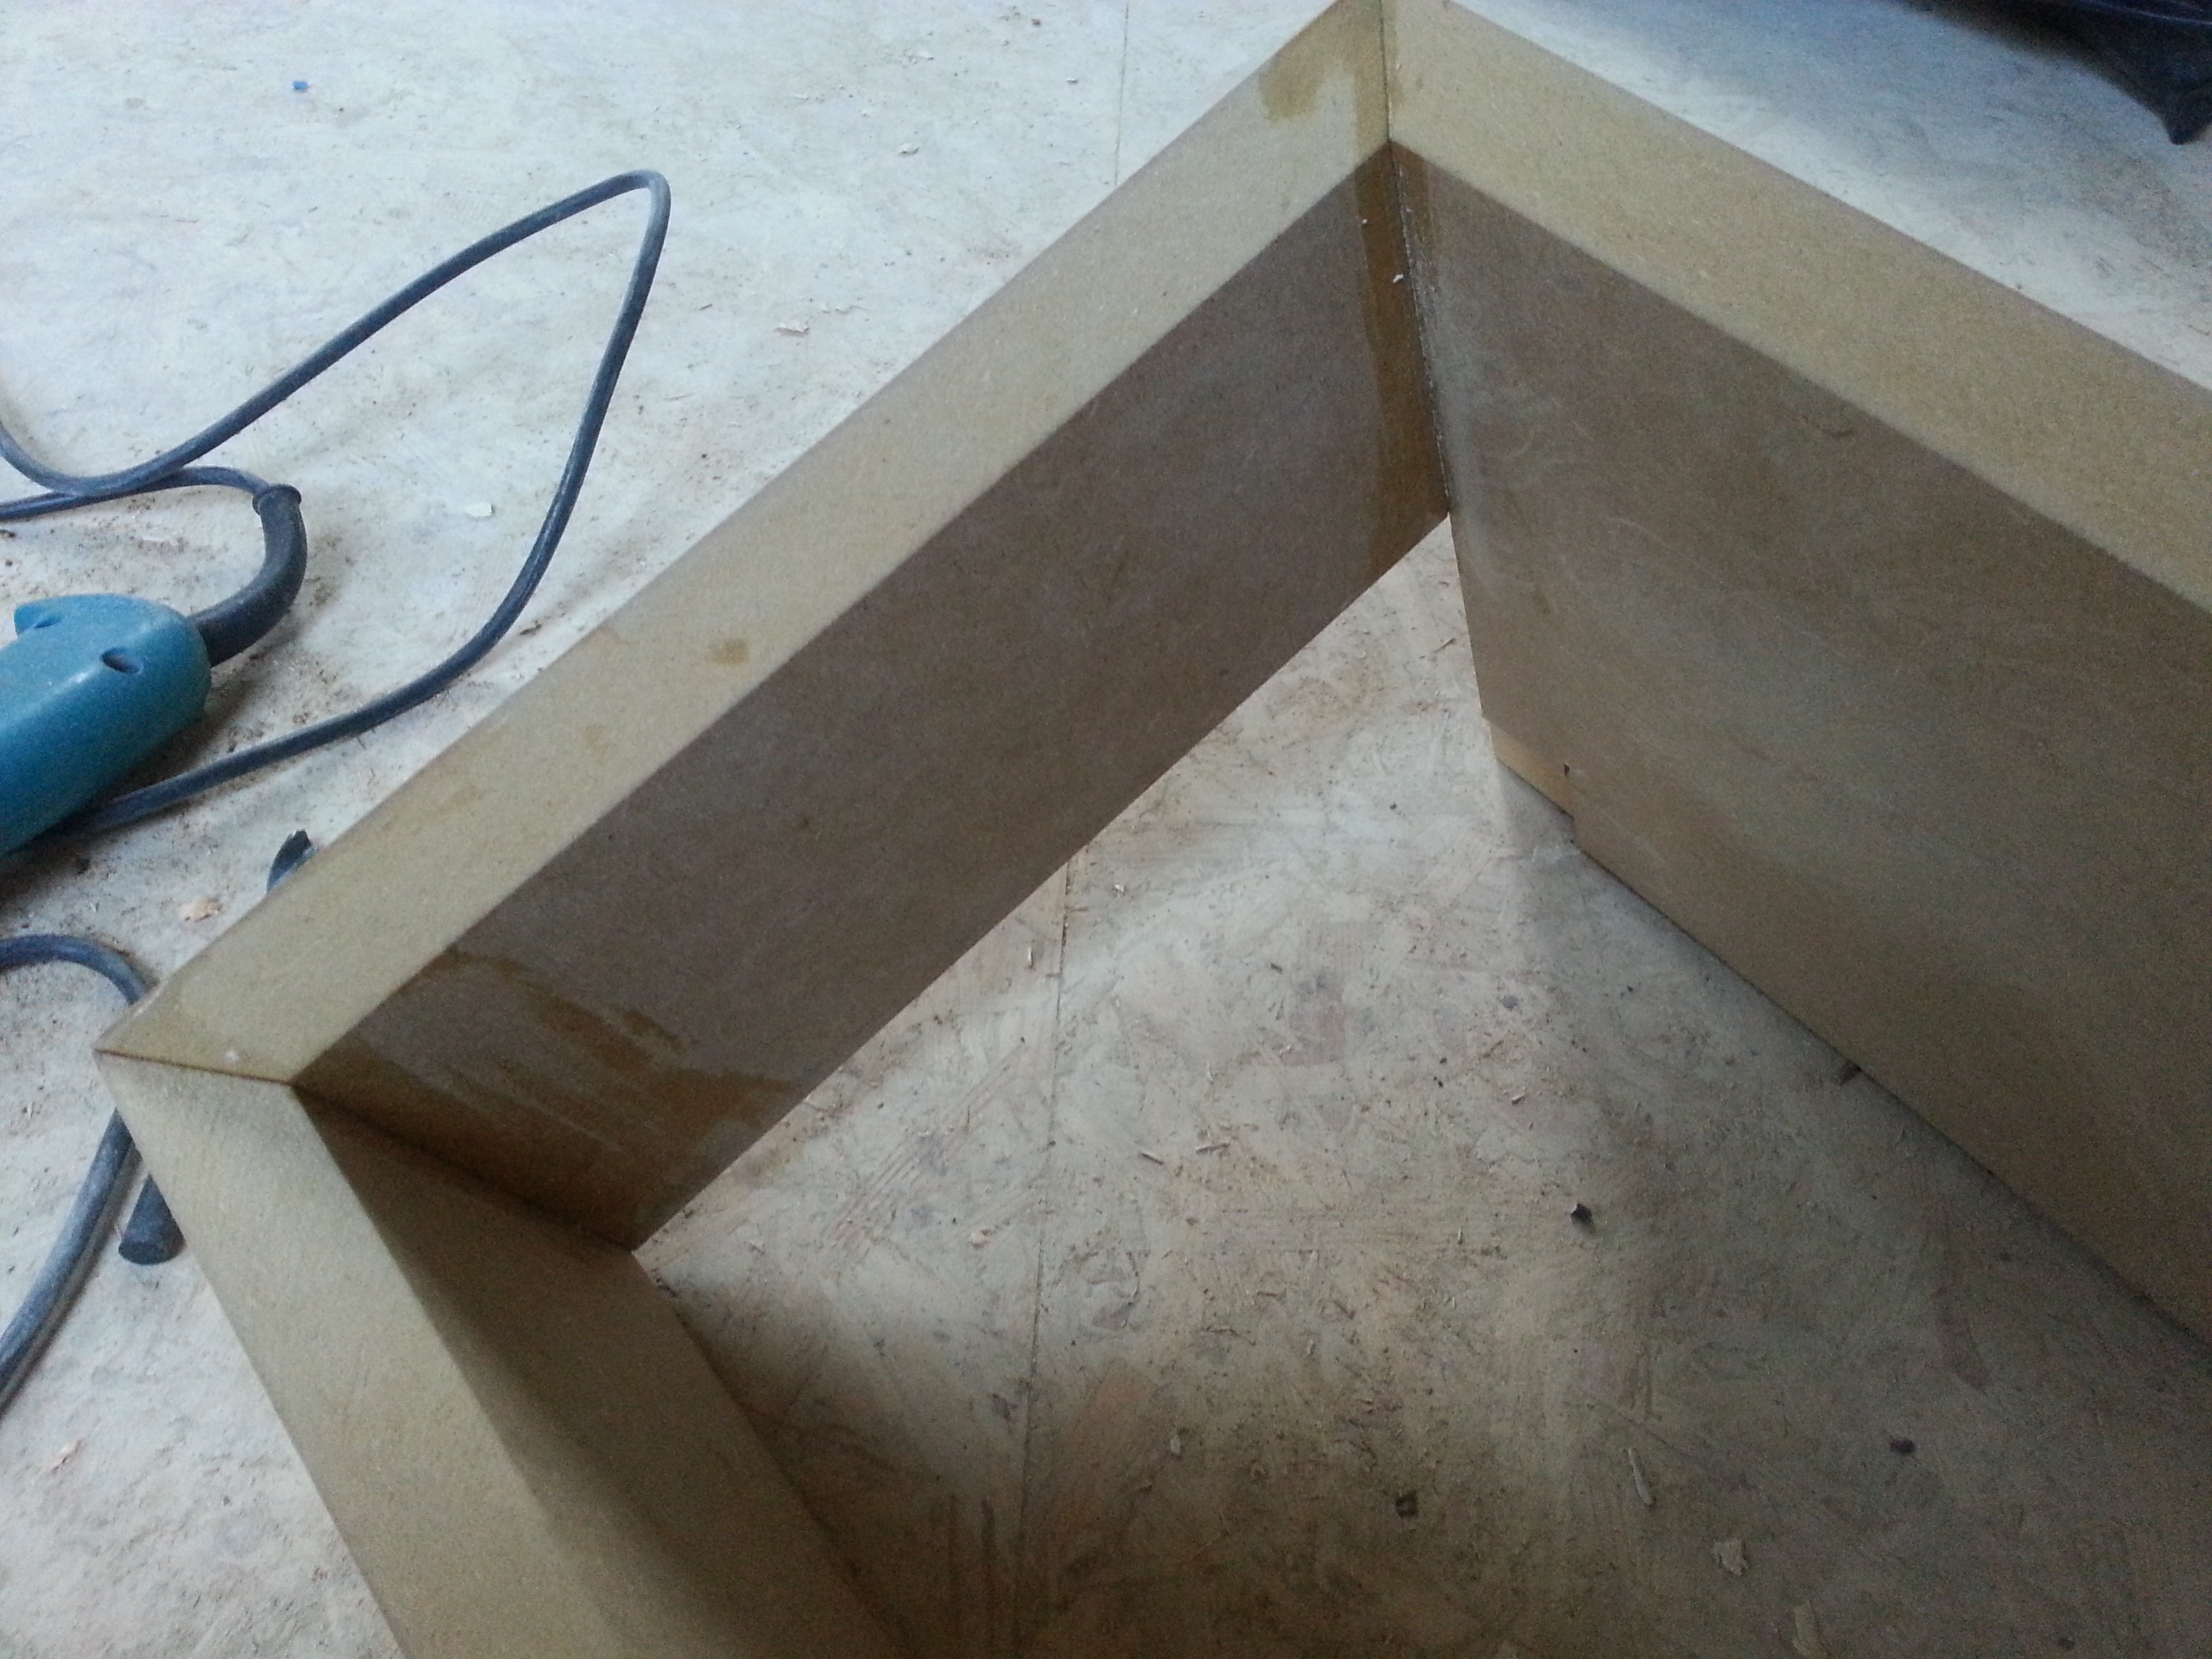
The night-stands are actually just simple boxes out of MDF. The corners are mitred as it looks a little bit more professional to me. The top plate of the open cabinet is a little longer so I can hide the LED-cables. We put the sockets in the wall so that they will be inside the night-stands. This hides the ugly wires of phone chargers.
The parts list
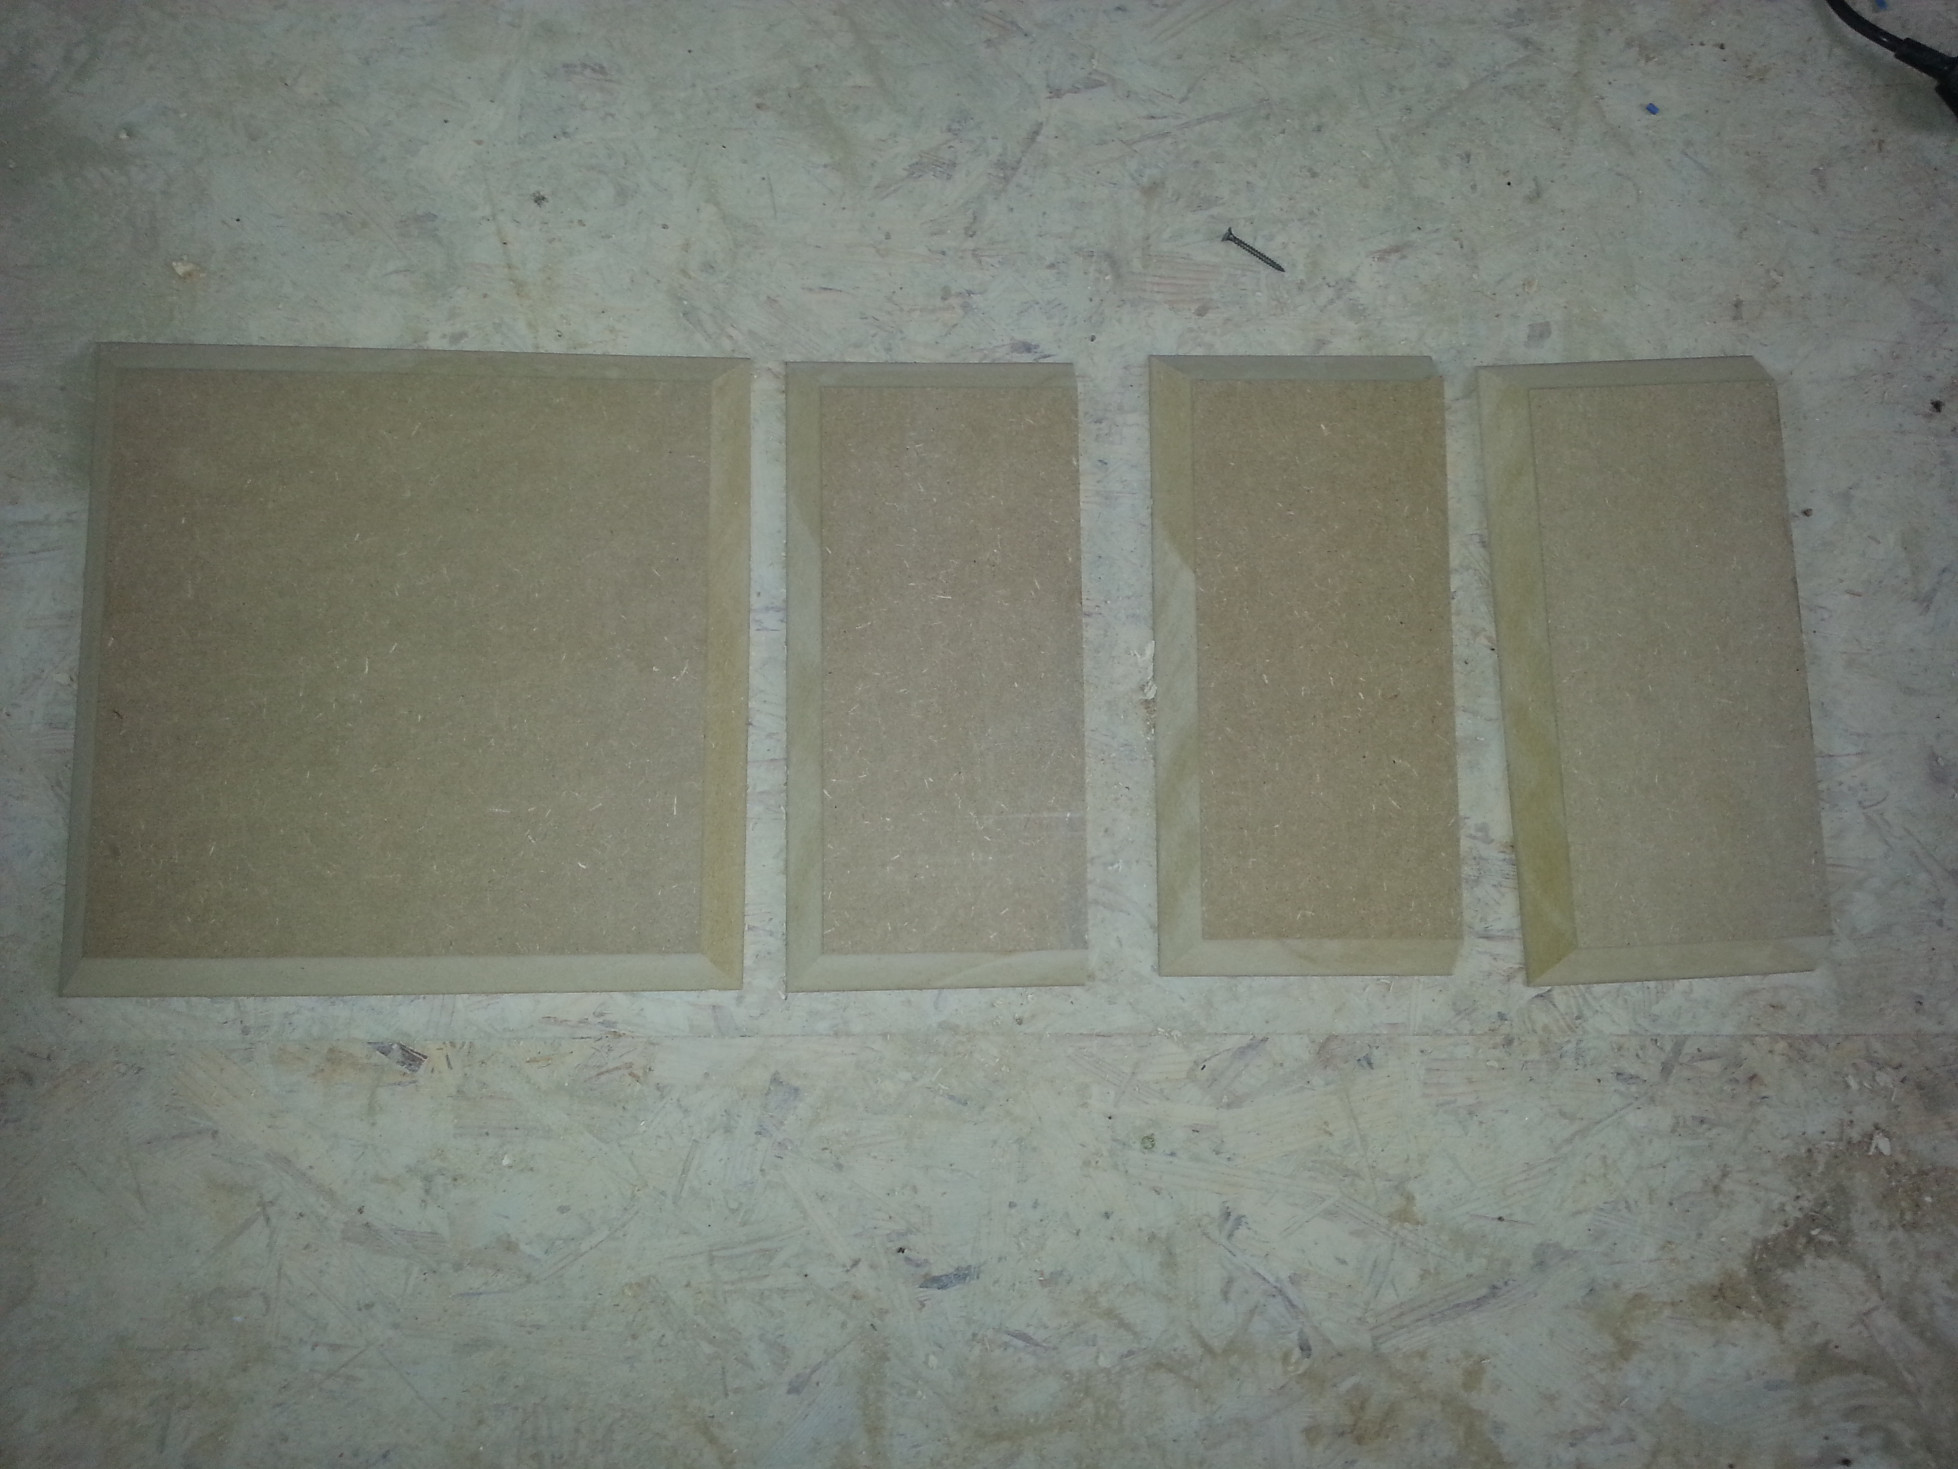
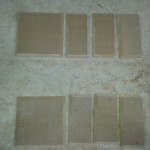
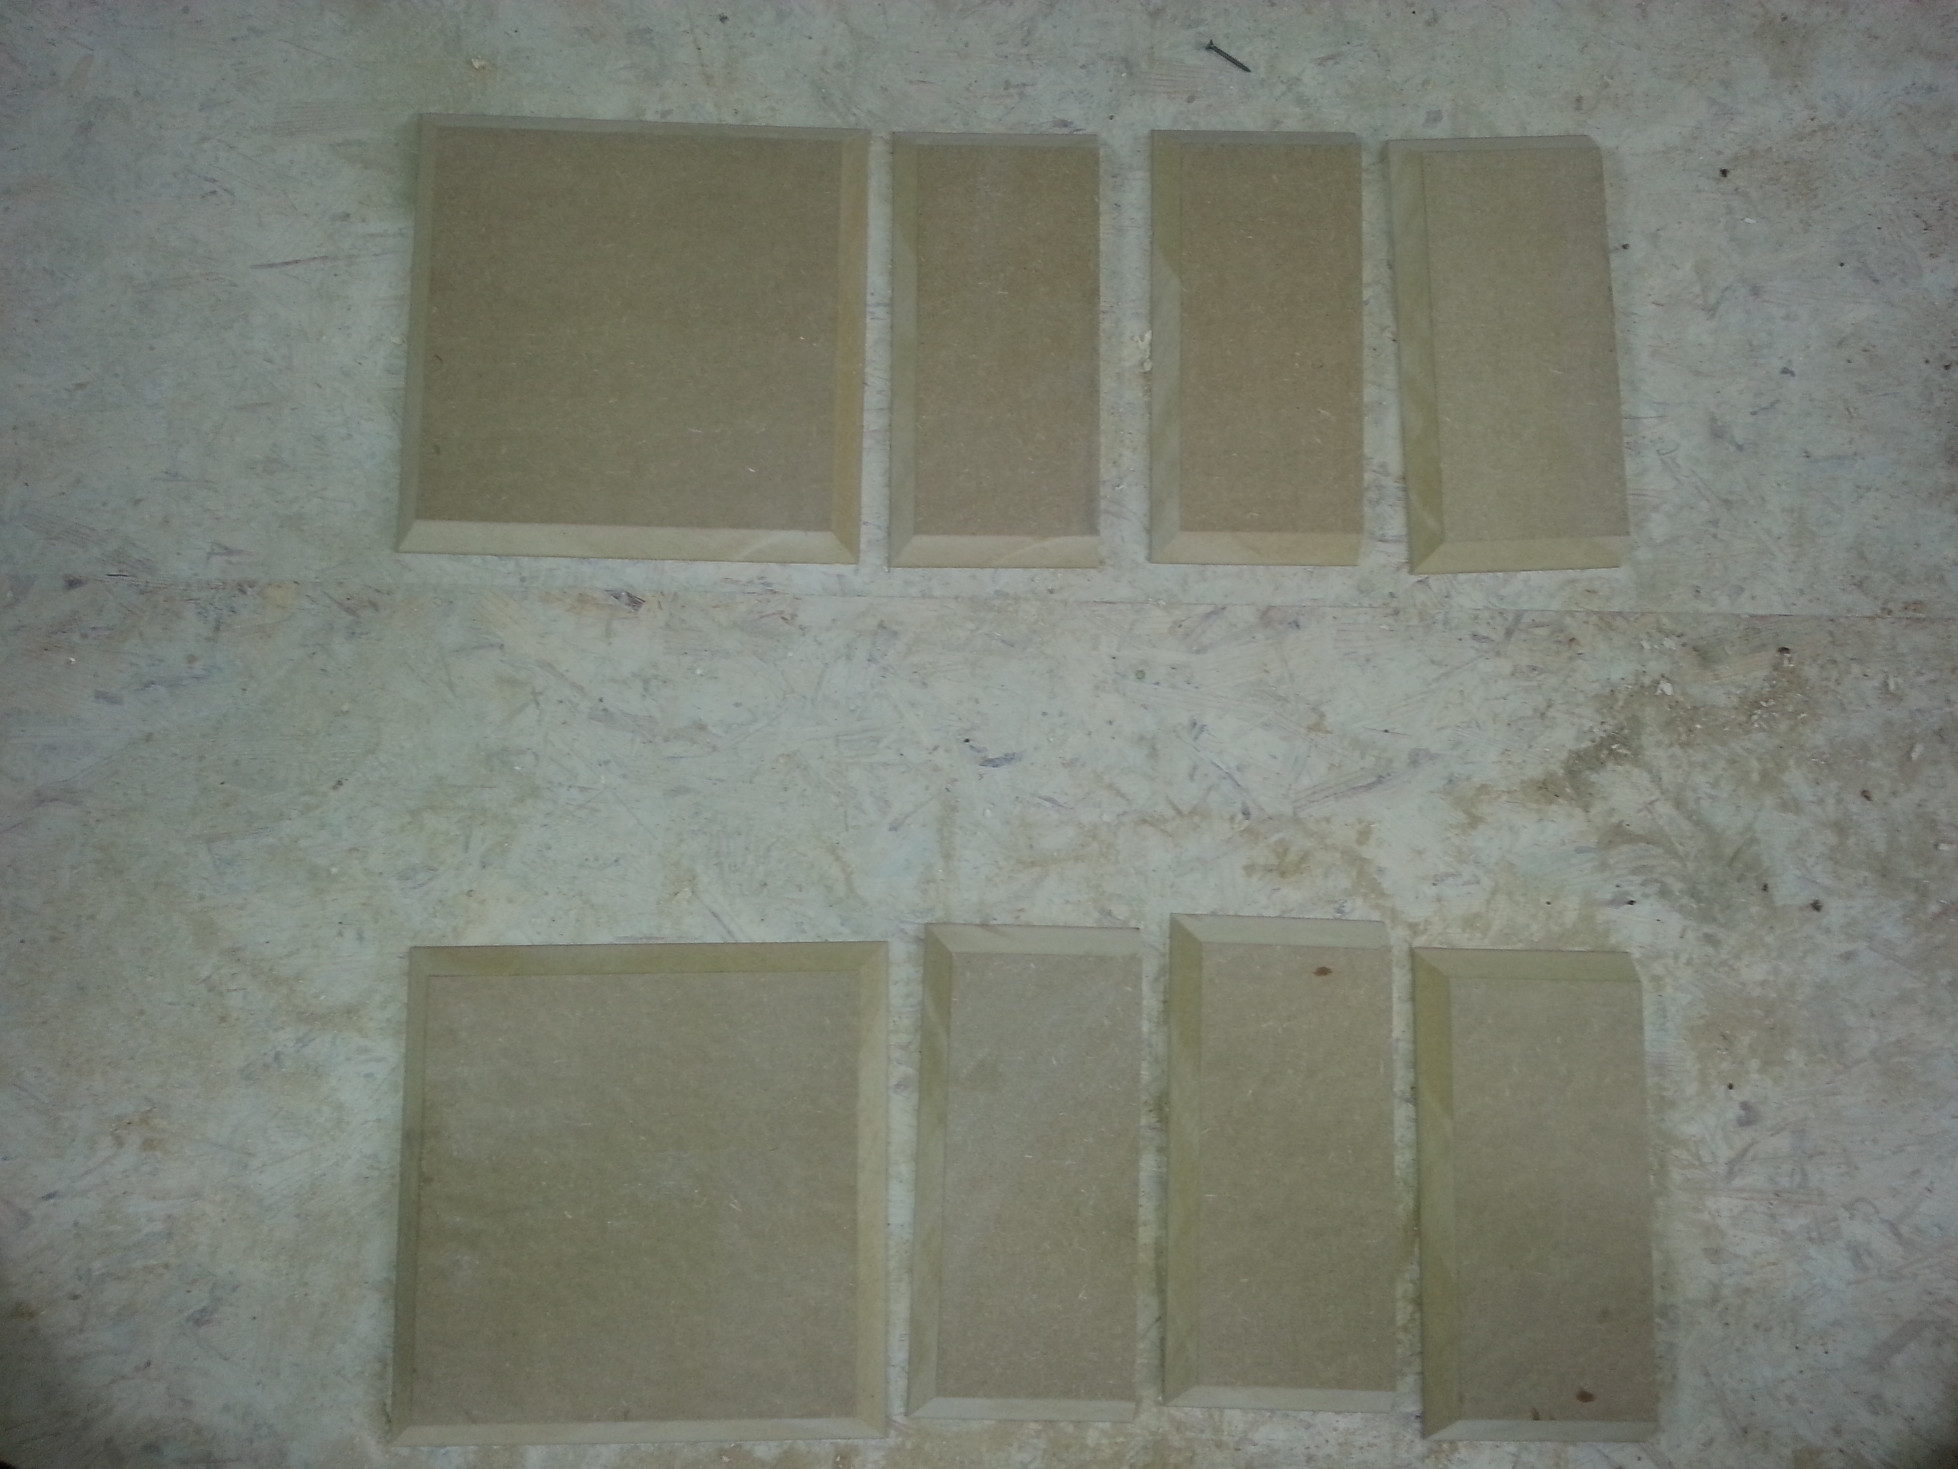
There were not a lot of pieces for the cabinet:
Three pieces 30x20cm (12″ x 8″)
One piece 30x30cm (12″ x 12″)
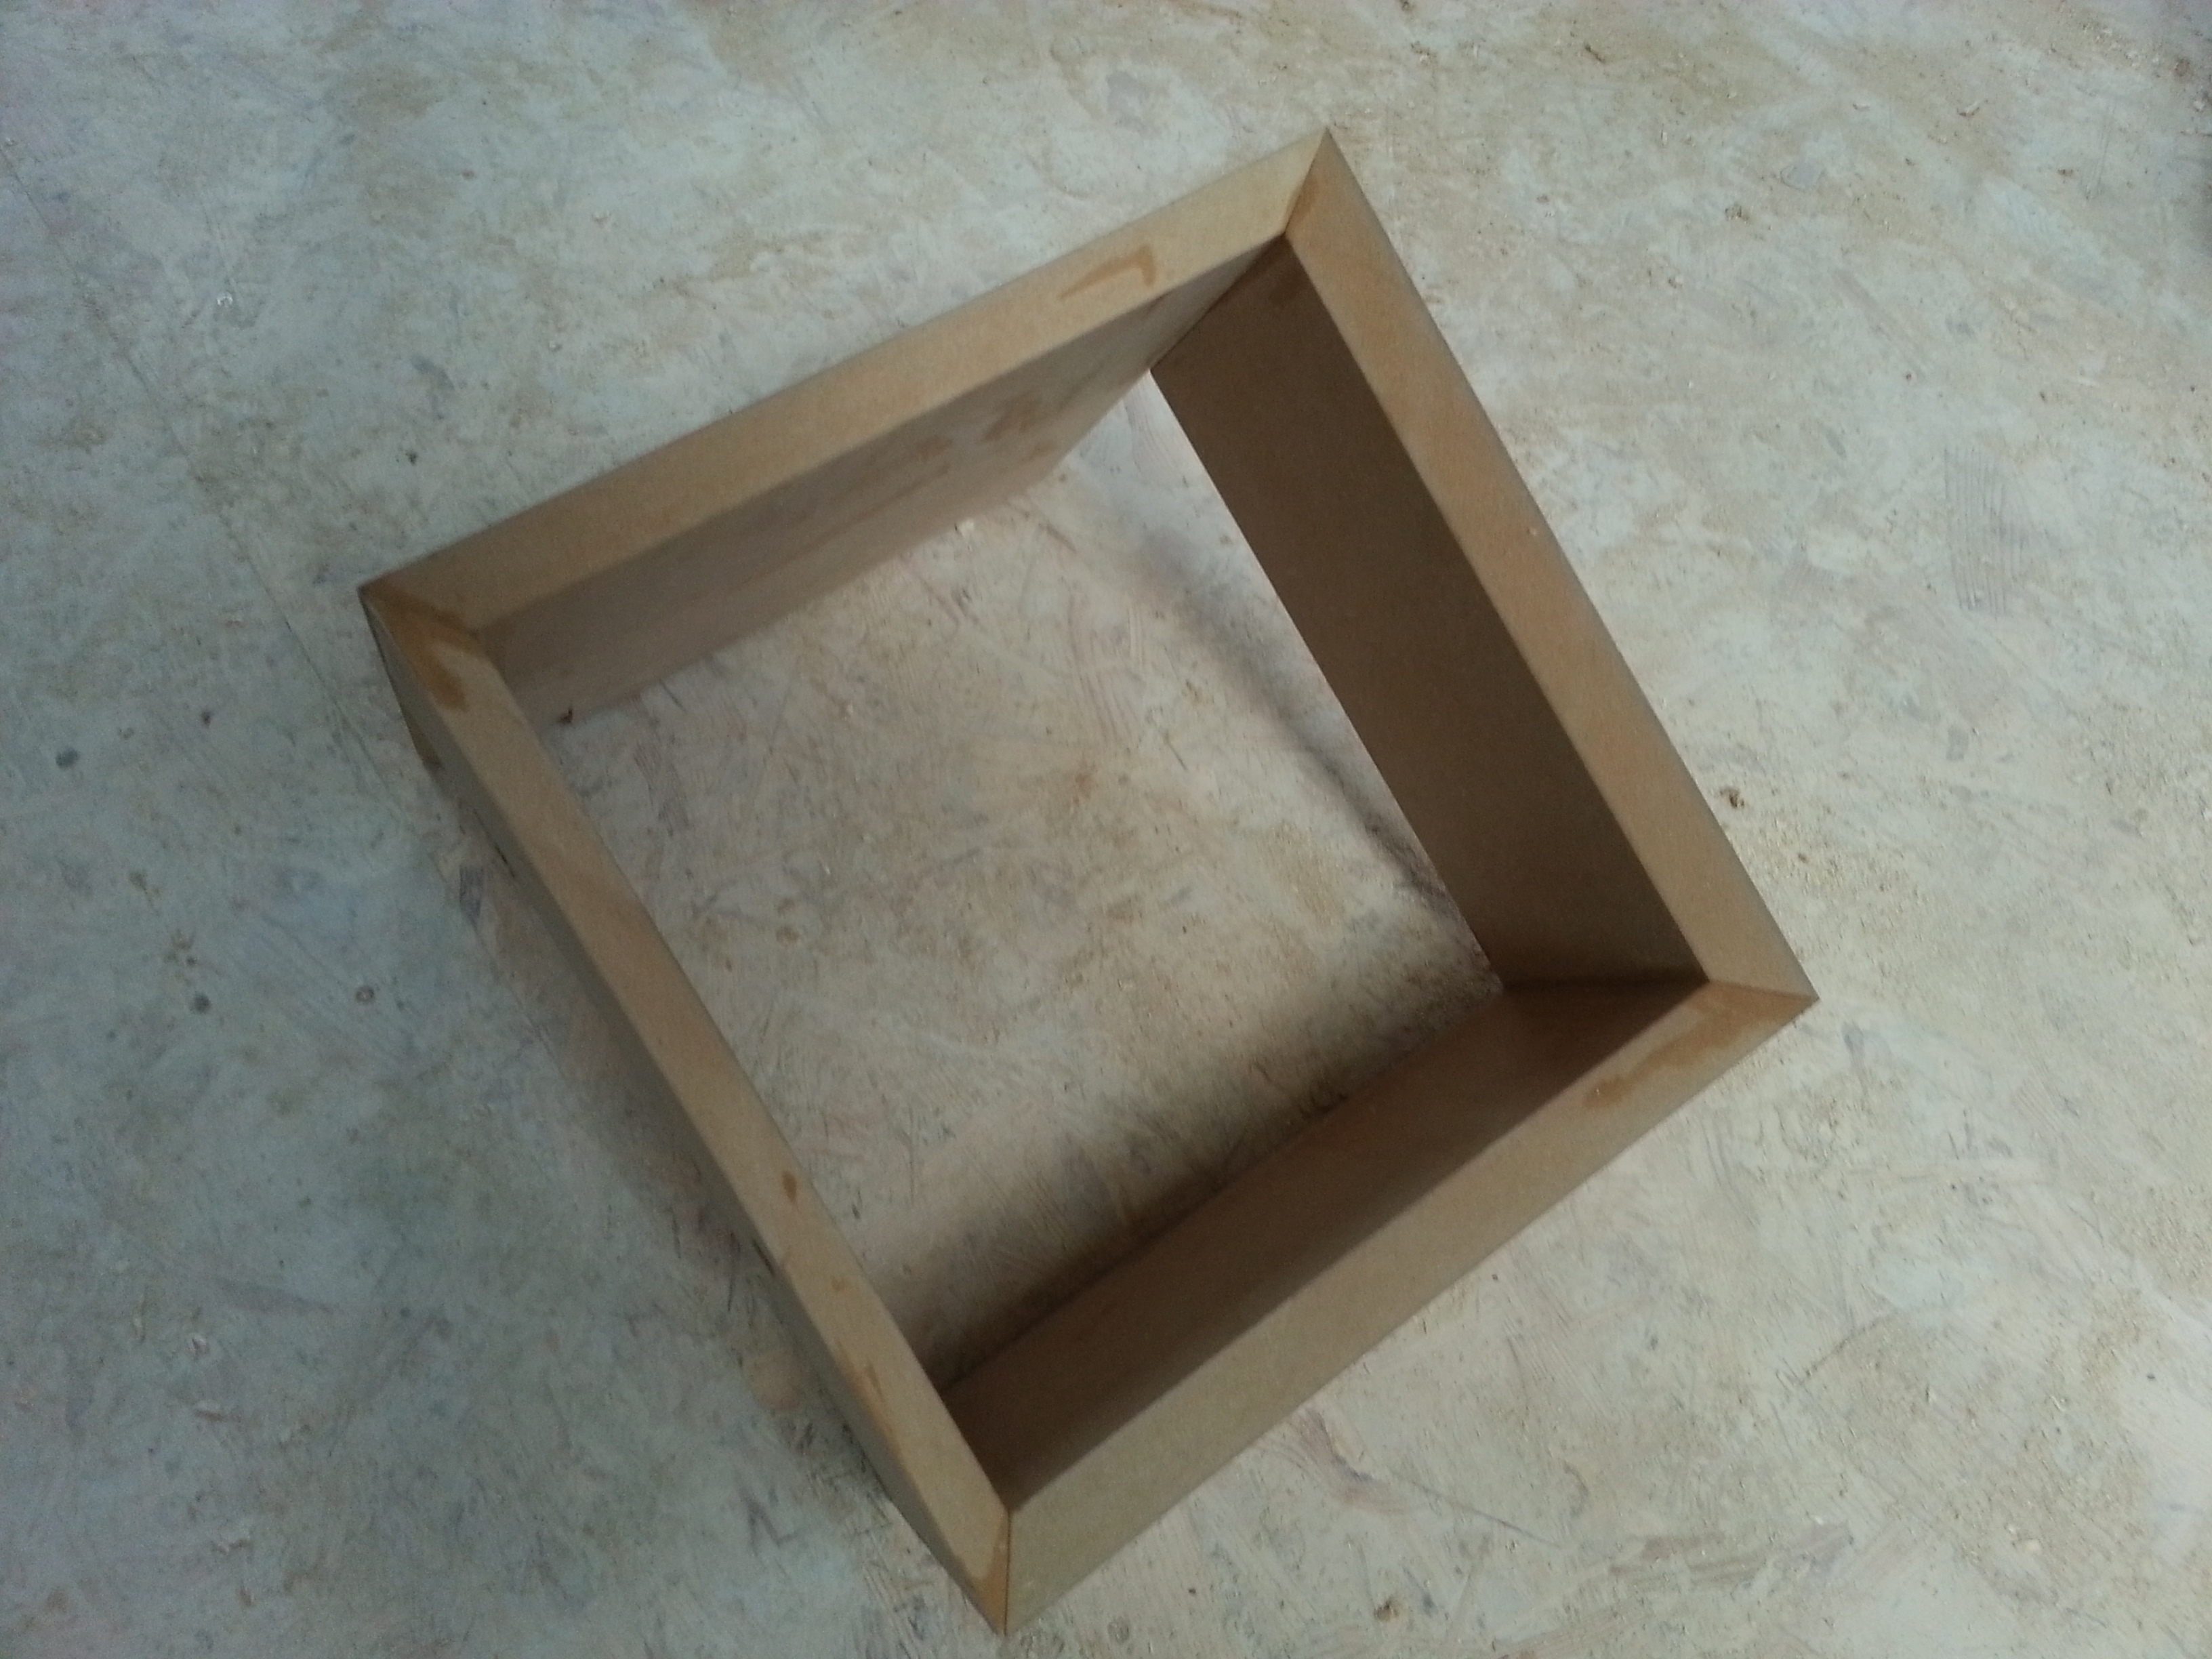
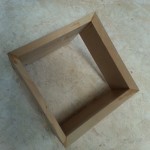
Three sides were mitred. It is important that the machine you use cuts them precisely. It will make the glue-up process more easy.
Putting it together
There are different methods of gluing the pieces together. The most simple way I found is to use tape on the outer corners. You just lay the pieces down on a flat surface and connect the mating surfaces with tape. Then you add a little bit of glue on the edges and you fold the pieces. A quick check to see if everything is square and you are done. Leave it to dry overnight.
I forgot to clean of the excess glue so I had a lot of sanding to do. I sanded the hole thing with a fine sandpaper (180-220 grid) to get rid of the glue marks. It is now ready to receive a primer and some paint.
-
- Sanding
-

- Sanding

-
- Dry-fit
-
- Sanding