Introduction
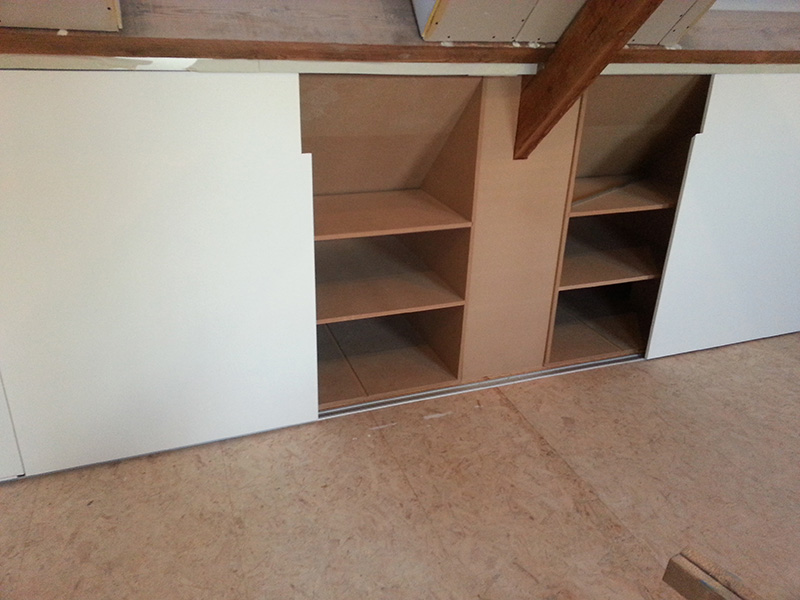
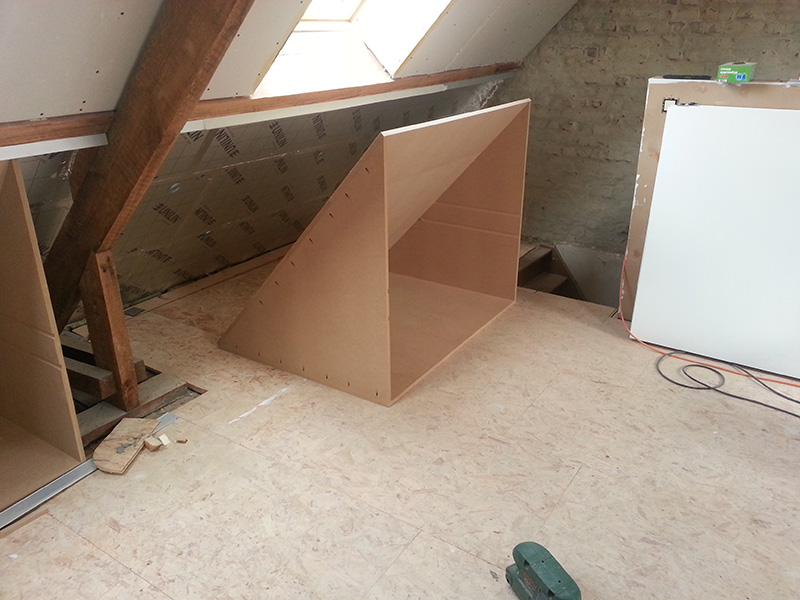
In between the attic floor and the roof planes there’s a lot of wasted space. This small corner can be used to store loads of stuff in custom closets. This way, you still have a lot of storage when you use the attic as a bedroom.
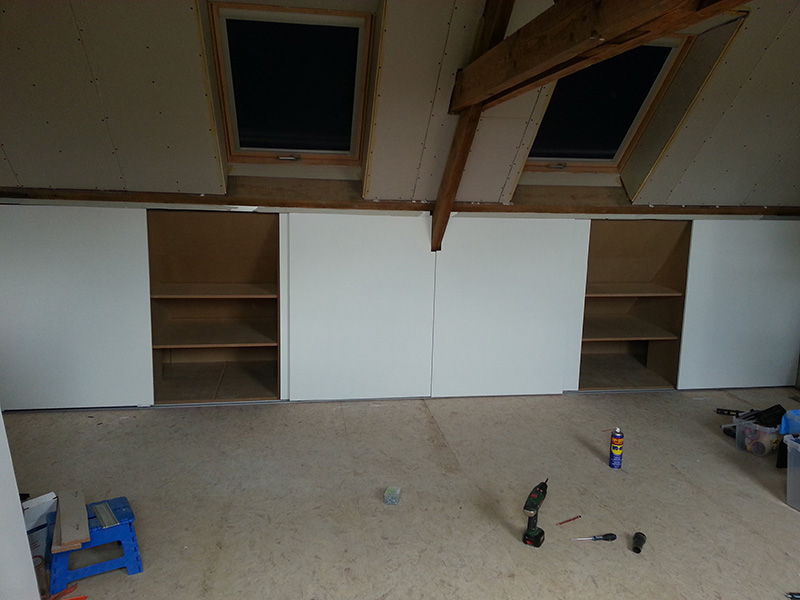
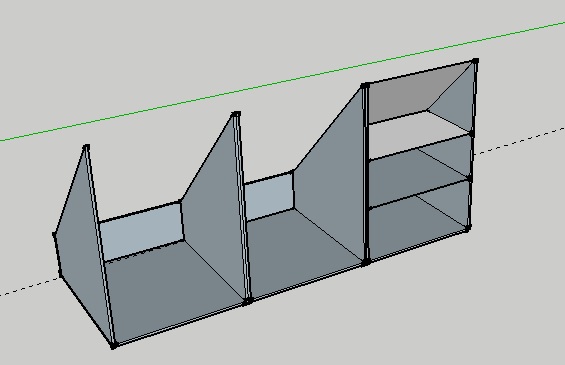
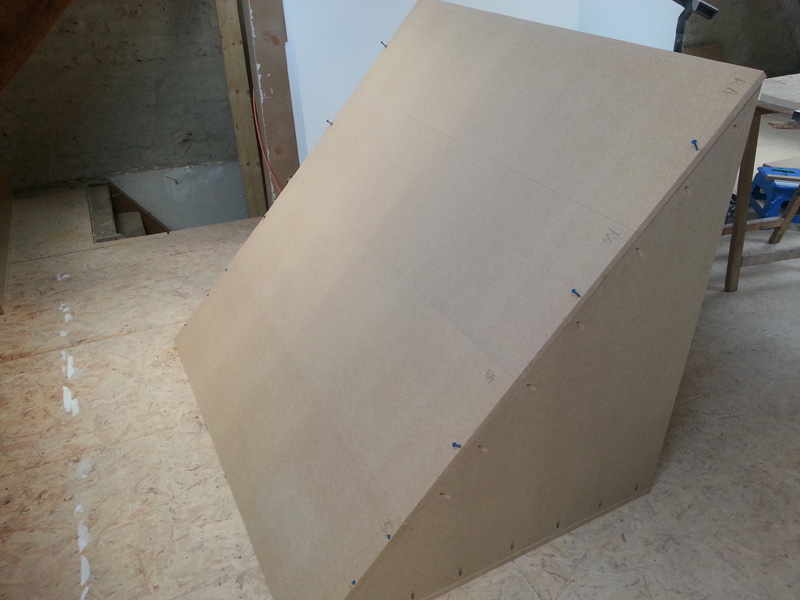
The closets we are making consist of 2 or 3 joining boxes. They are deep enough to store the big stuff. The different shelves slip into a grove so they are adaptable.
Pieces and materials
We did not include a list of pieces because every attic has a different roof plane angle. In our case there’s a knee wall on one side of the attic. The other side does not have a protruding wall. In your own case there might be a beam in the way causing you to adapt your boxes.
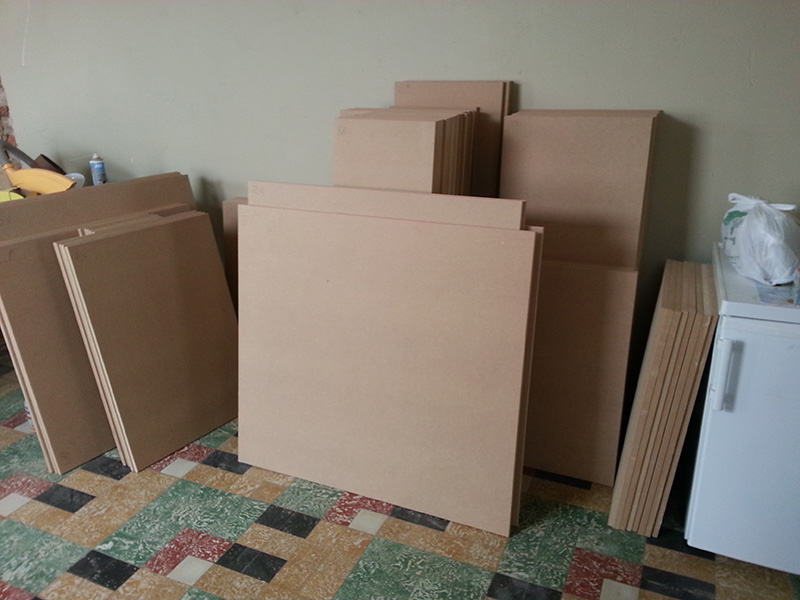
Our closets are made from MDF. Some like the material because it’s cheap and easy to work with. Others don’t like it because of the fine sawdust and the heavy weight. Either way, if you store light objects, MDF is strong enough. If you want to store heavy books, it’s better to use plywood.
Don’t rush to the store to get your sheets of MDF just yet. Normal sheets are made to be used in normal closets with a depth of 300, 400 or 600mm. The triangular closets for lost attic space have ‘special’ dimensions. Ours are a full meter deep and high. If we take two bottom pieces out of one sheet, we have a 30% loss.
In order to limit the losses, we made some pieces in smaller parts. There are software tools available that calculate the most efficient layout to cut your sheets. That same program also tells you how much sheets you will need.
Another way to get rid of the layout problem is to make a pieces list and go to a good wood store. Some have full automatic saws with a built-in layout calculator. By doing so you don’t need to cut a single piece at home. It’s like a custom type of flat-pack furniture building.
Assembly
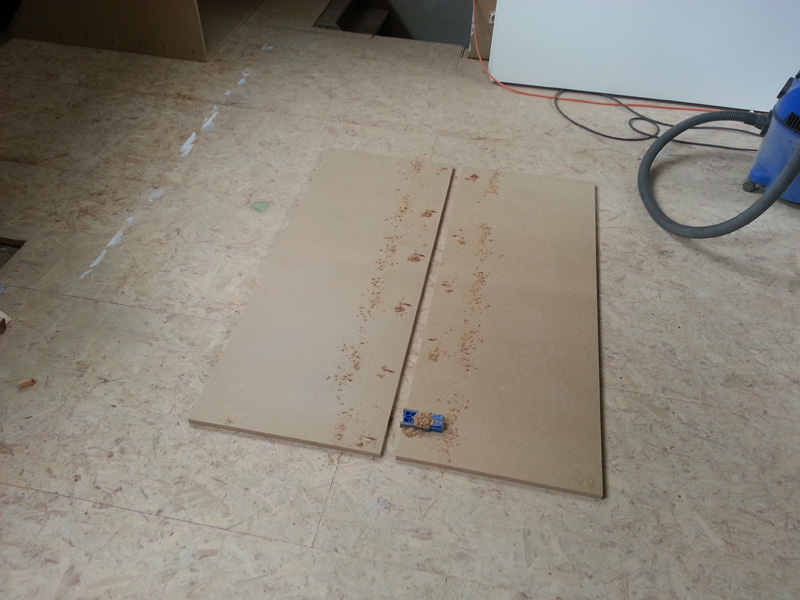
We started with the bottom. We married two pieces with pocket screws so it would form a 1m by 1m square. This type of joint in MDF is not that strong but the bottom piece will not withstand any big force.
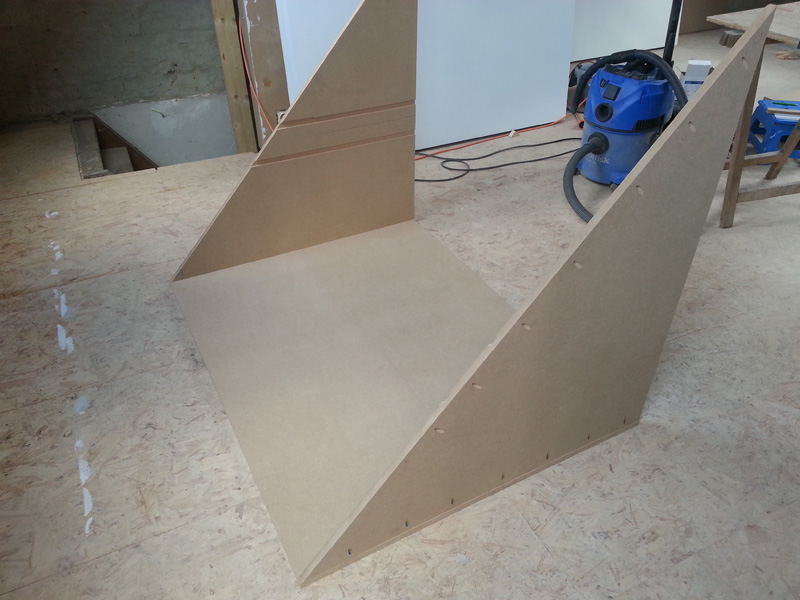
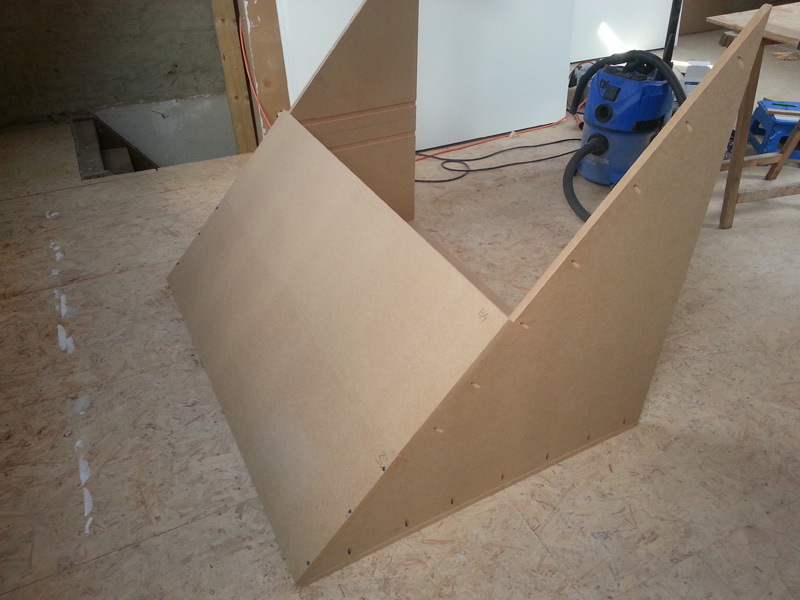
We used a router to make 19mm grooves in the triangular side-panel. These will hold the shelves later on. You can make a groove every couple of centimetres. We made the grooves with standard storage boxes in mind. The boxes will keep the dust out.
We drilled the pocket holes on the outside of the side panels so they are hidden when the boxes are next to each other. When using pocket holes, make sure the side panels don’t get bowed inwards. Pocket holes have the tendency to pull on the working piece.
Furniture makers tend to reduce the thickness of the backside panels. Because of the span (1m) we have used the same 19mm MDF as a back-panel. We added the back-panels with a combined but-joint and pocket hole joint. The but-joints (screwed from the backside) made sure the pocket screws couldn’t curve the sidepanels. If you are working with plywood, you’ll get away with just pocket holes.
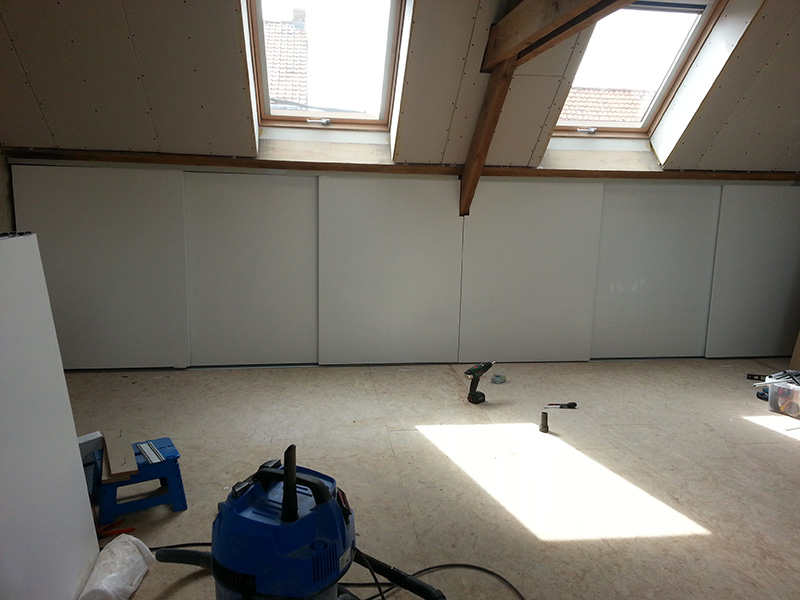
Now we just have to stack the boxes next to each other and add the shelves. I’m very pleased with the results. What do you think?