-

- Old attic

-
- Insulating the attic

-
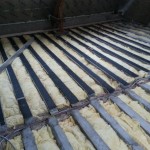
- Isulation attic floor – glass fiber for air sounds – industrial rubber for contact noise

-

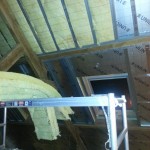
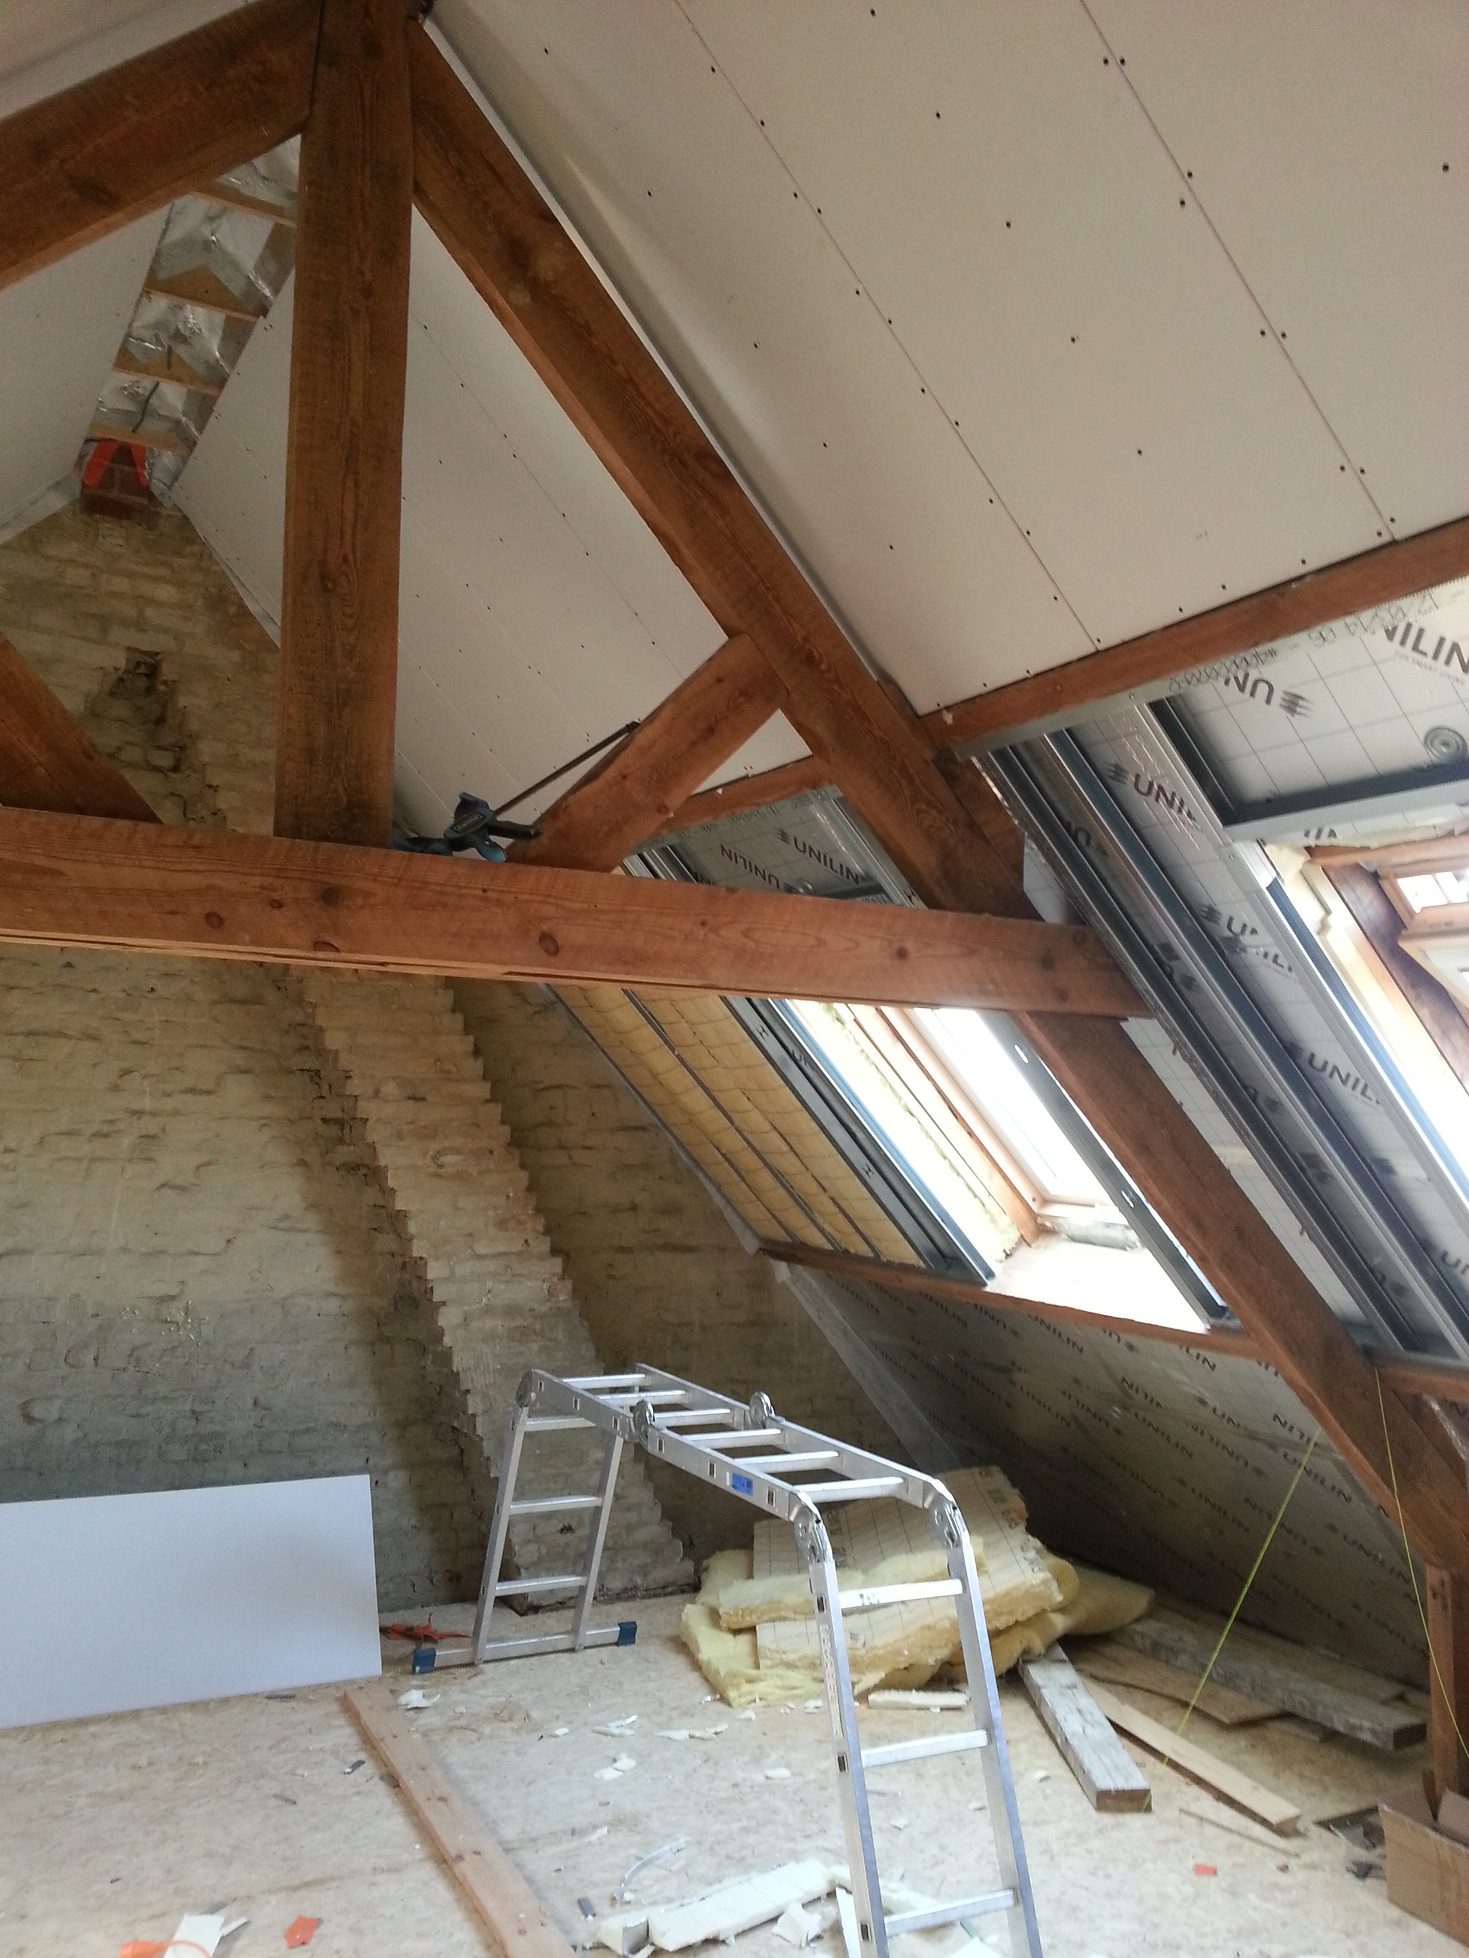
- Attic with sheetrock
The attic
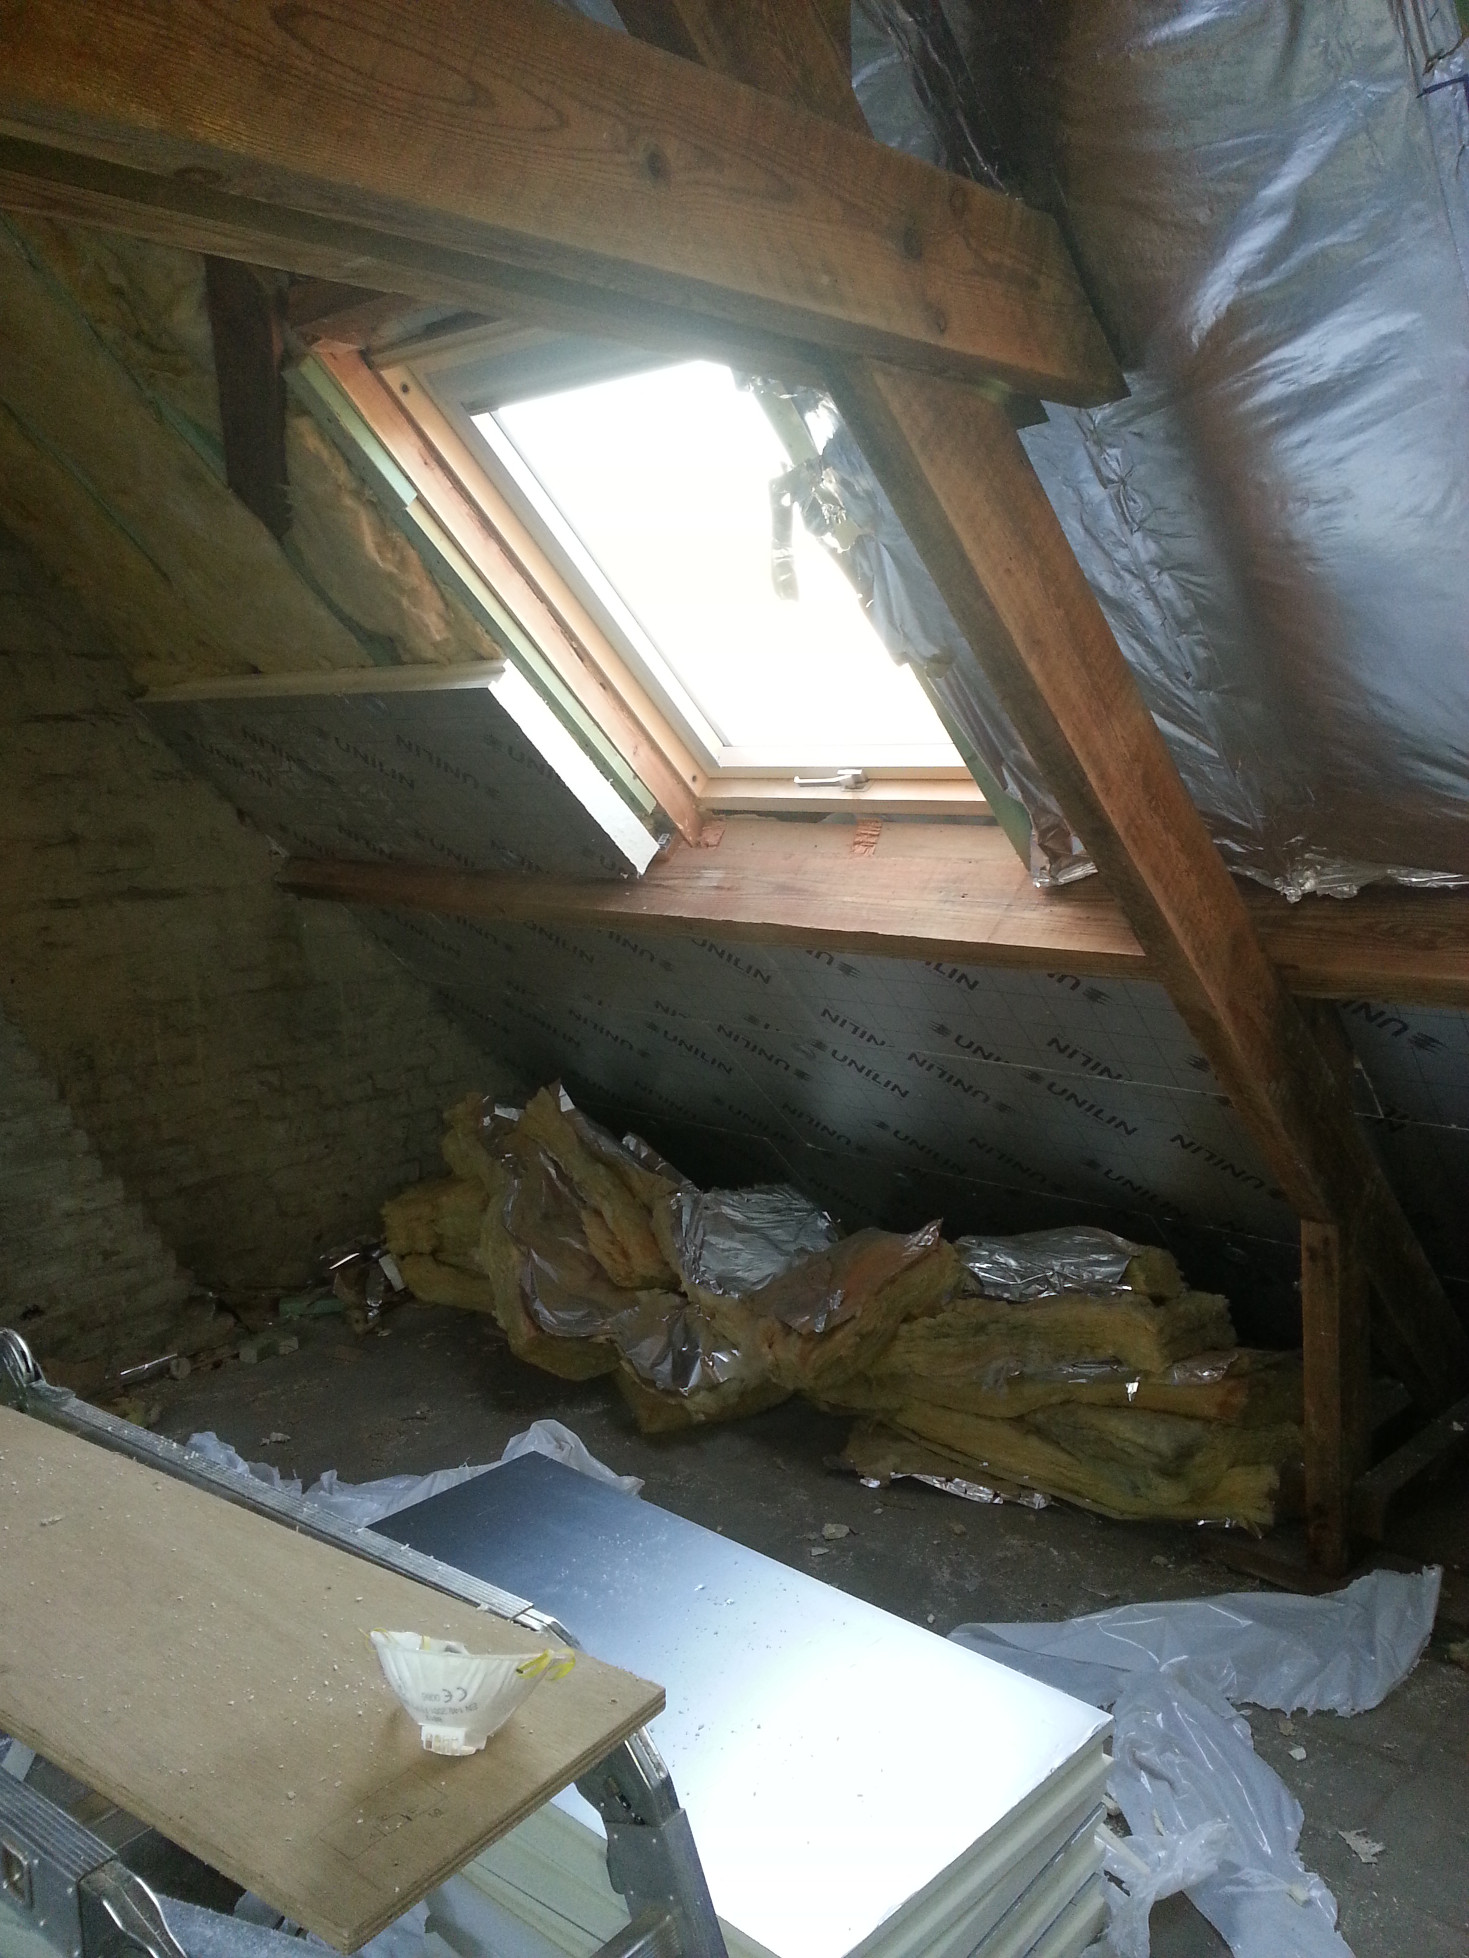
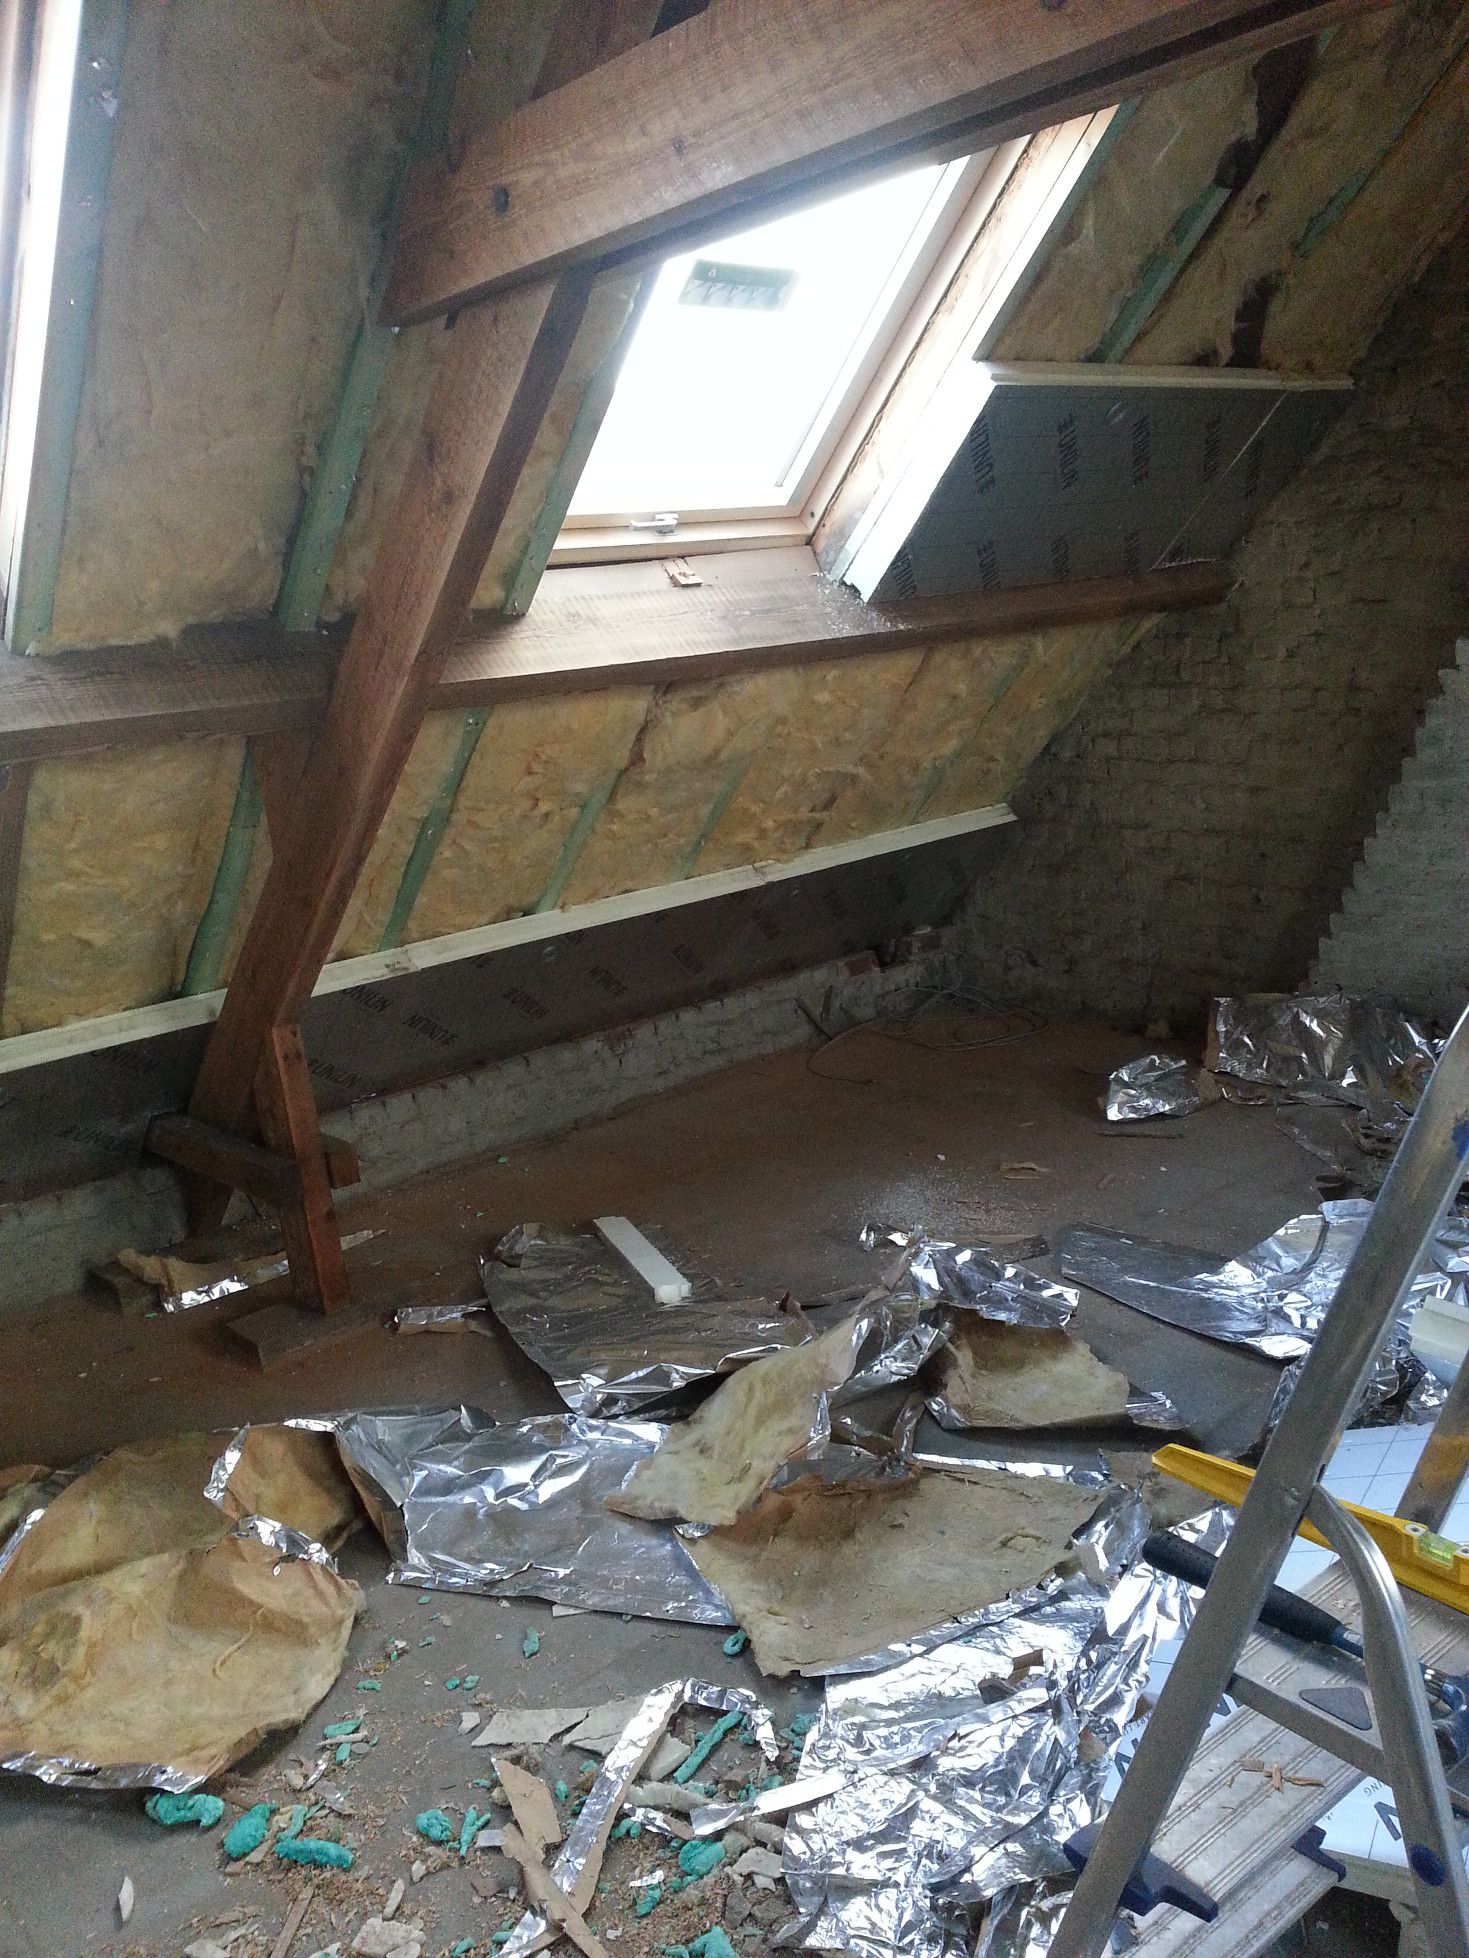
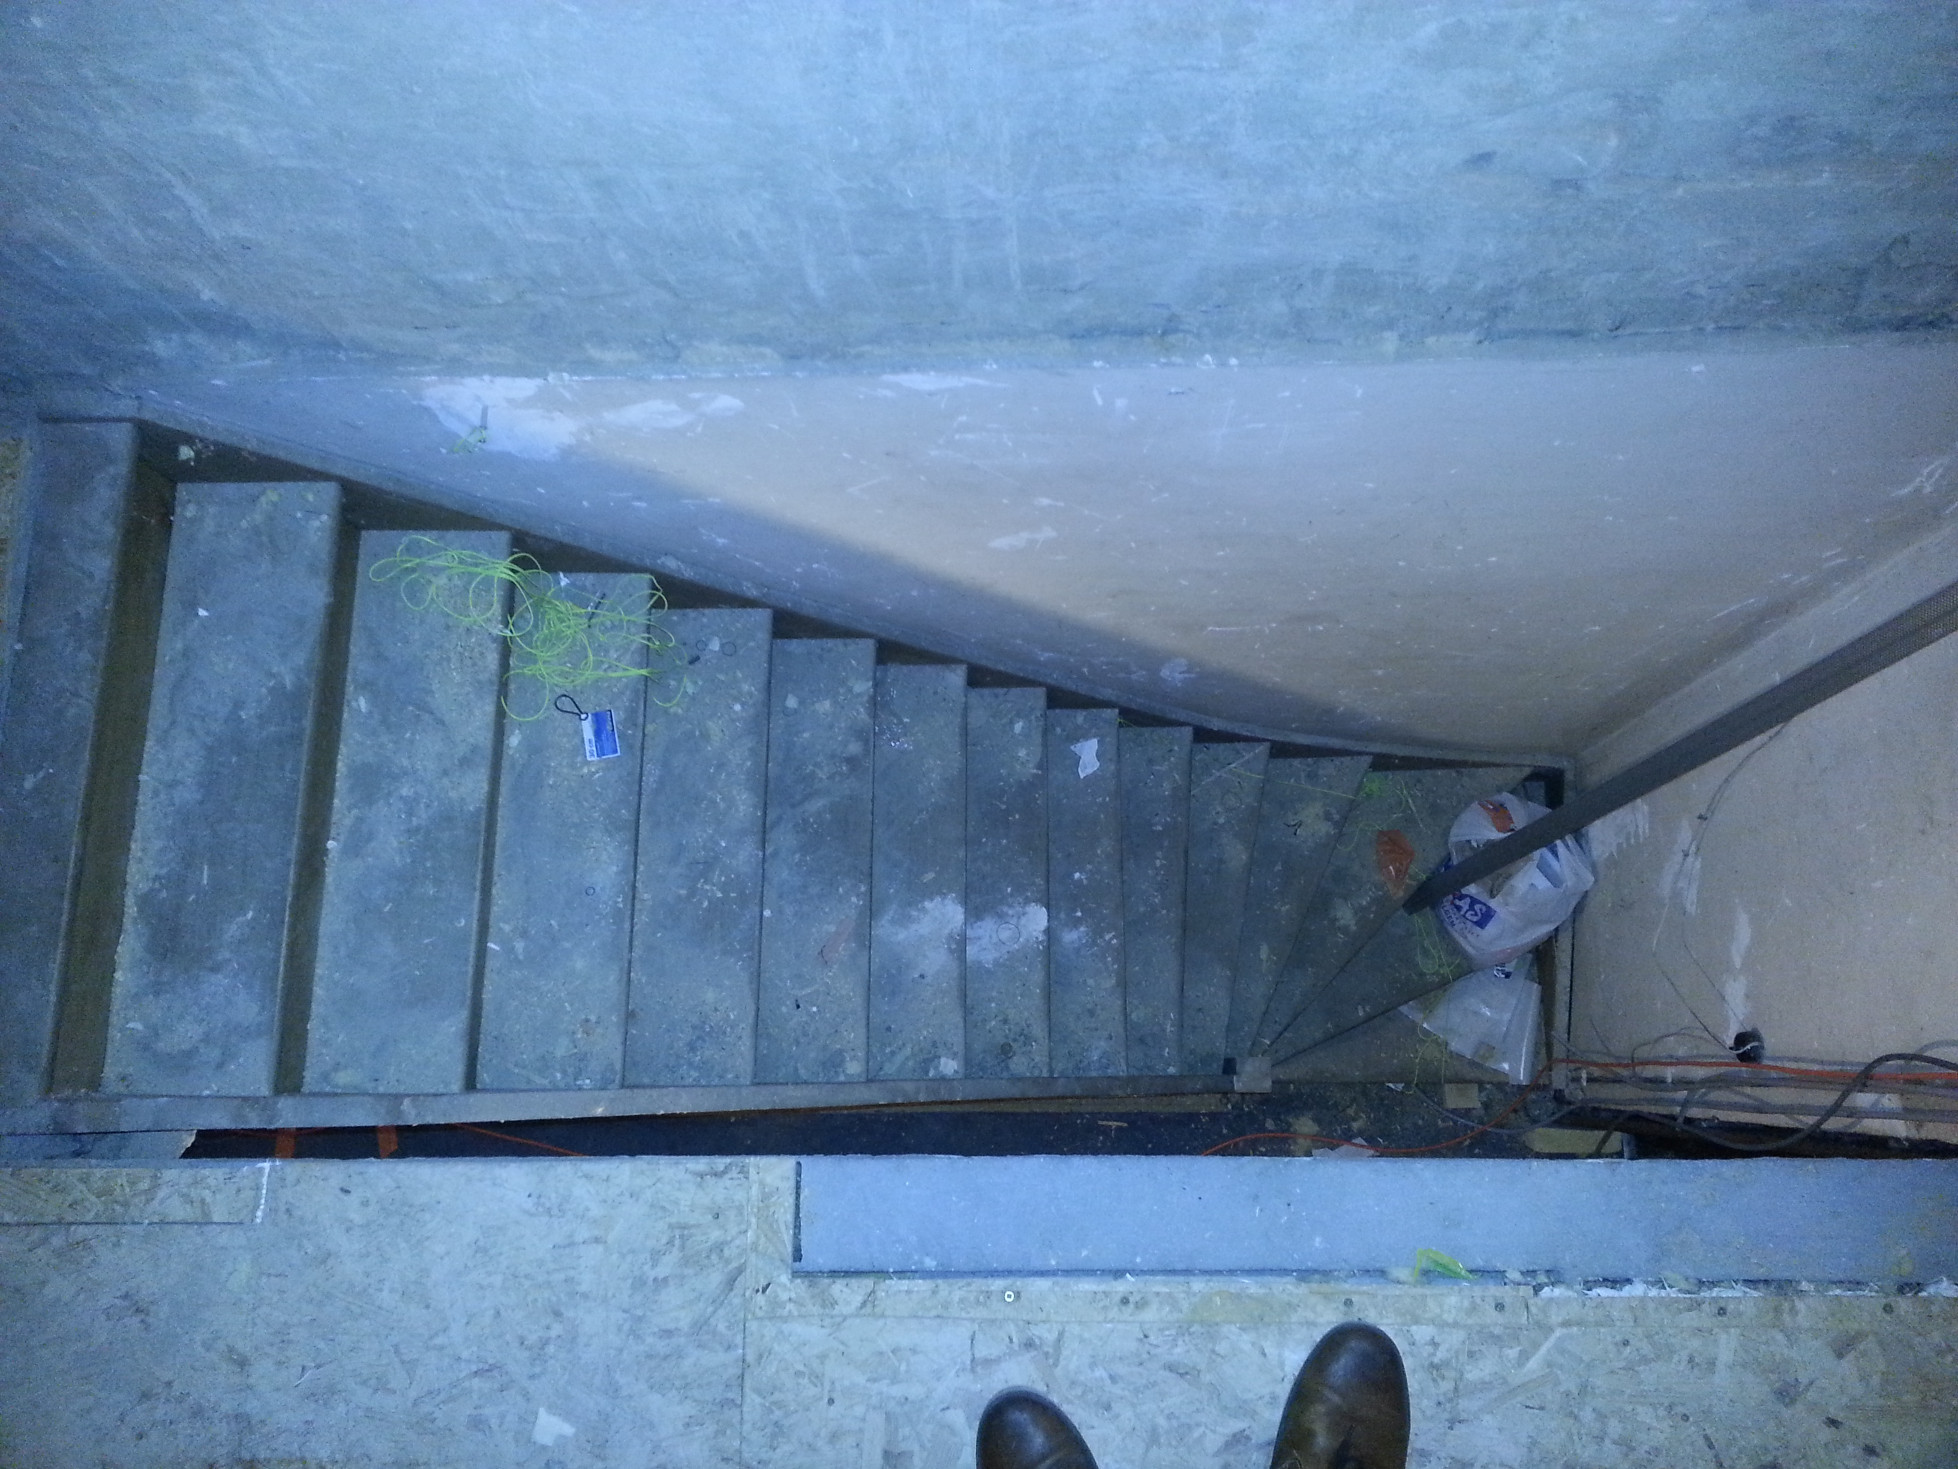
The attic has been insulated by the previous owners with 12cm (4.7 inch) glass wool insulation in between the vertical studs of the roof. There’s a staircase but the stairs are built straight whilst they would need a double turn to be usable on a daily basis. On the first floor we already have two reasonably-sized bedrooms. We would like to keep them for our (future) kids so we decided to make good use of the attic space. It will become our main bedroom.
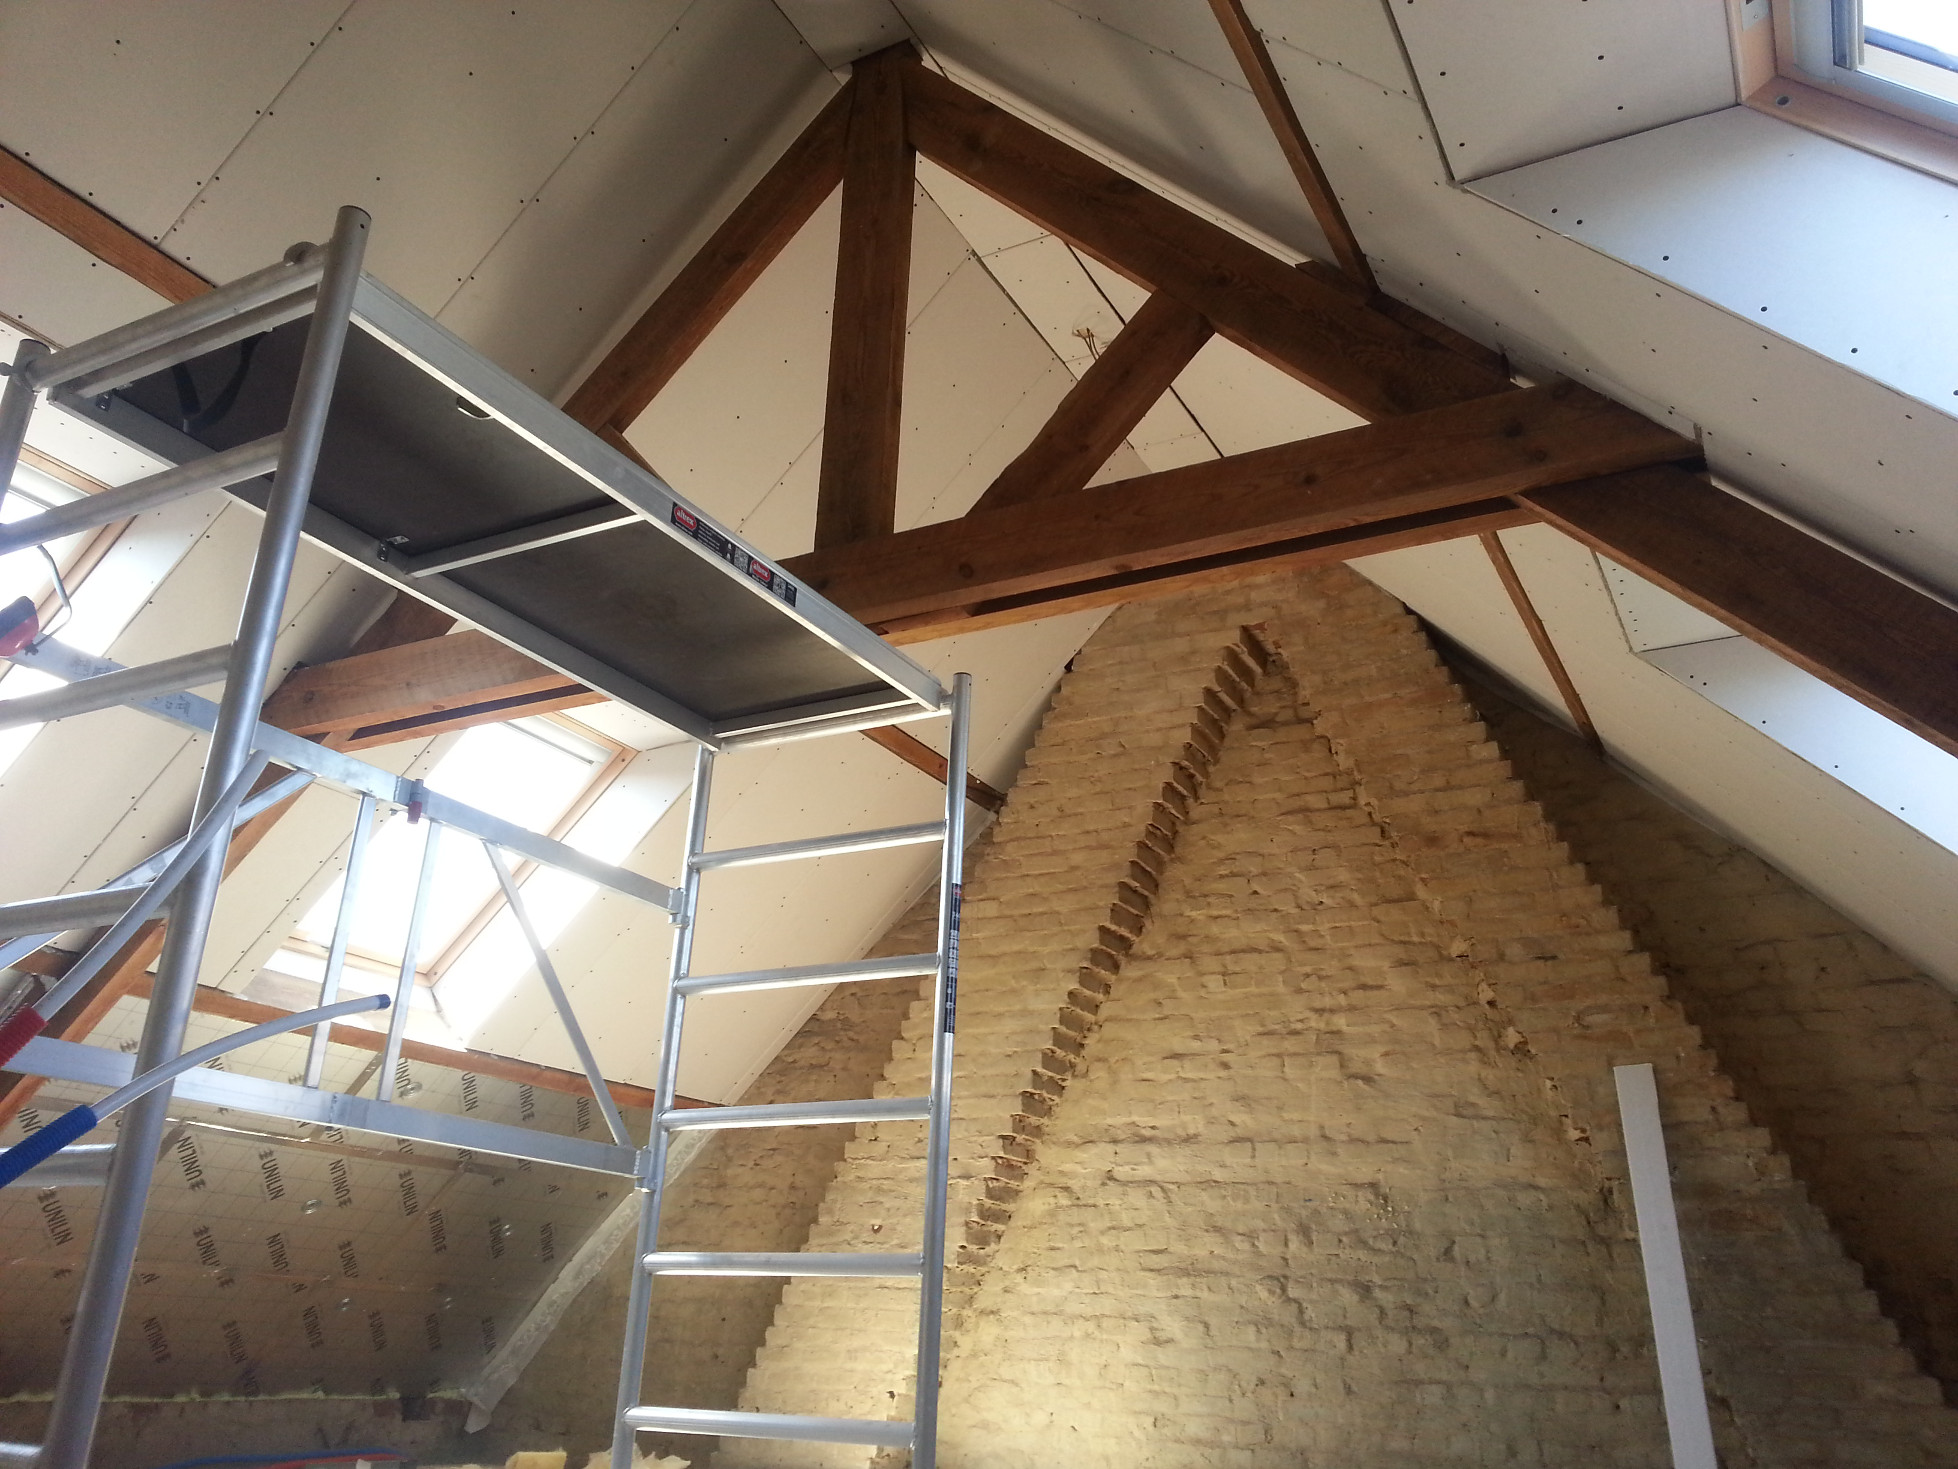
Roof windows
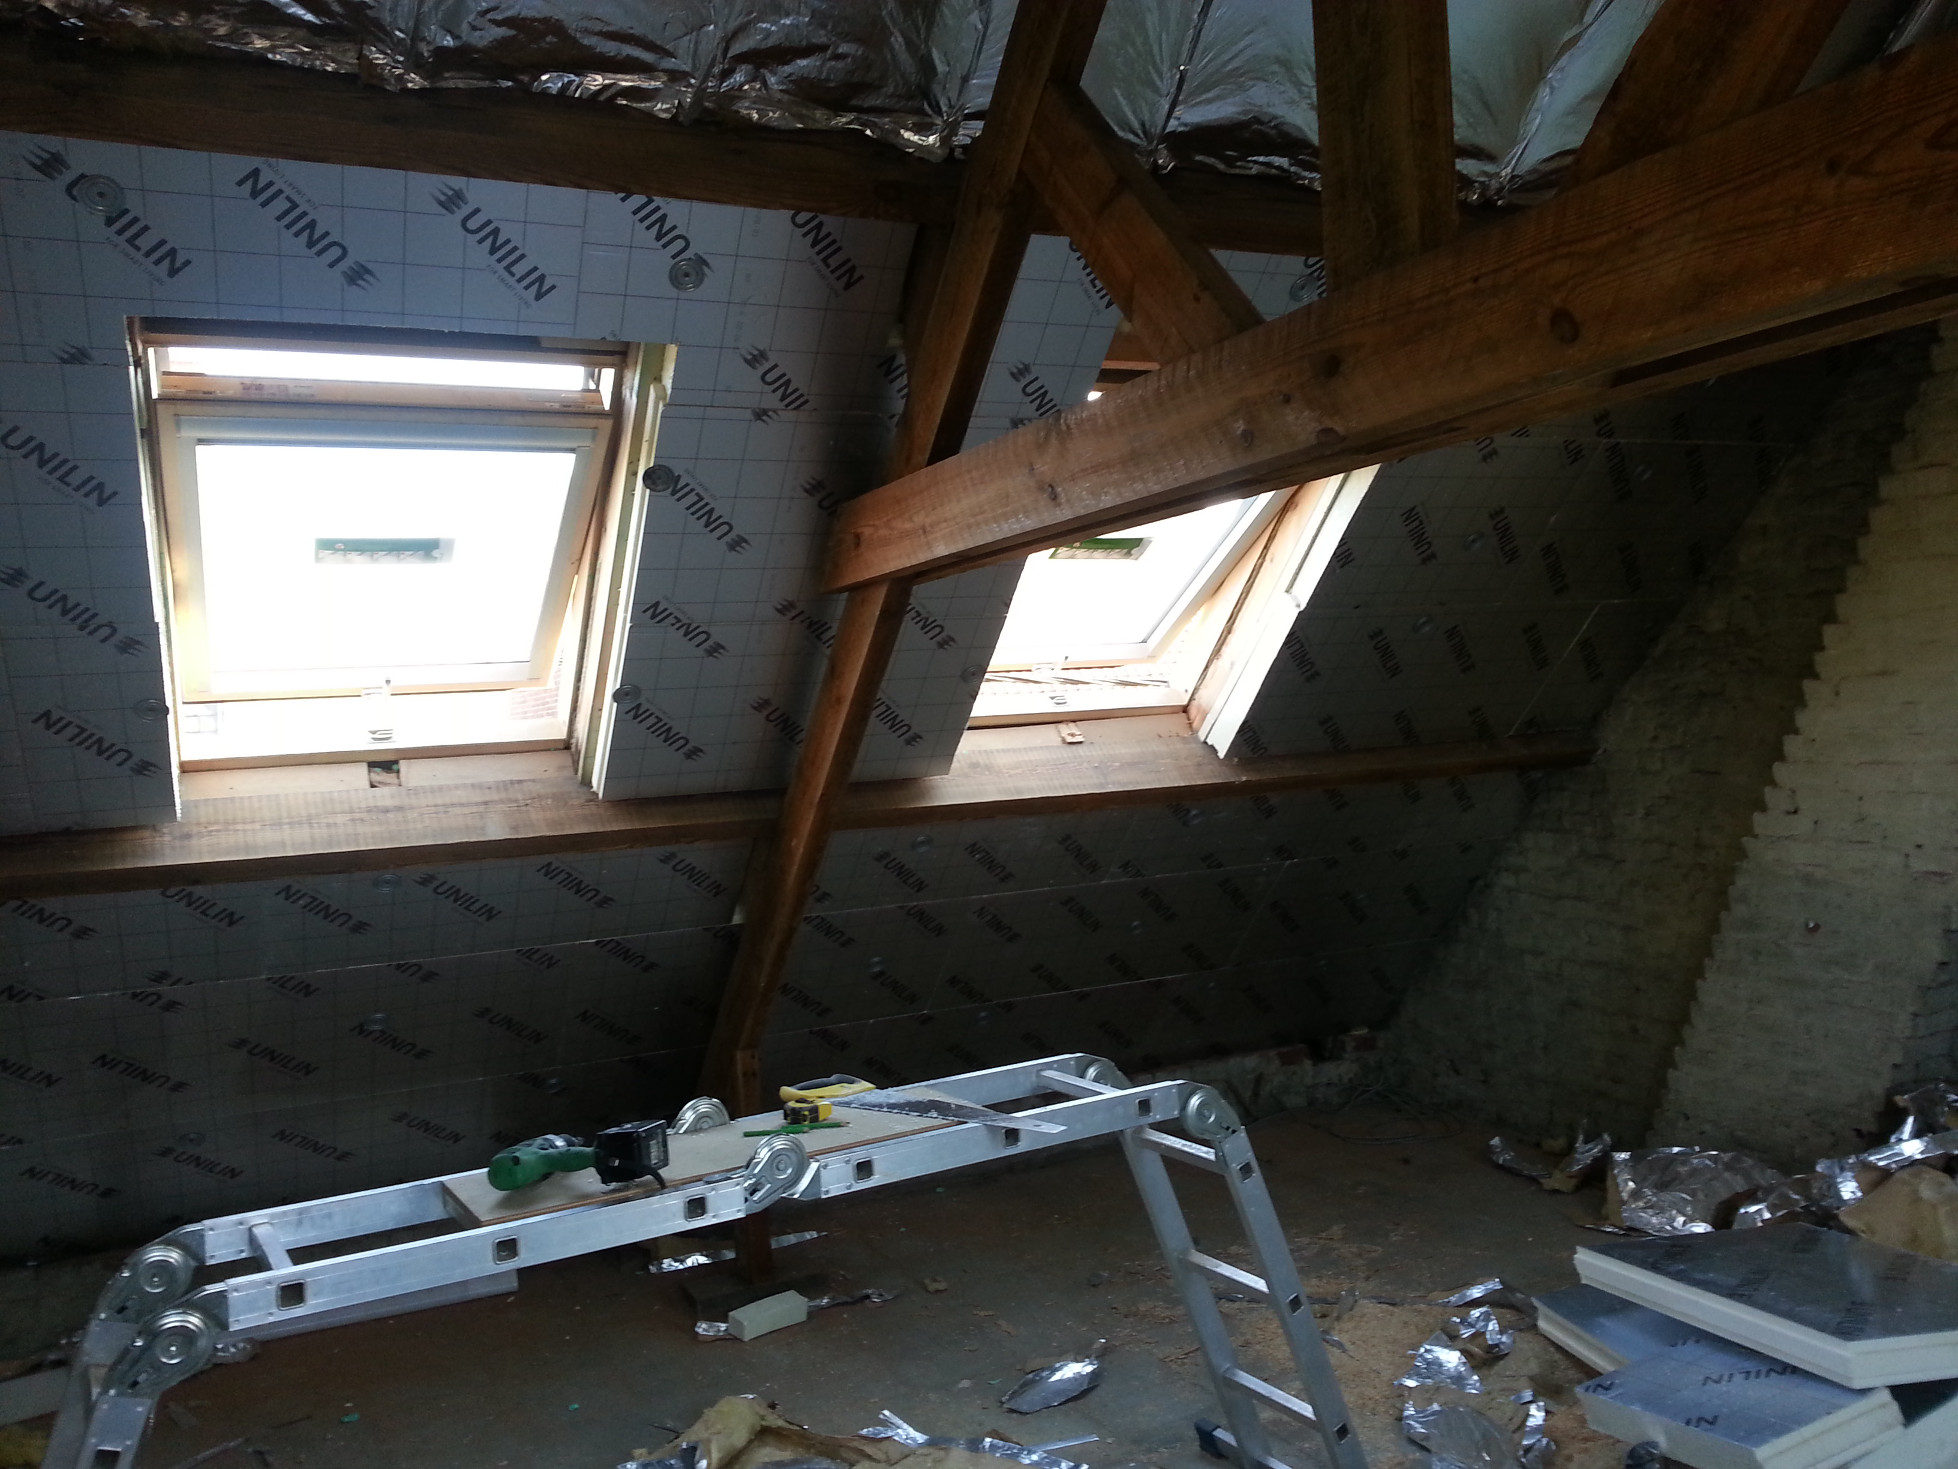
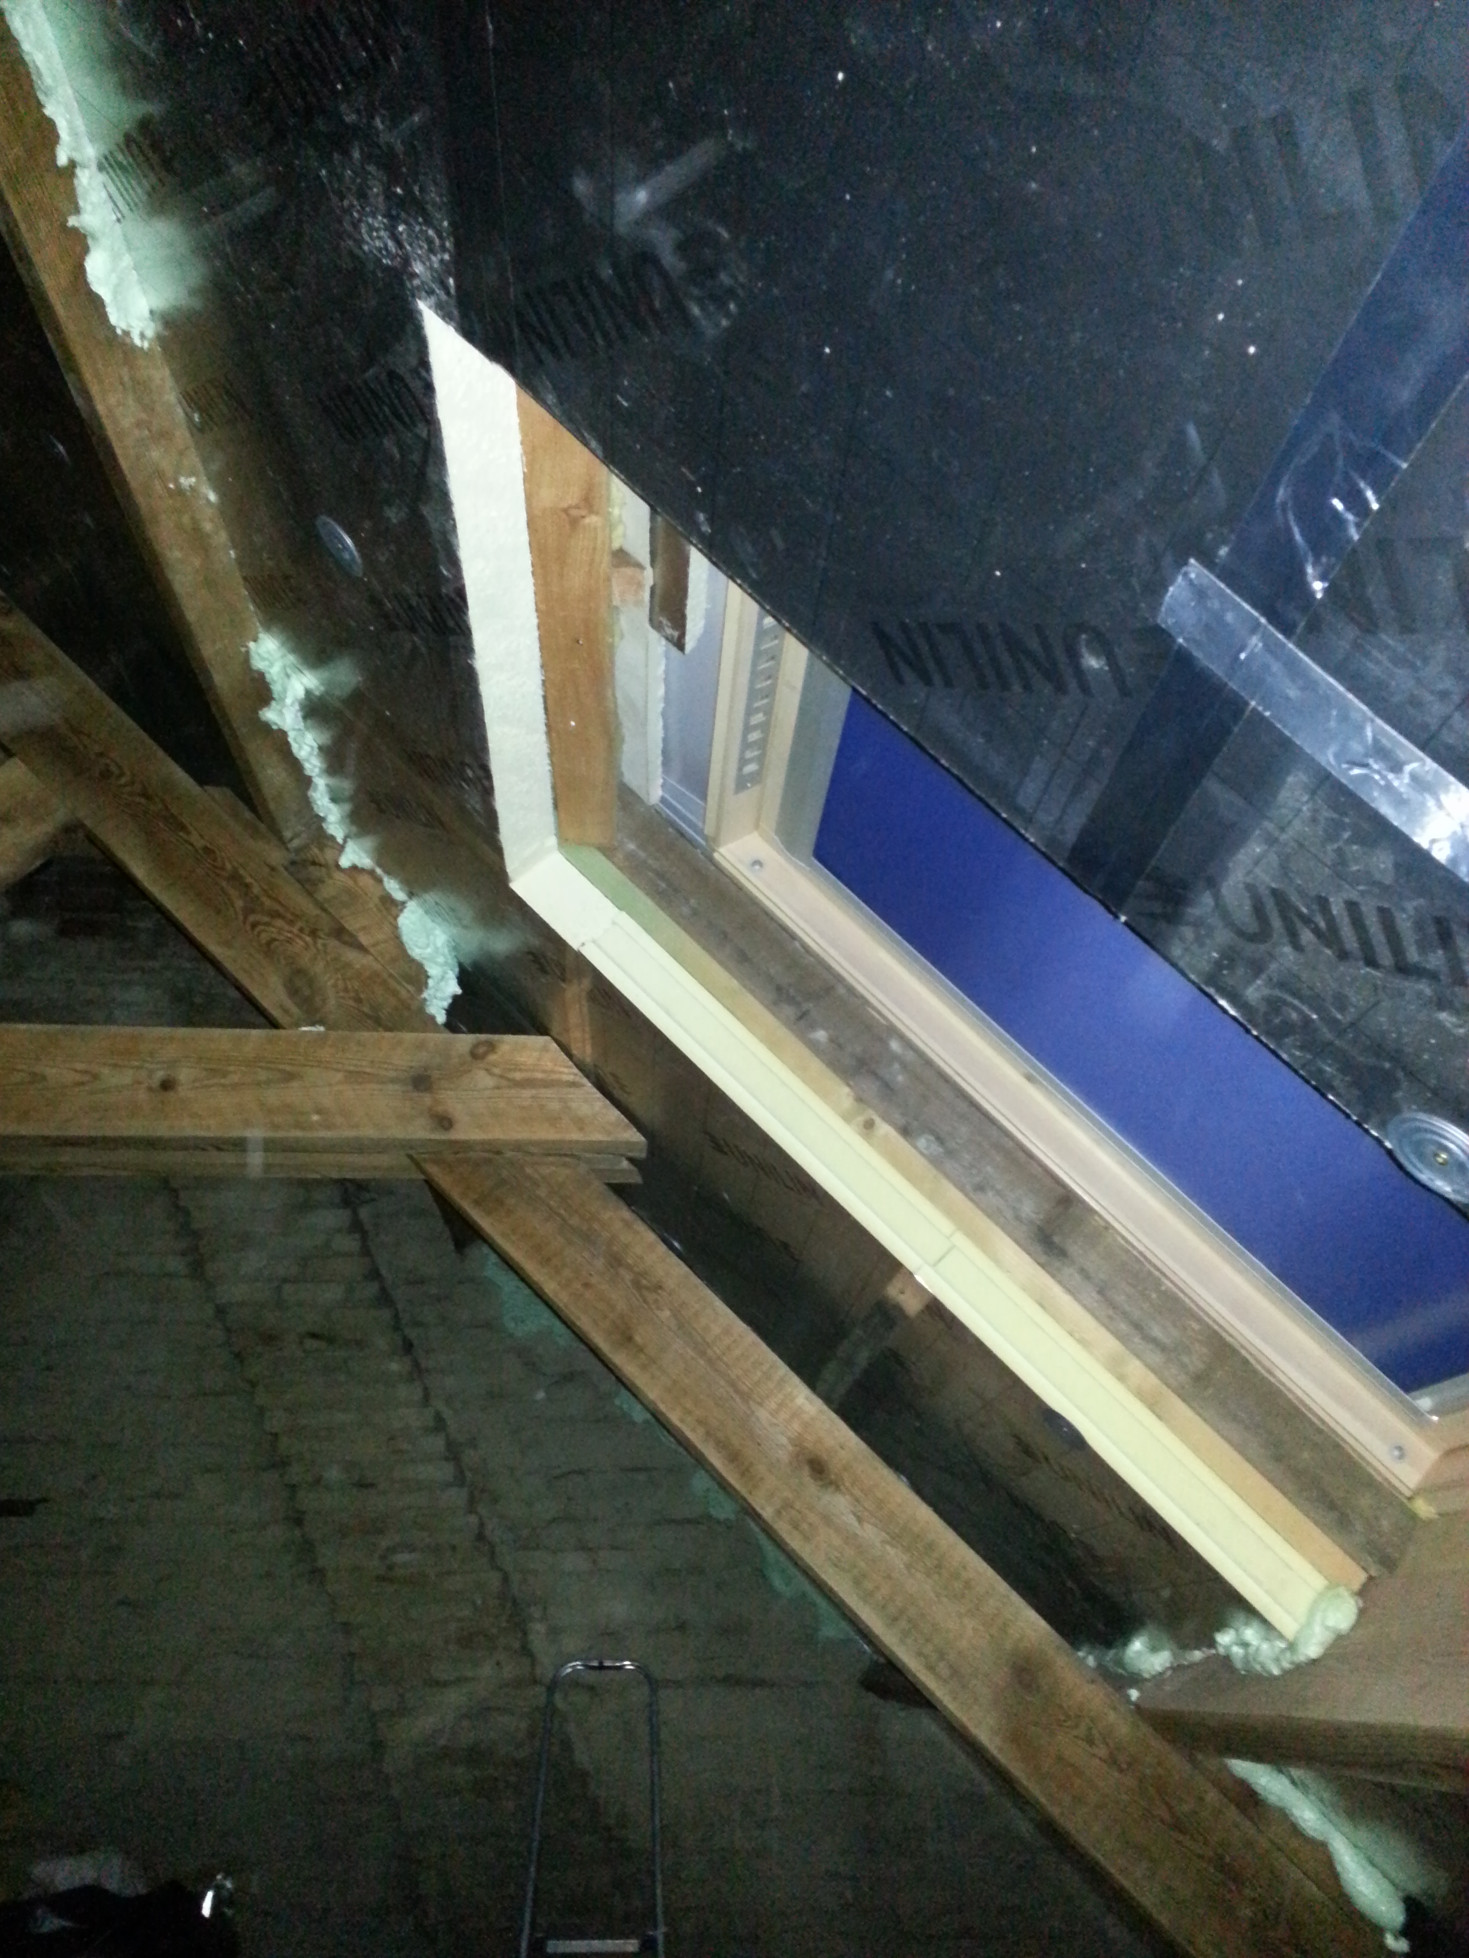
Two small roof windows of around 20cm by 30cm (8″ by 12″) will be replaced by four big windows (78cm by 140cm or 31″ by 55″). These allow for a well-lid bedroom so that it’s also possible to be used as a bureau. Velux is the best-known producer of roof windows. We have looked at a lot of different other brands and Fakro was our choice. It offers the same quality of windows but as it is less known, it’s just a hair cheaper to purchase. The reason we bought it because its standard way of opening is using a handle at the bottom of the window. Since we are placing the windows reasonably high, we disliked the top-opening Velux.
 Oorspronkelijke zolder

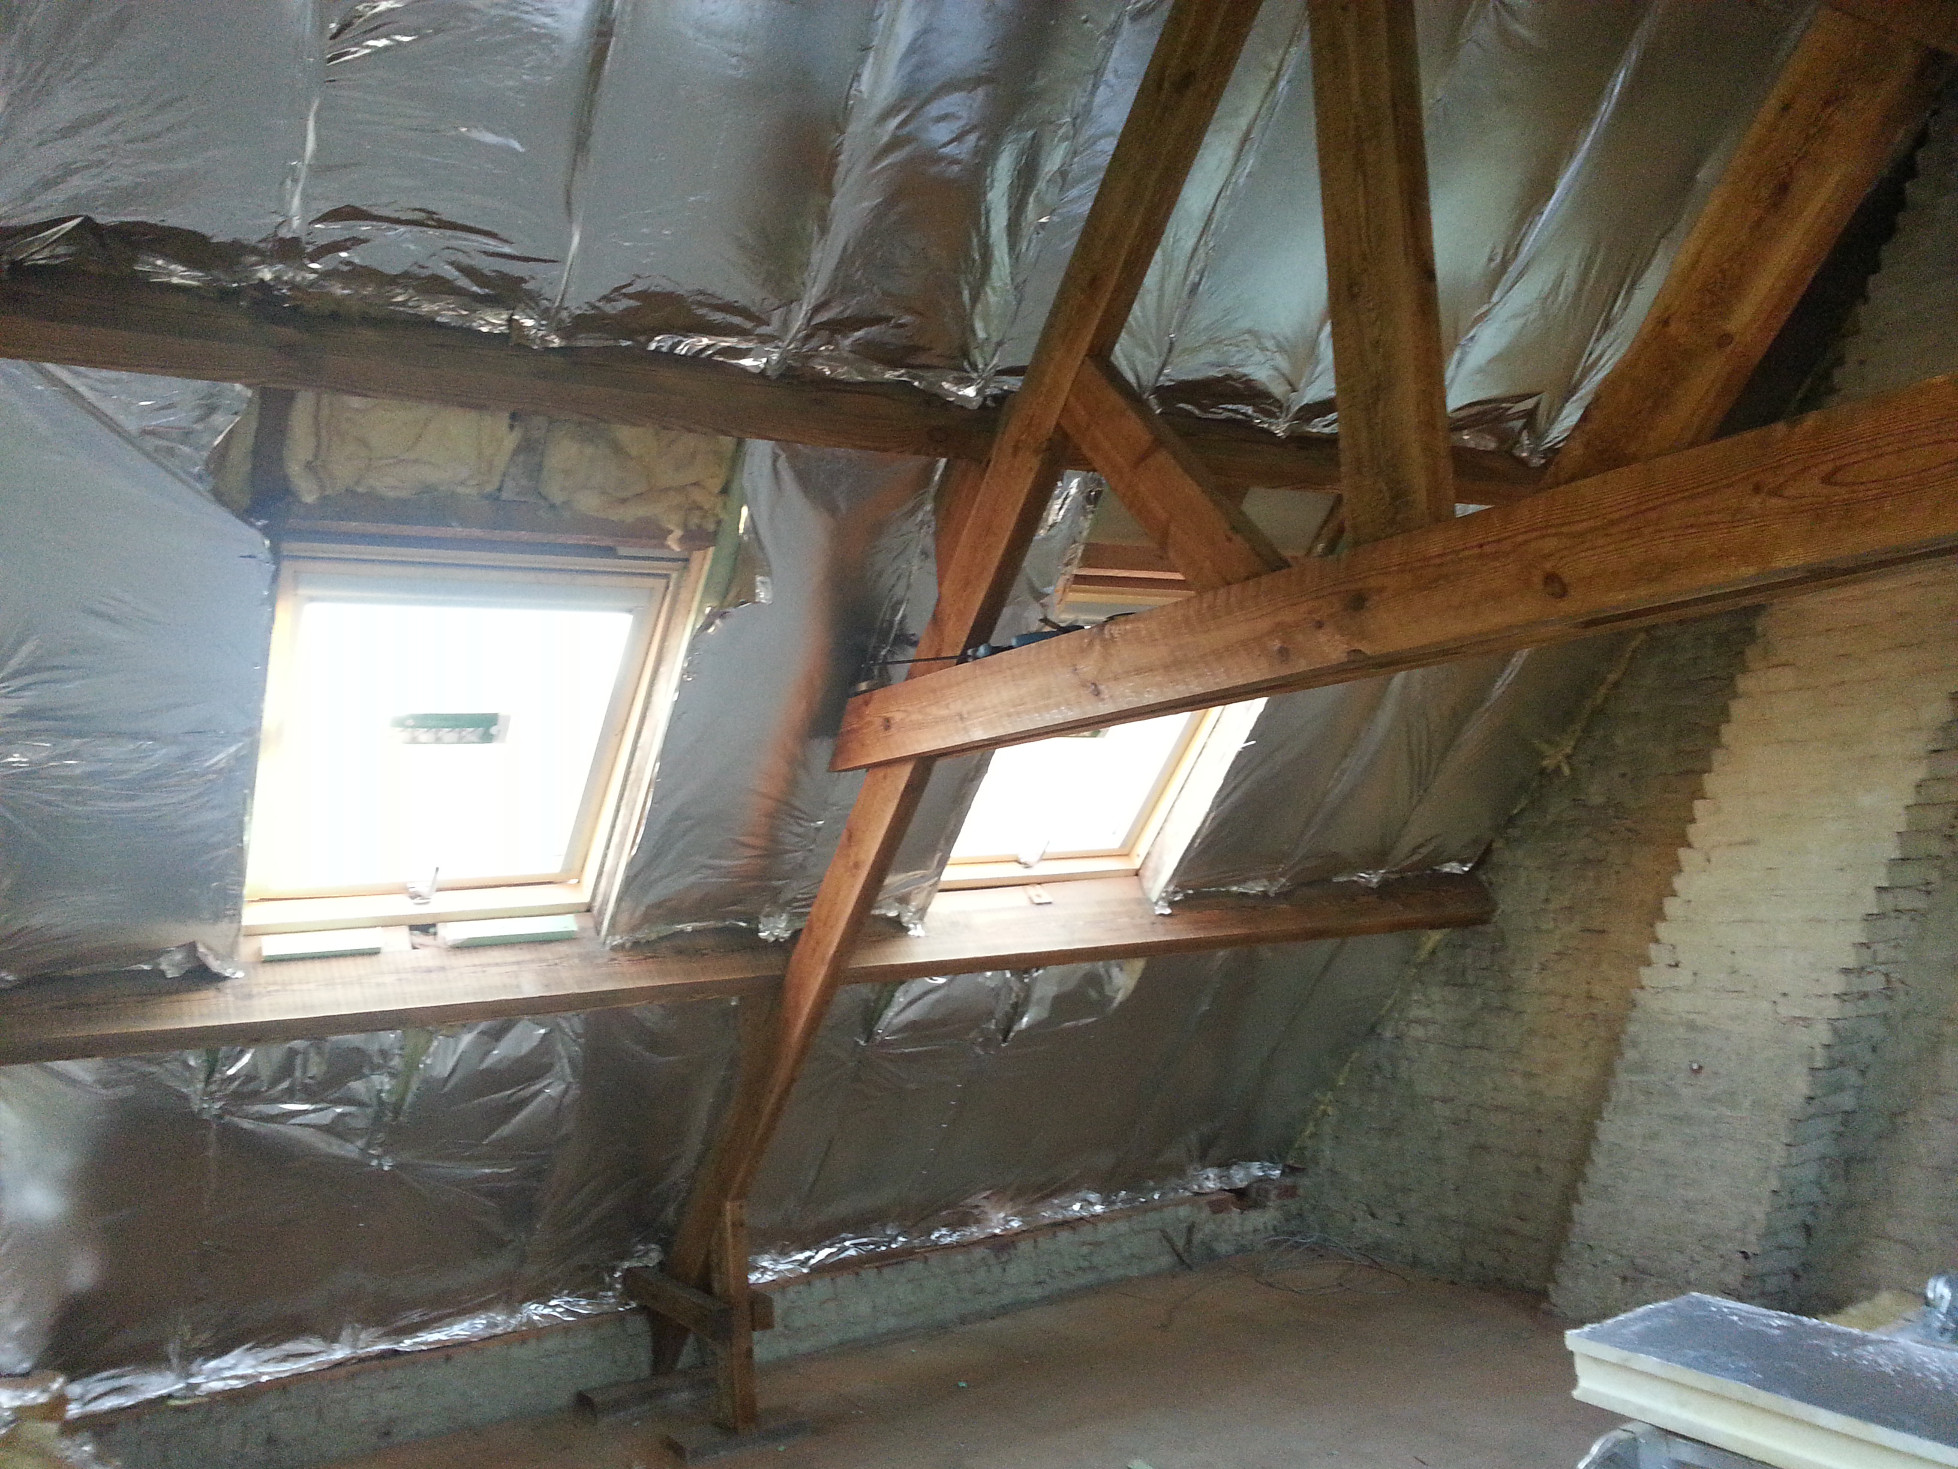

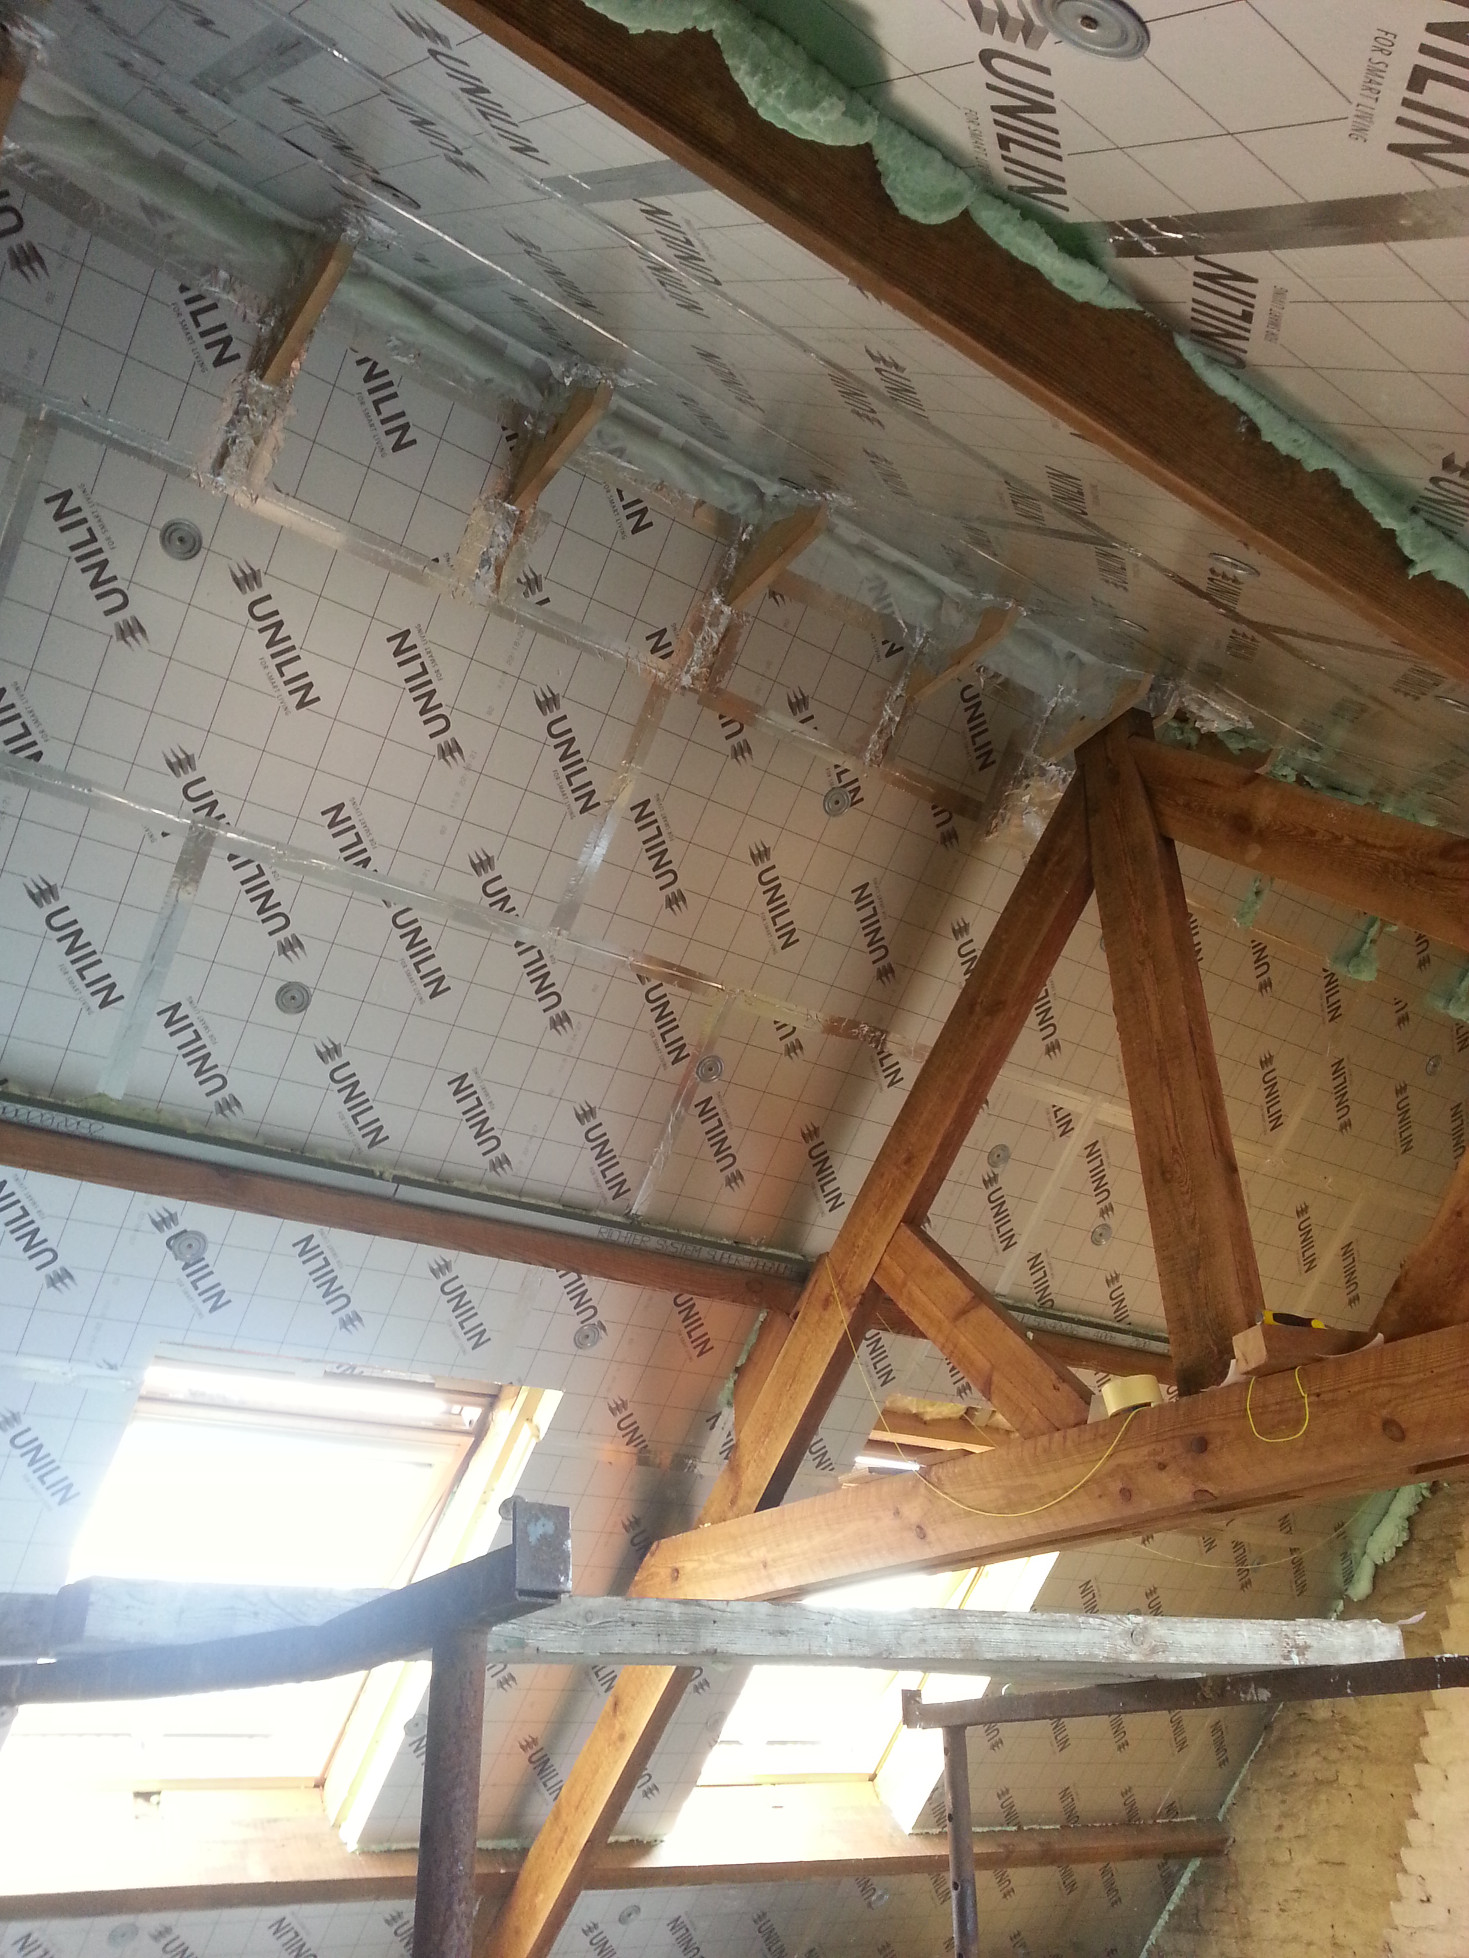
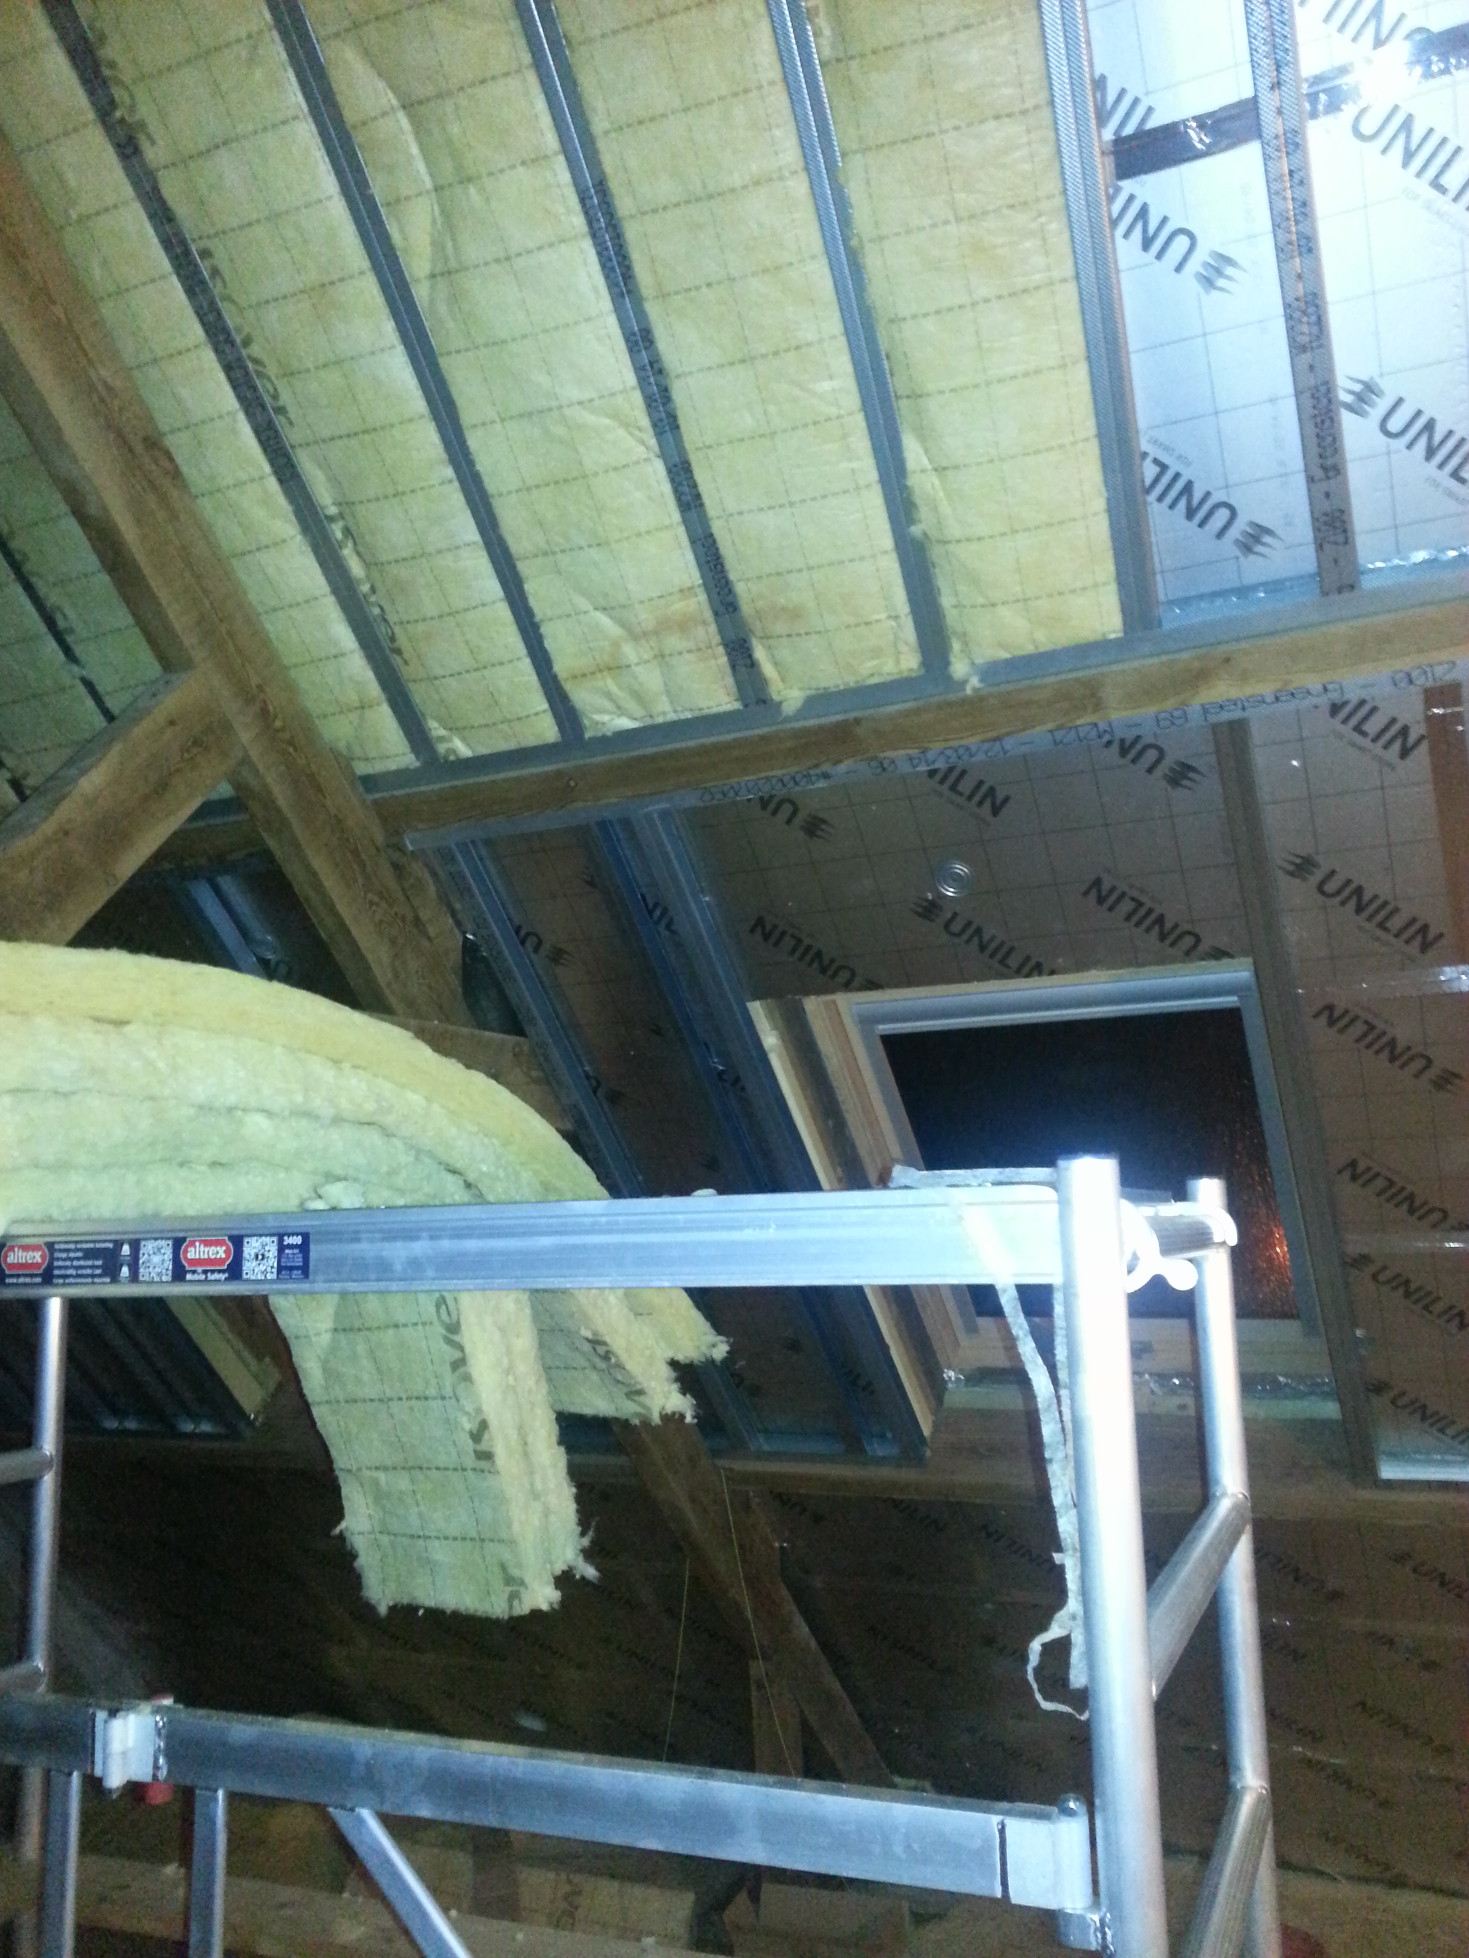
Insulation
We eventually want to insulate the entire building to an above-standard level. With this in mind we are giving the roof a nice thick coat. Next to the 12cm (4.7″) glass wool between the vertical studs, we put 8cm (3.15″) of PUR on top of the studs. We put a steel construction in between the horizontal studs for the sheet-rock to hang on to. The steel construction allows for an extra 6cm (2.4″) of glass wool. This gives us an equivalent total of 30cm (11.8″) glass wool insulation.


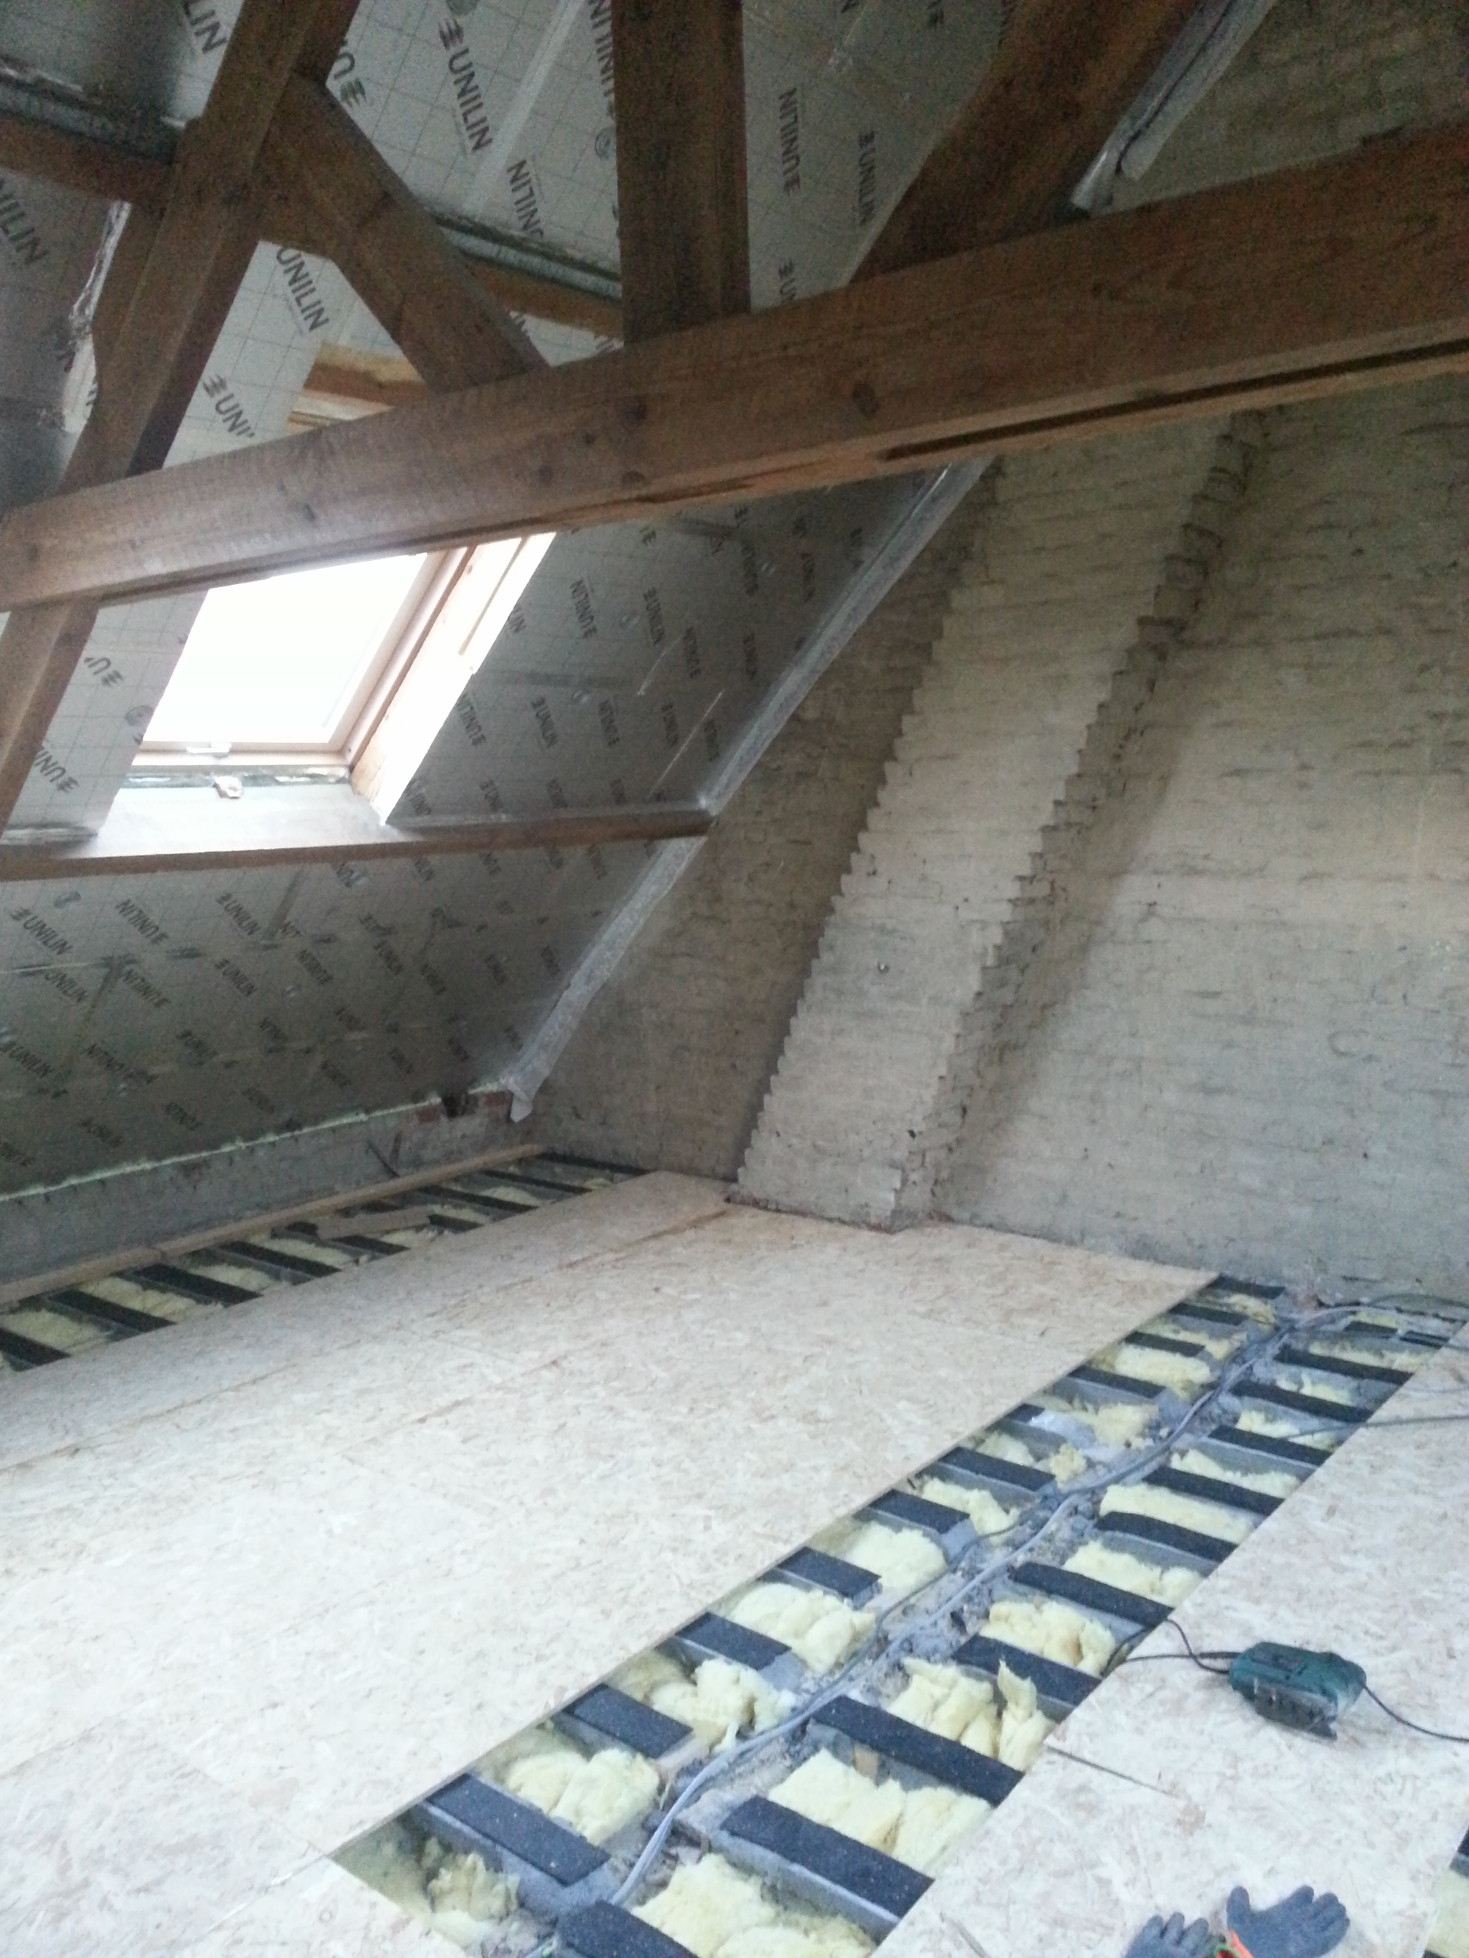
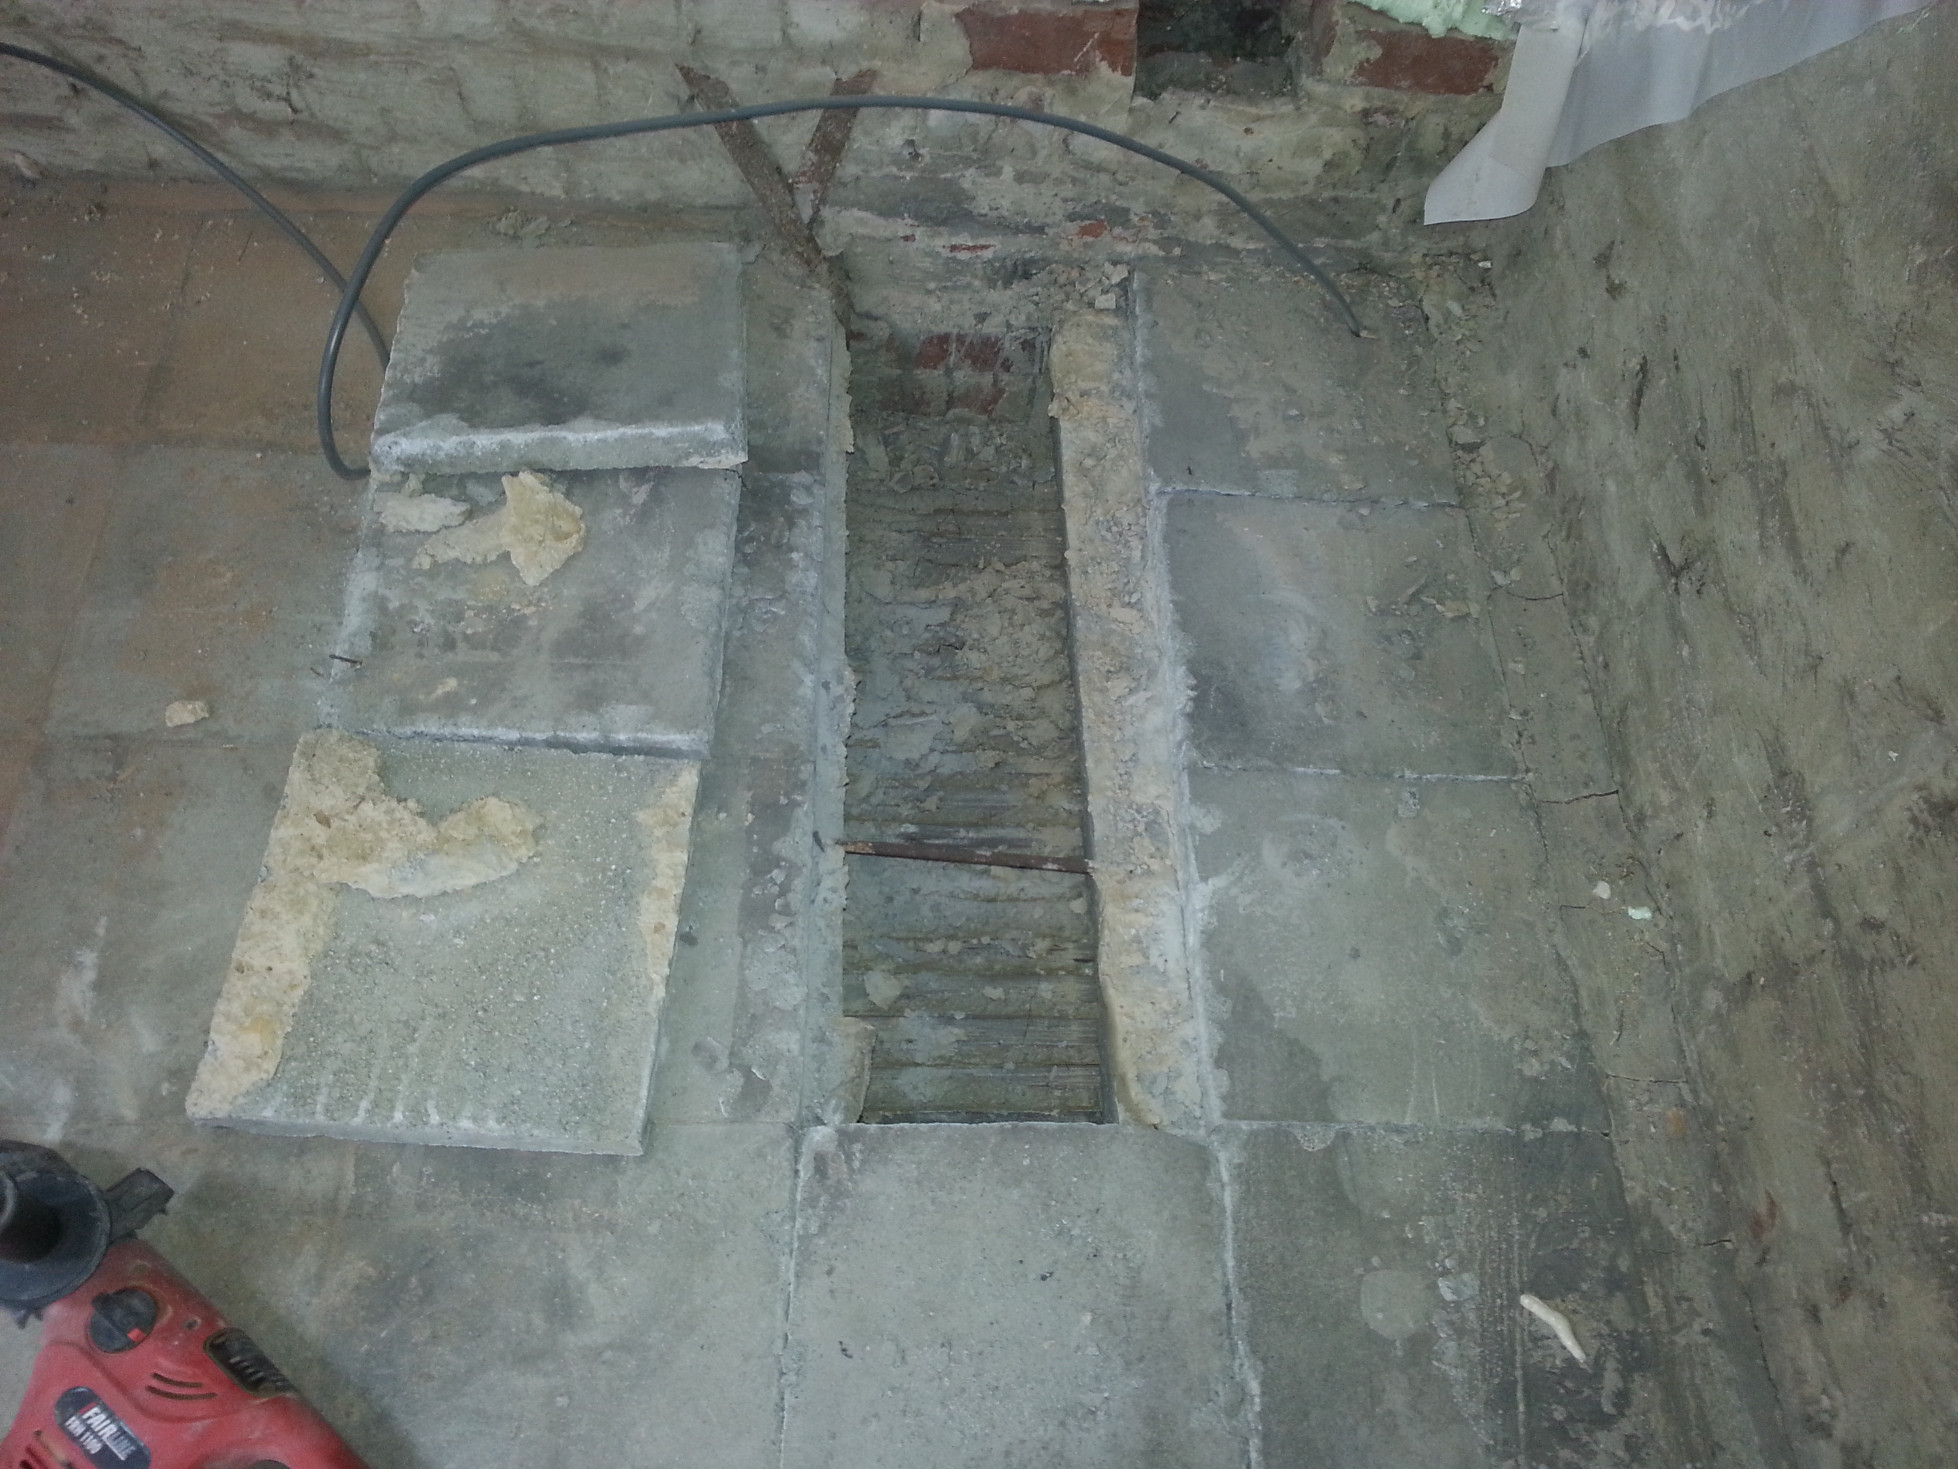
Renovating the attic floor structure
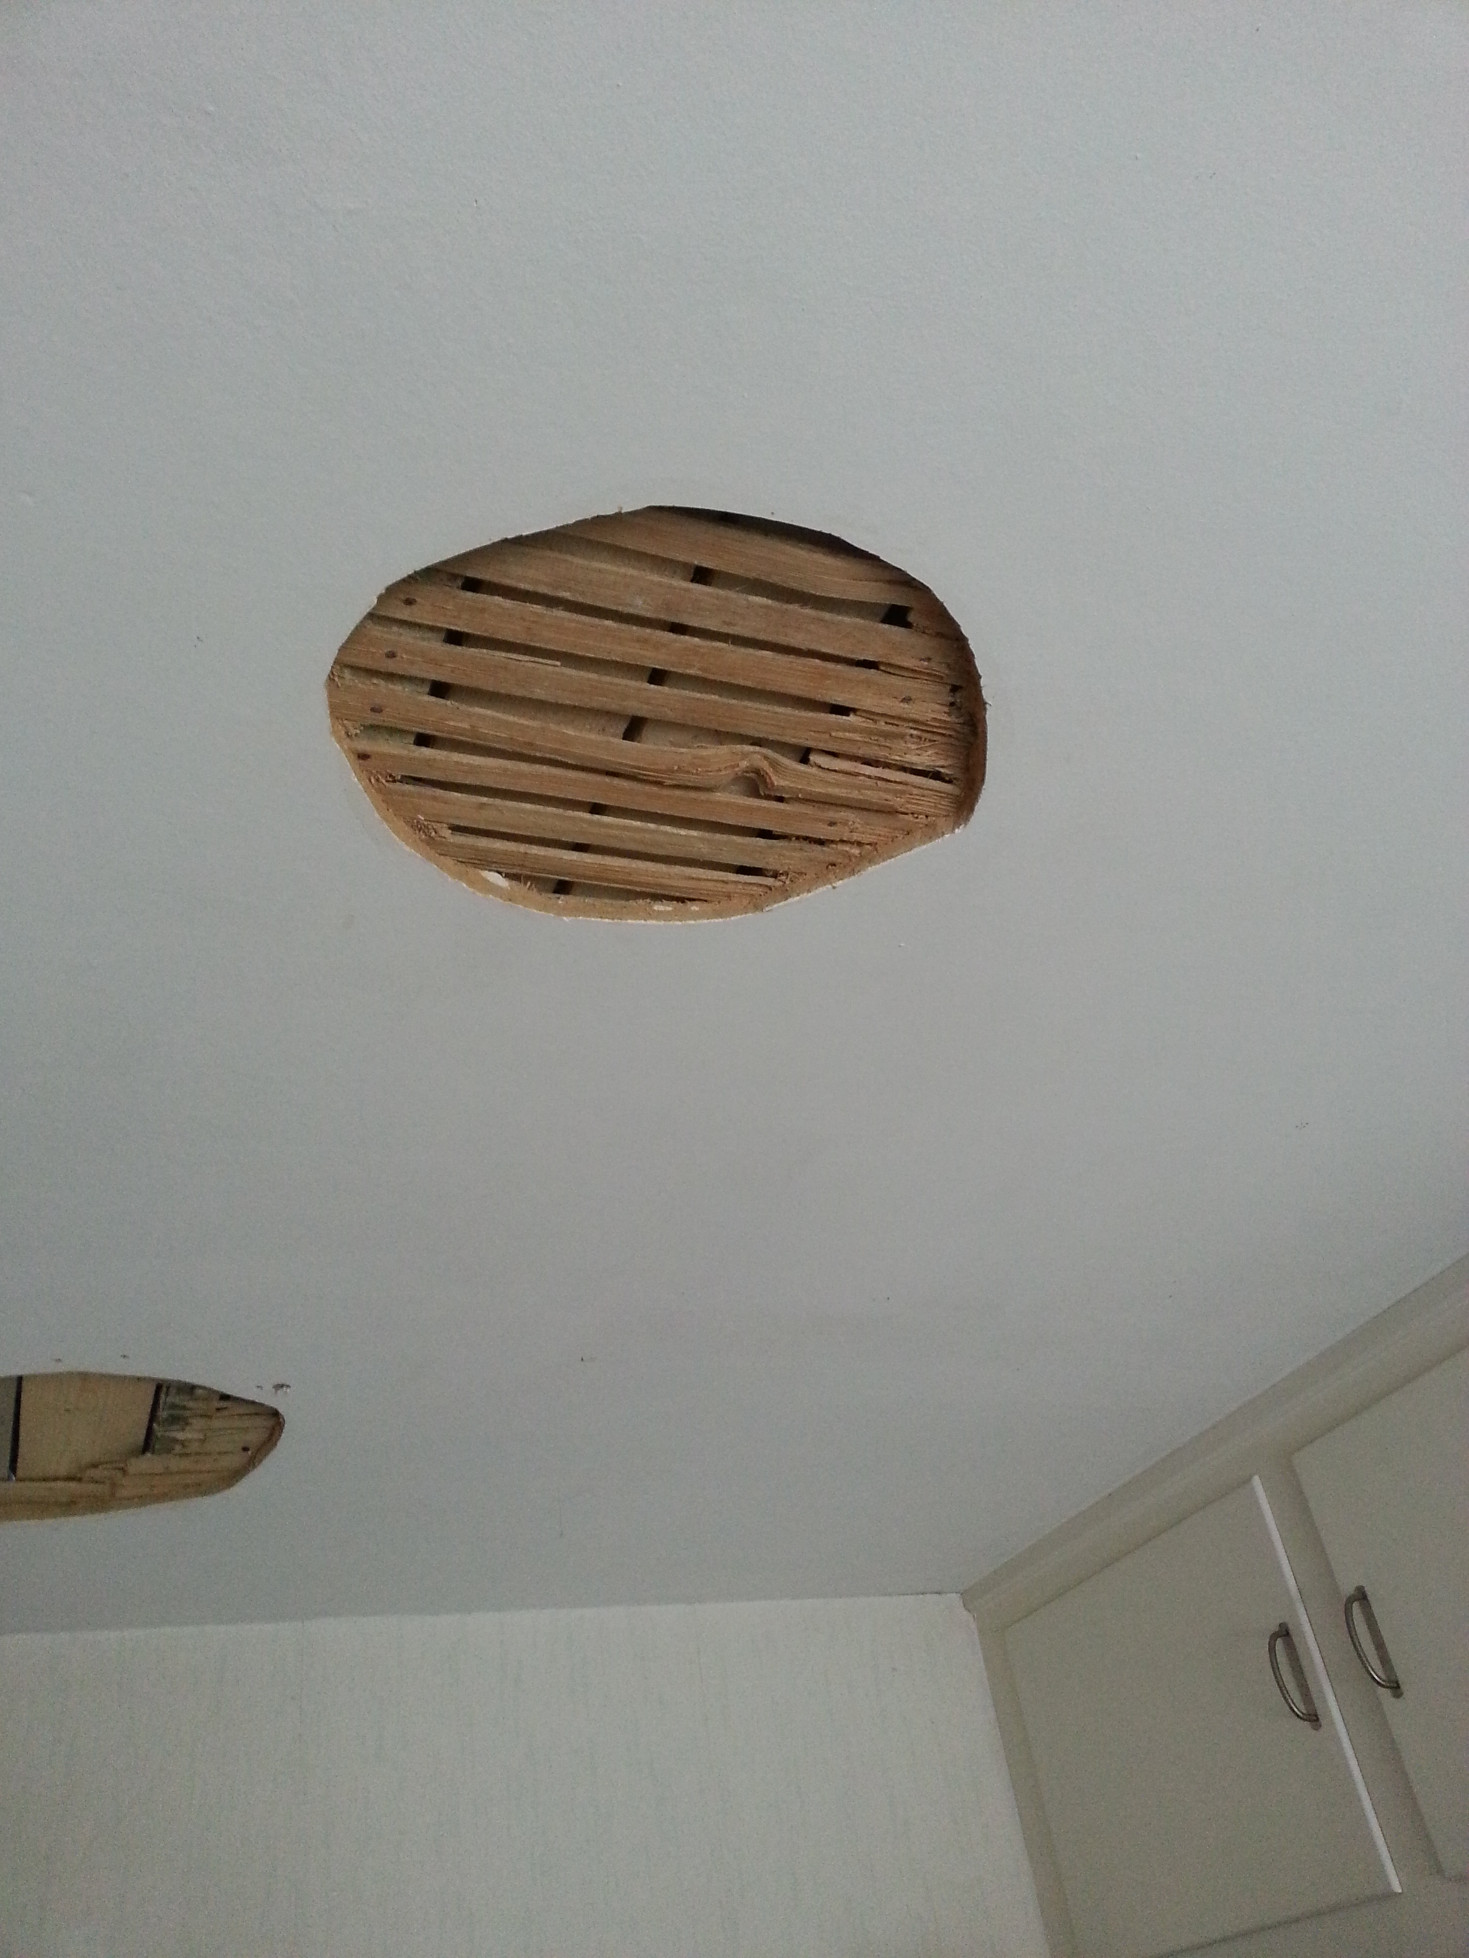
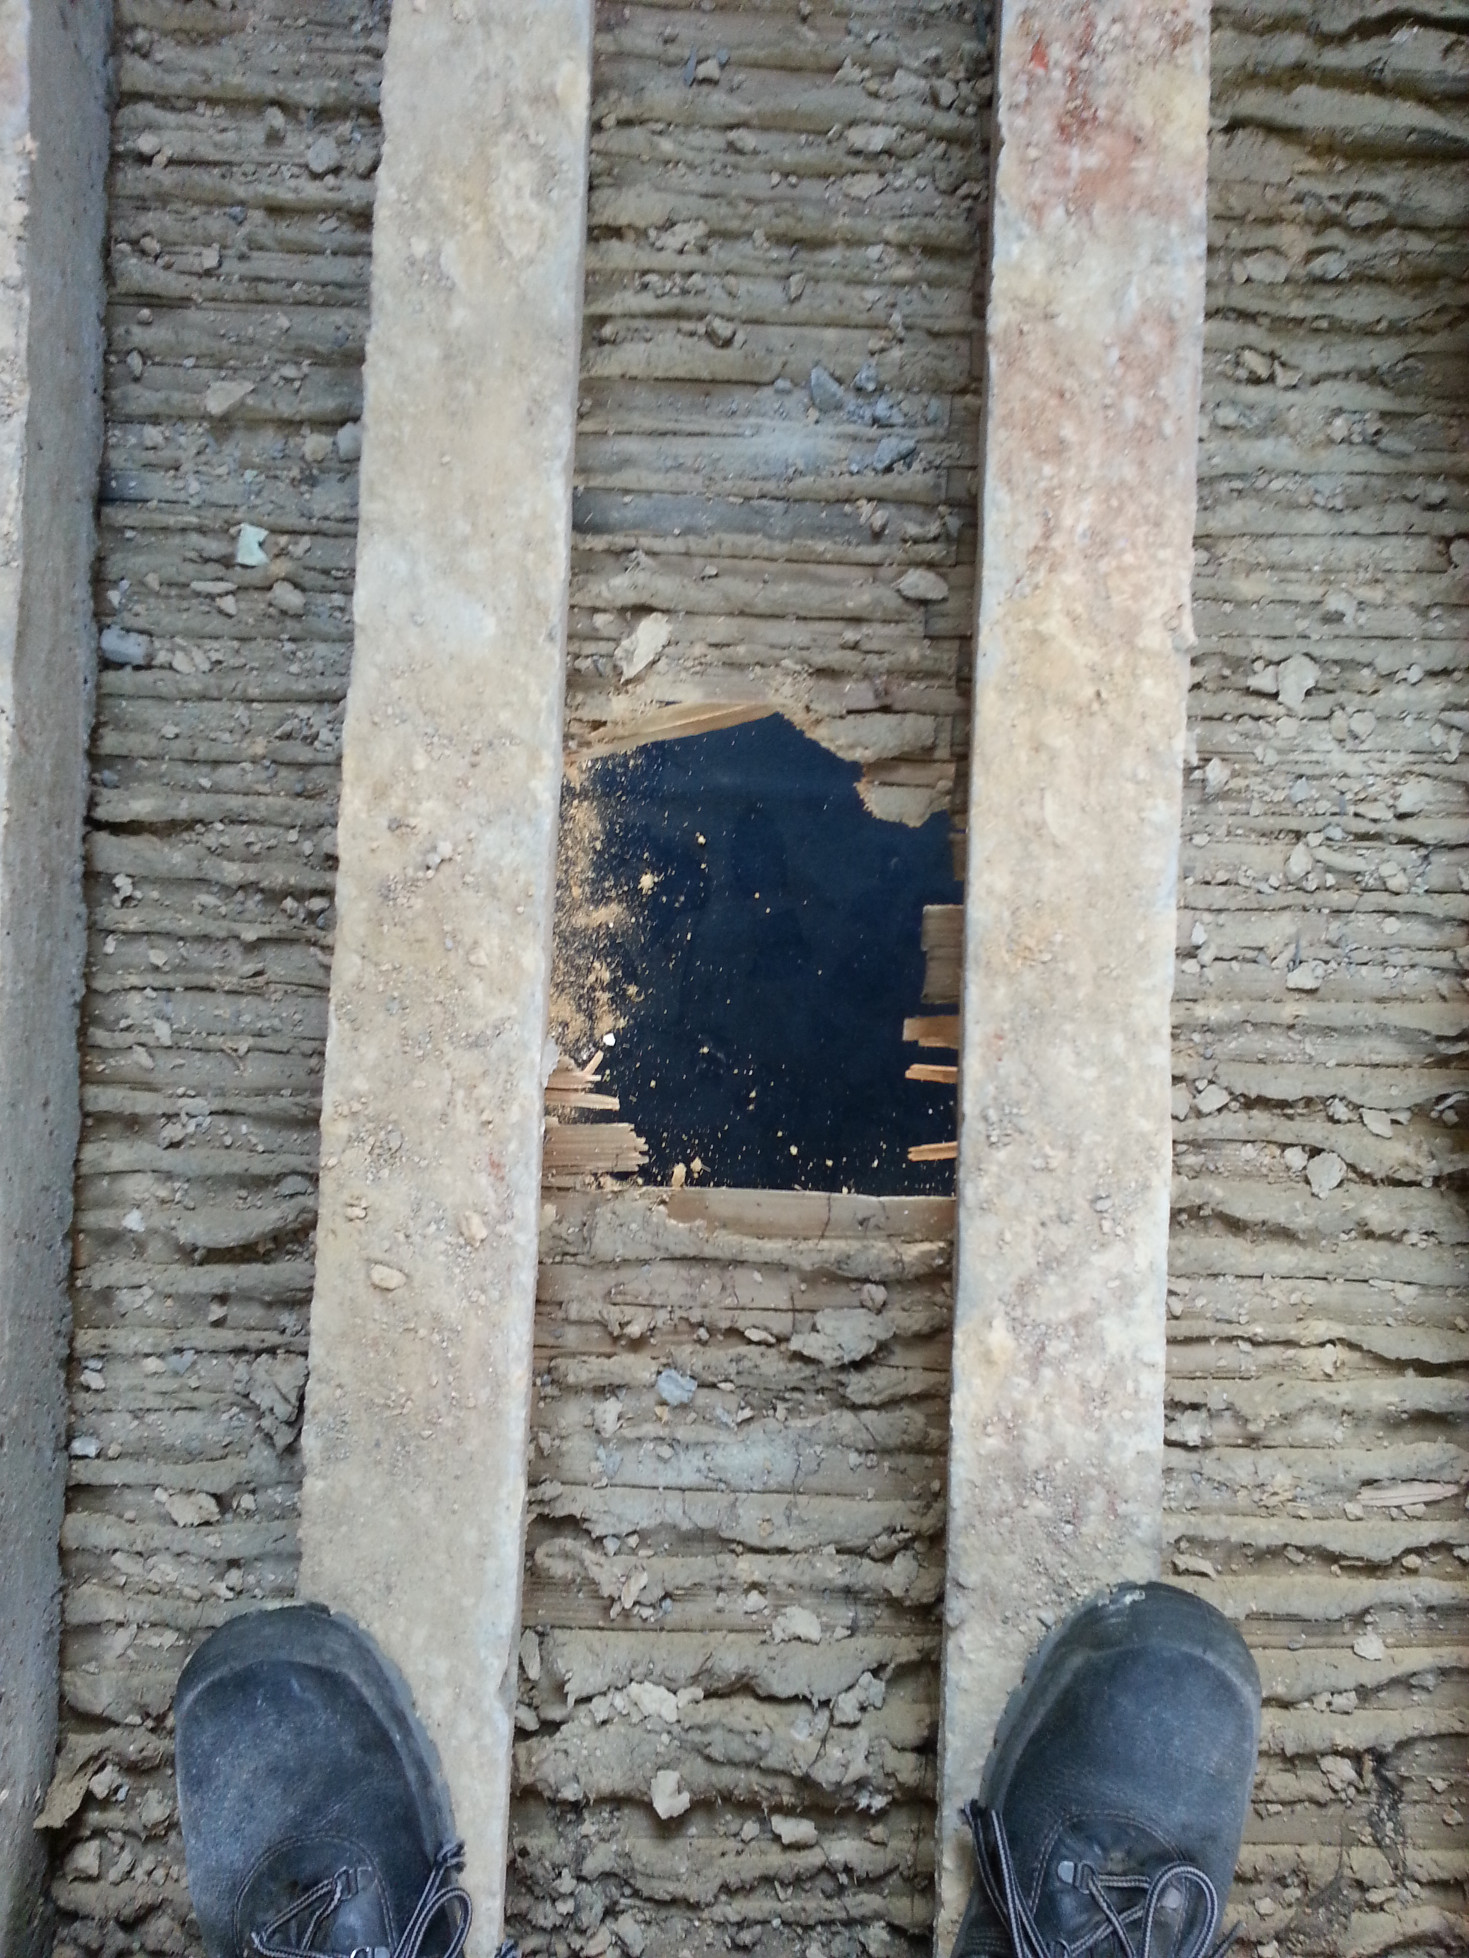
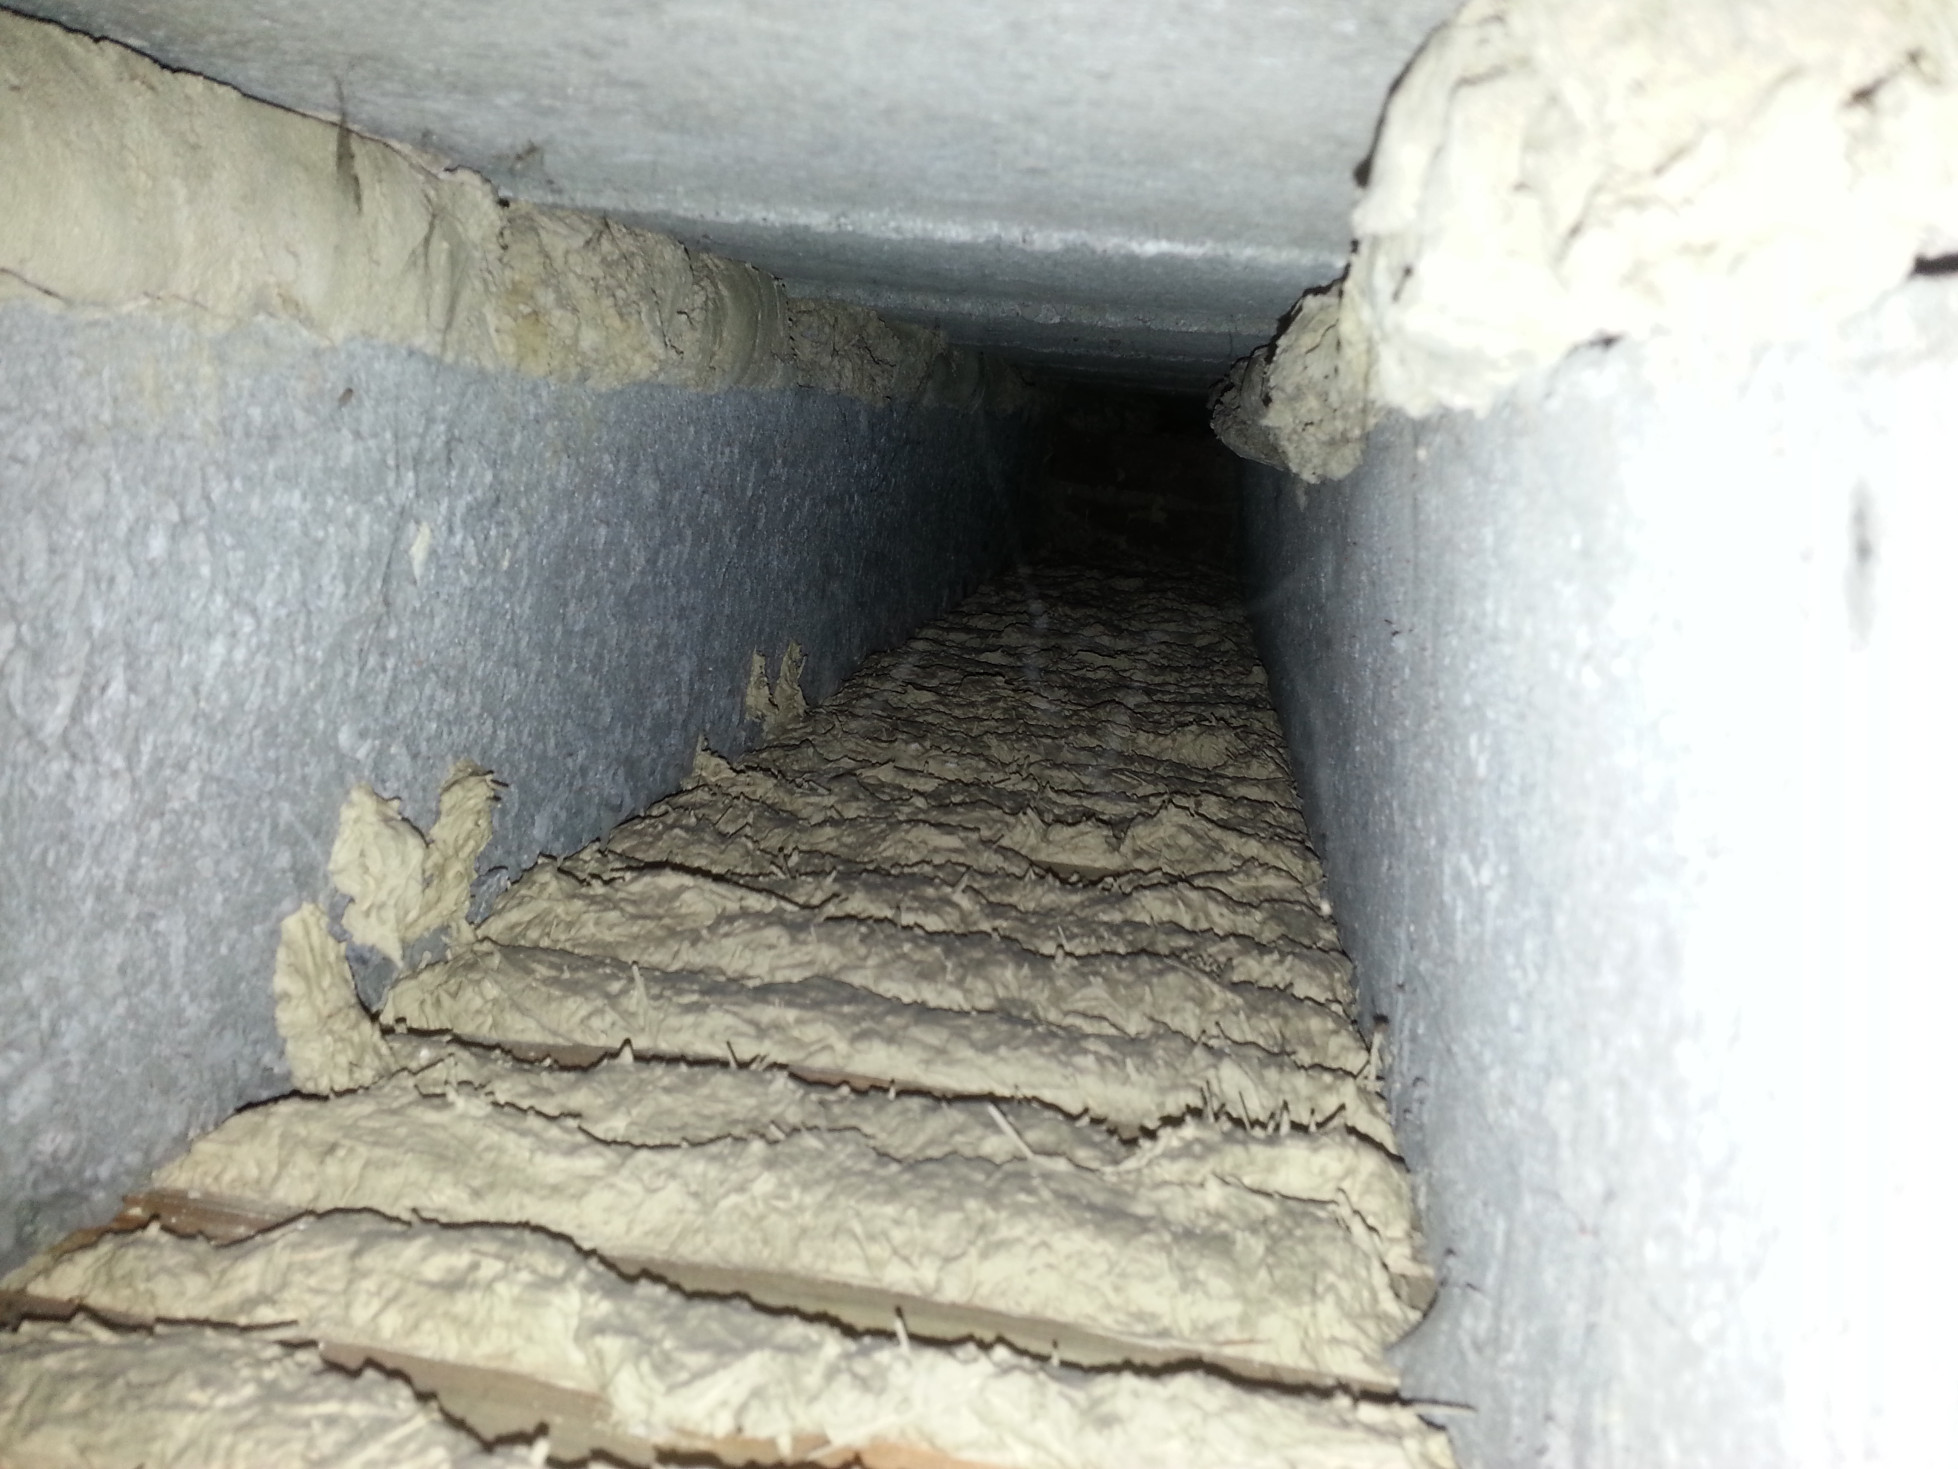
The attic didn’t have electrical wires or heating pipes so we were looking to insert them. The floor consisted of very badly laid-out concrete tiles. We removed a couple of them to see what was beneath them (concrete or screed). Screed would have been our favourite material to make a groove for the pipes. What we got was a big surprise. The floor construction consists of undersized concrete beams with the concrete tiles. There wasn’t even a concrete sub floor as is standard over here.
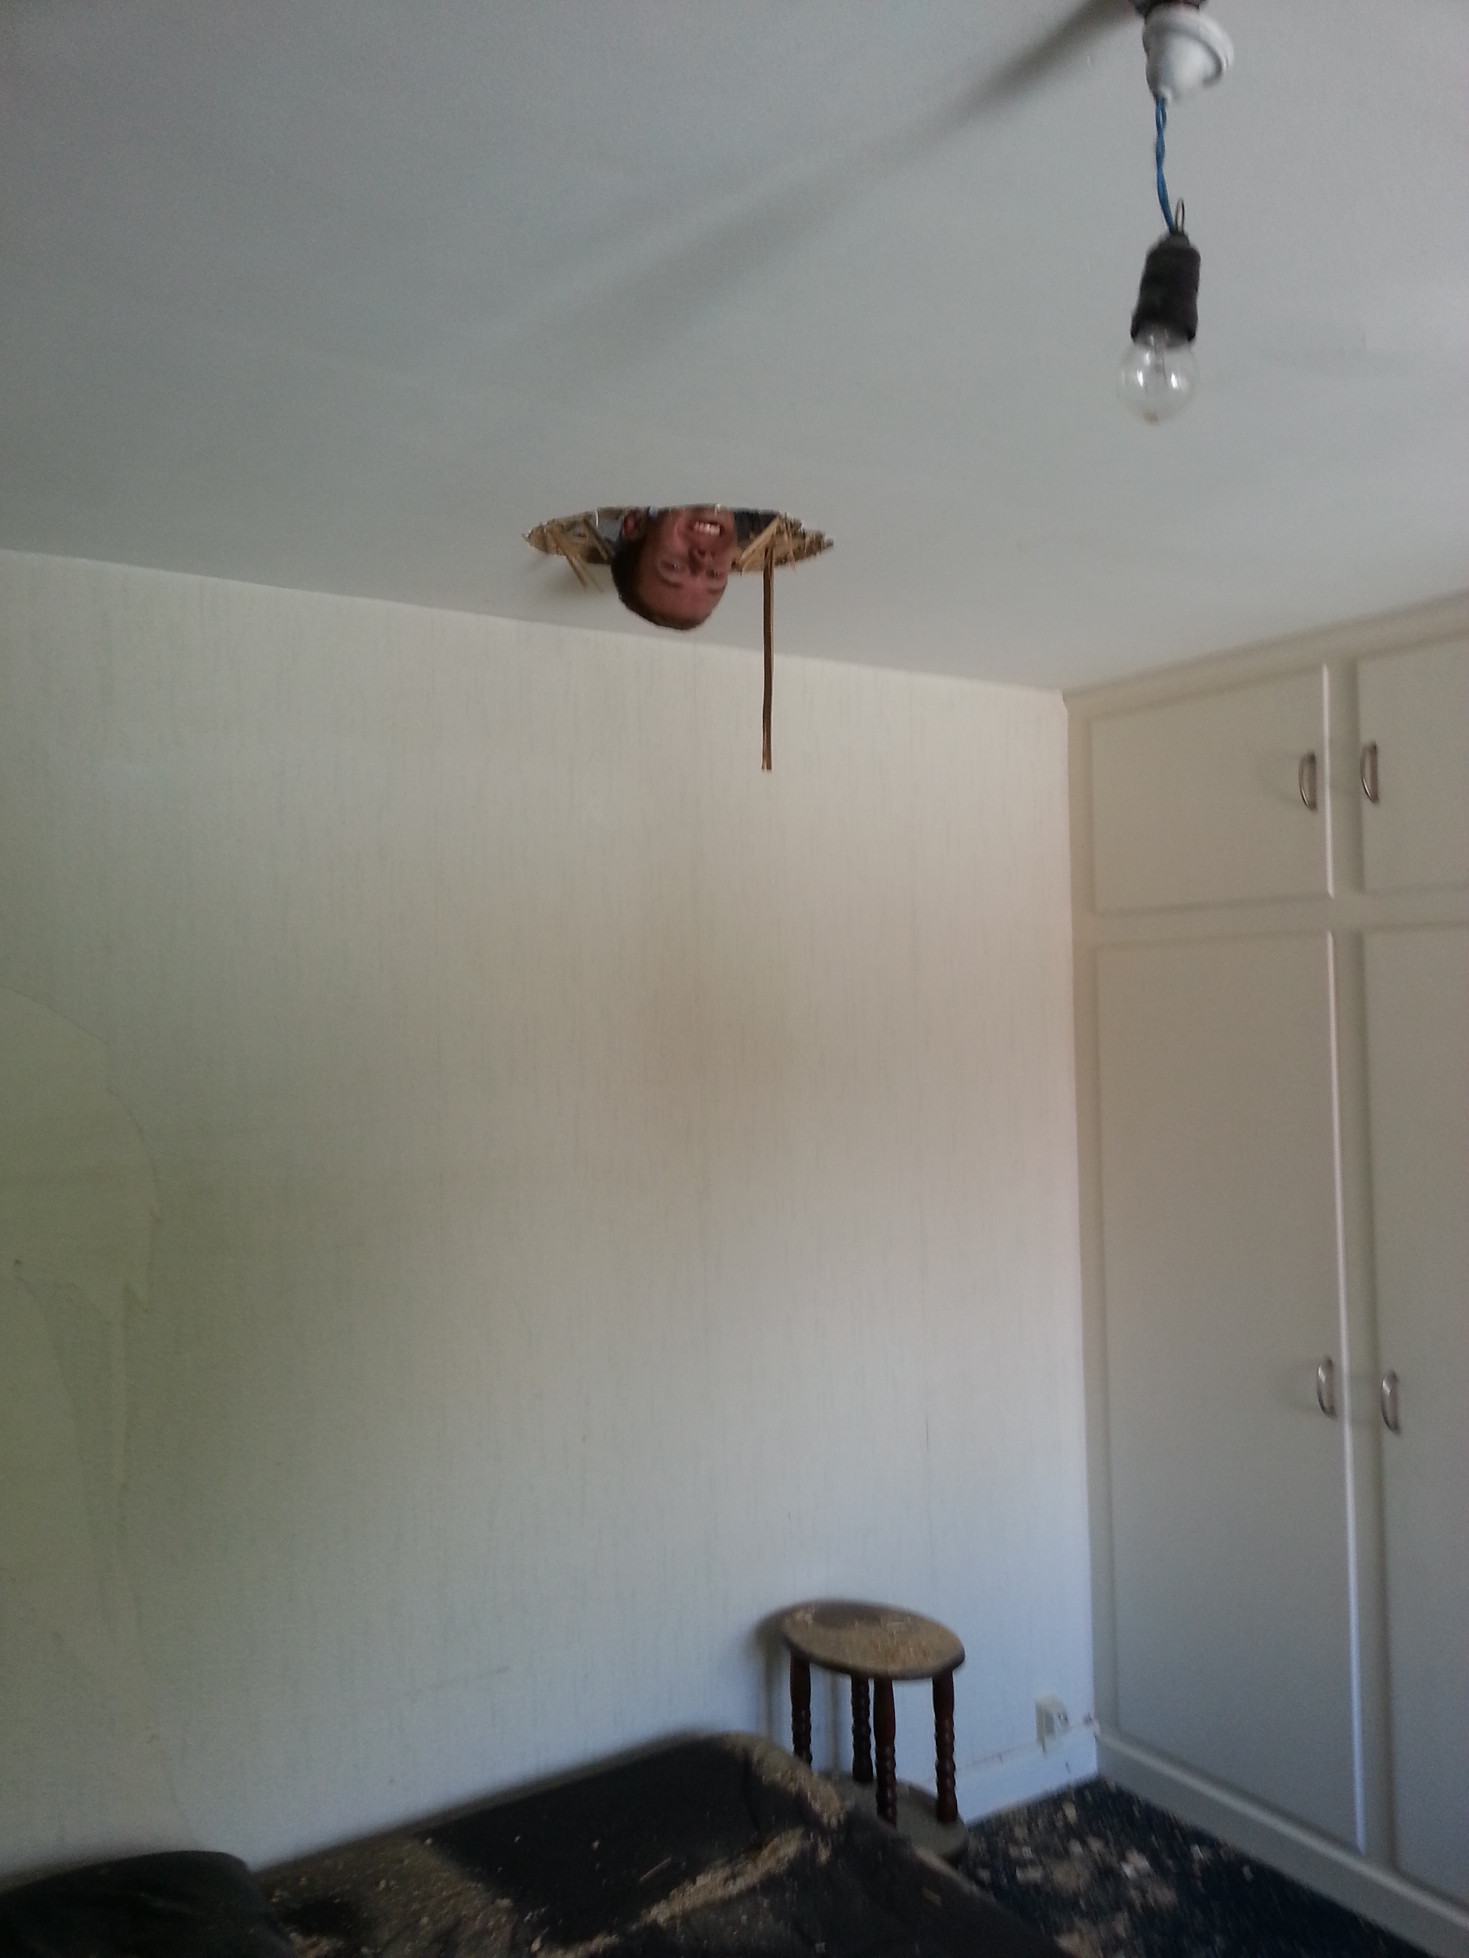
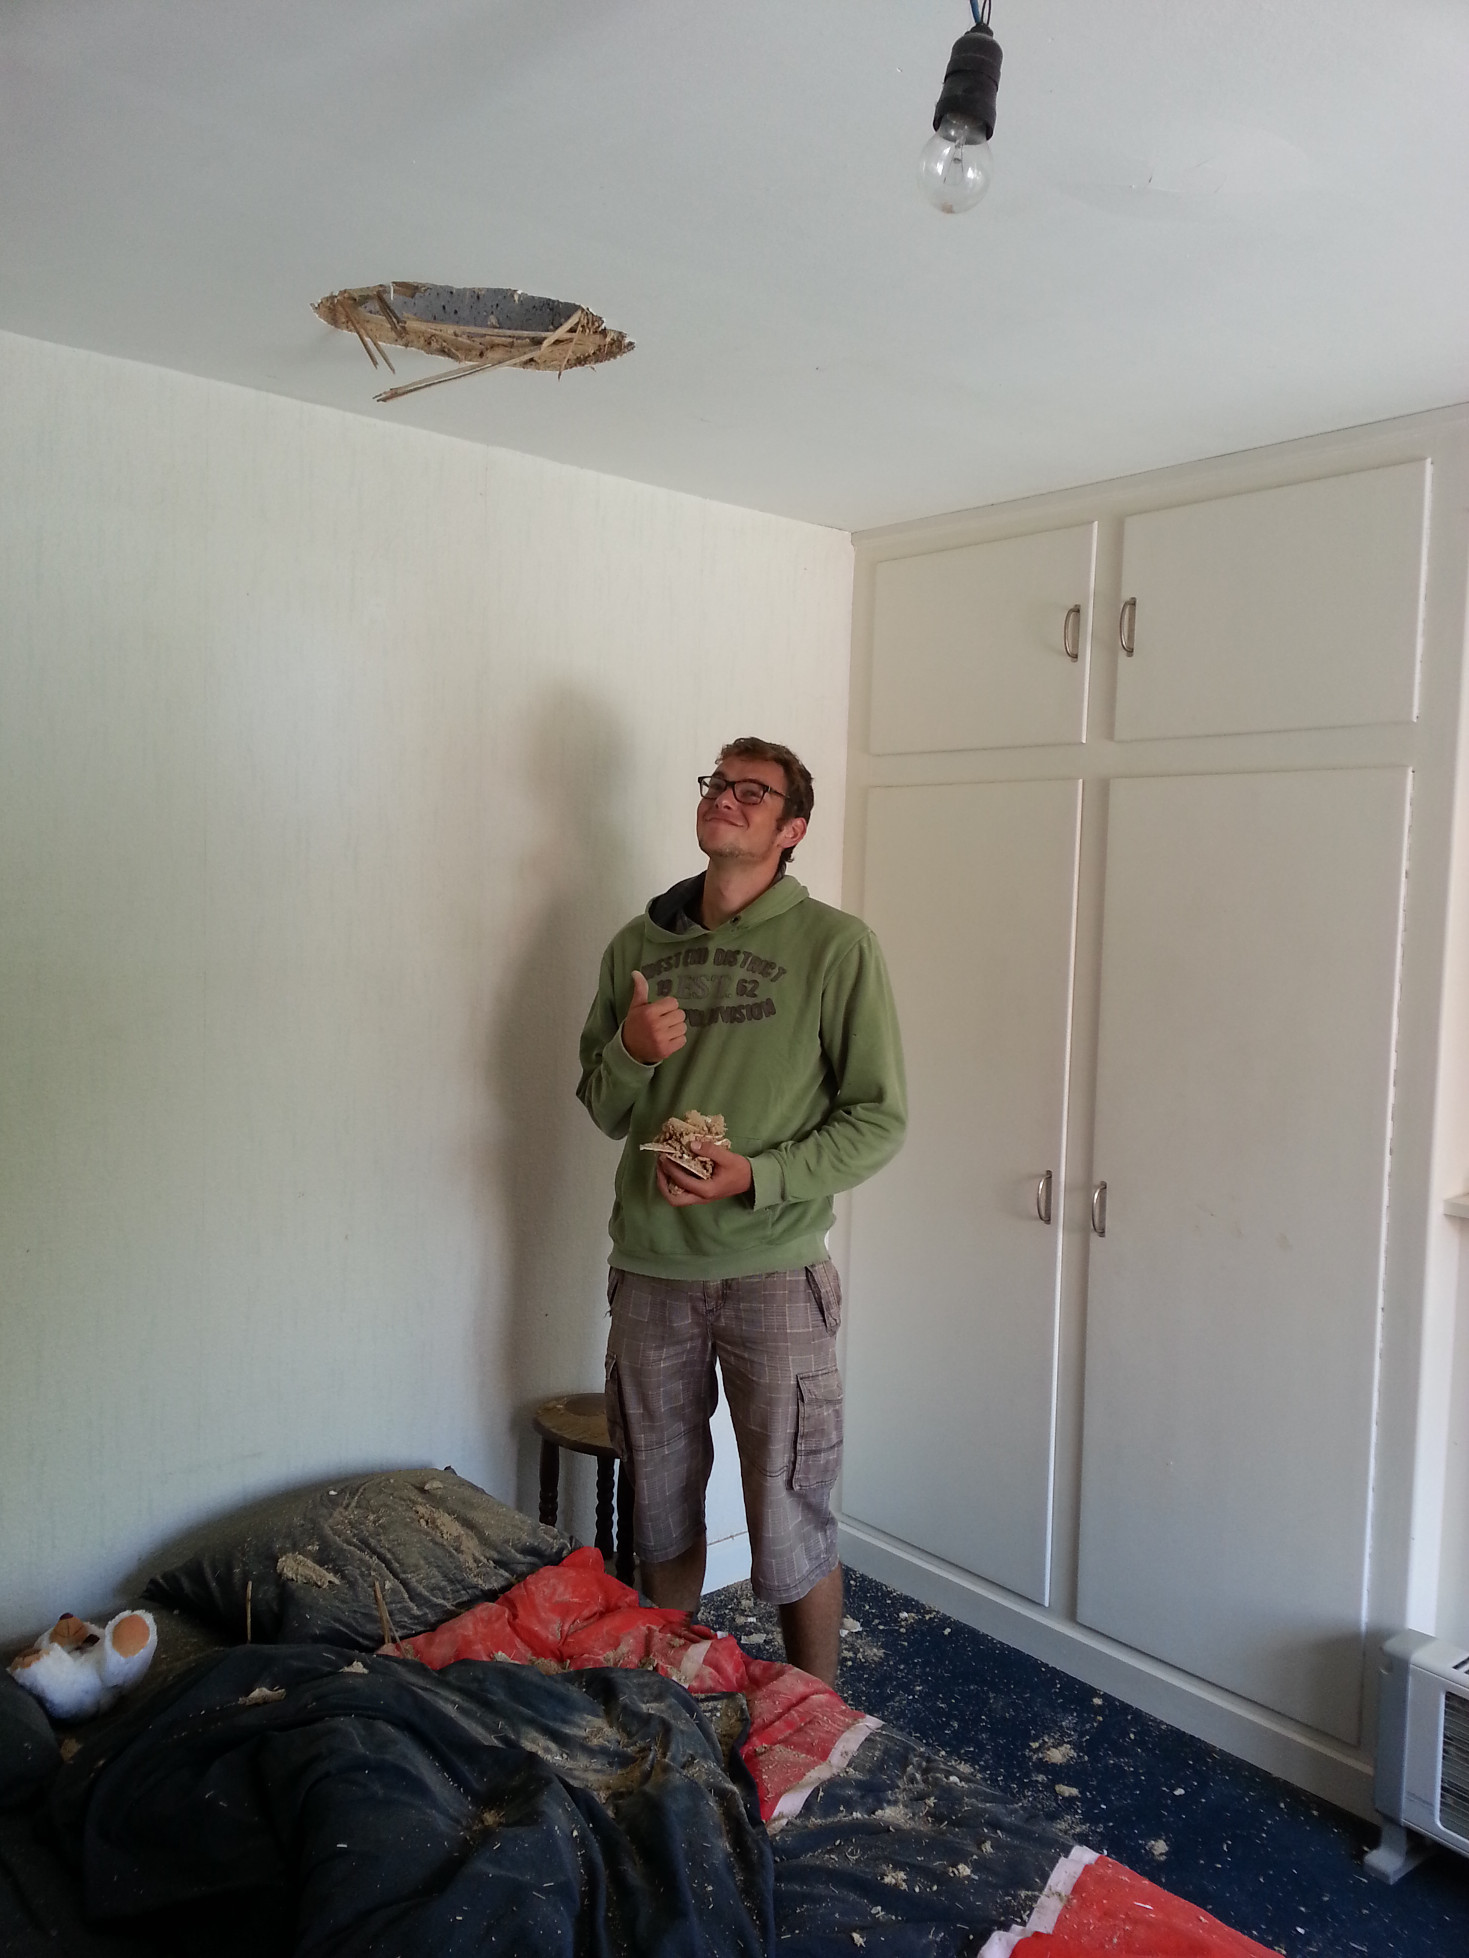
We first thought we could just put screed over the tiles but that would put extra stress on the undersized beams. We didn’t want to much build-up to because the central roof construction is just 1,9m (6.2ft). We don’t want to hit our head every time we get up out of bed. In the end we decided to remove the tiles (a big thank you to the helping hands!). In the process we stepped in between two beams, straight trough the ceiling of the room beneath. It was a great opportunity to initiate my plastering skills!
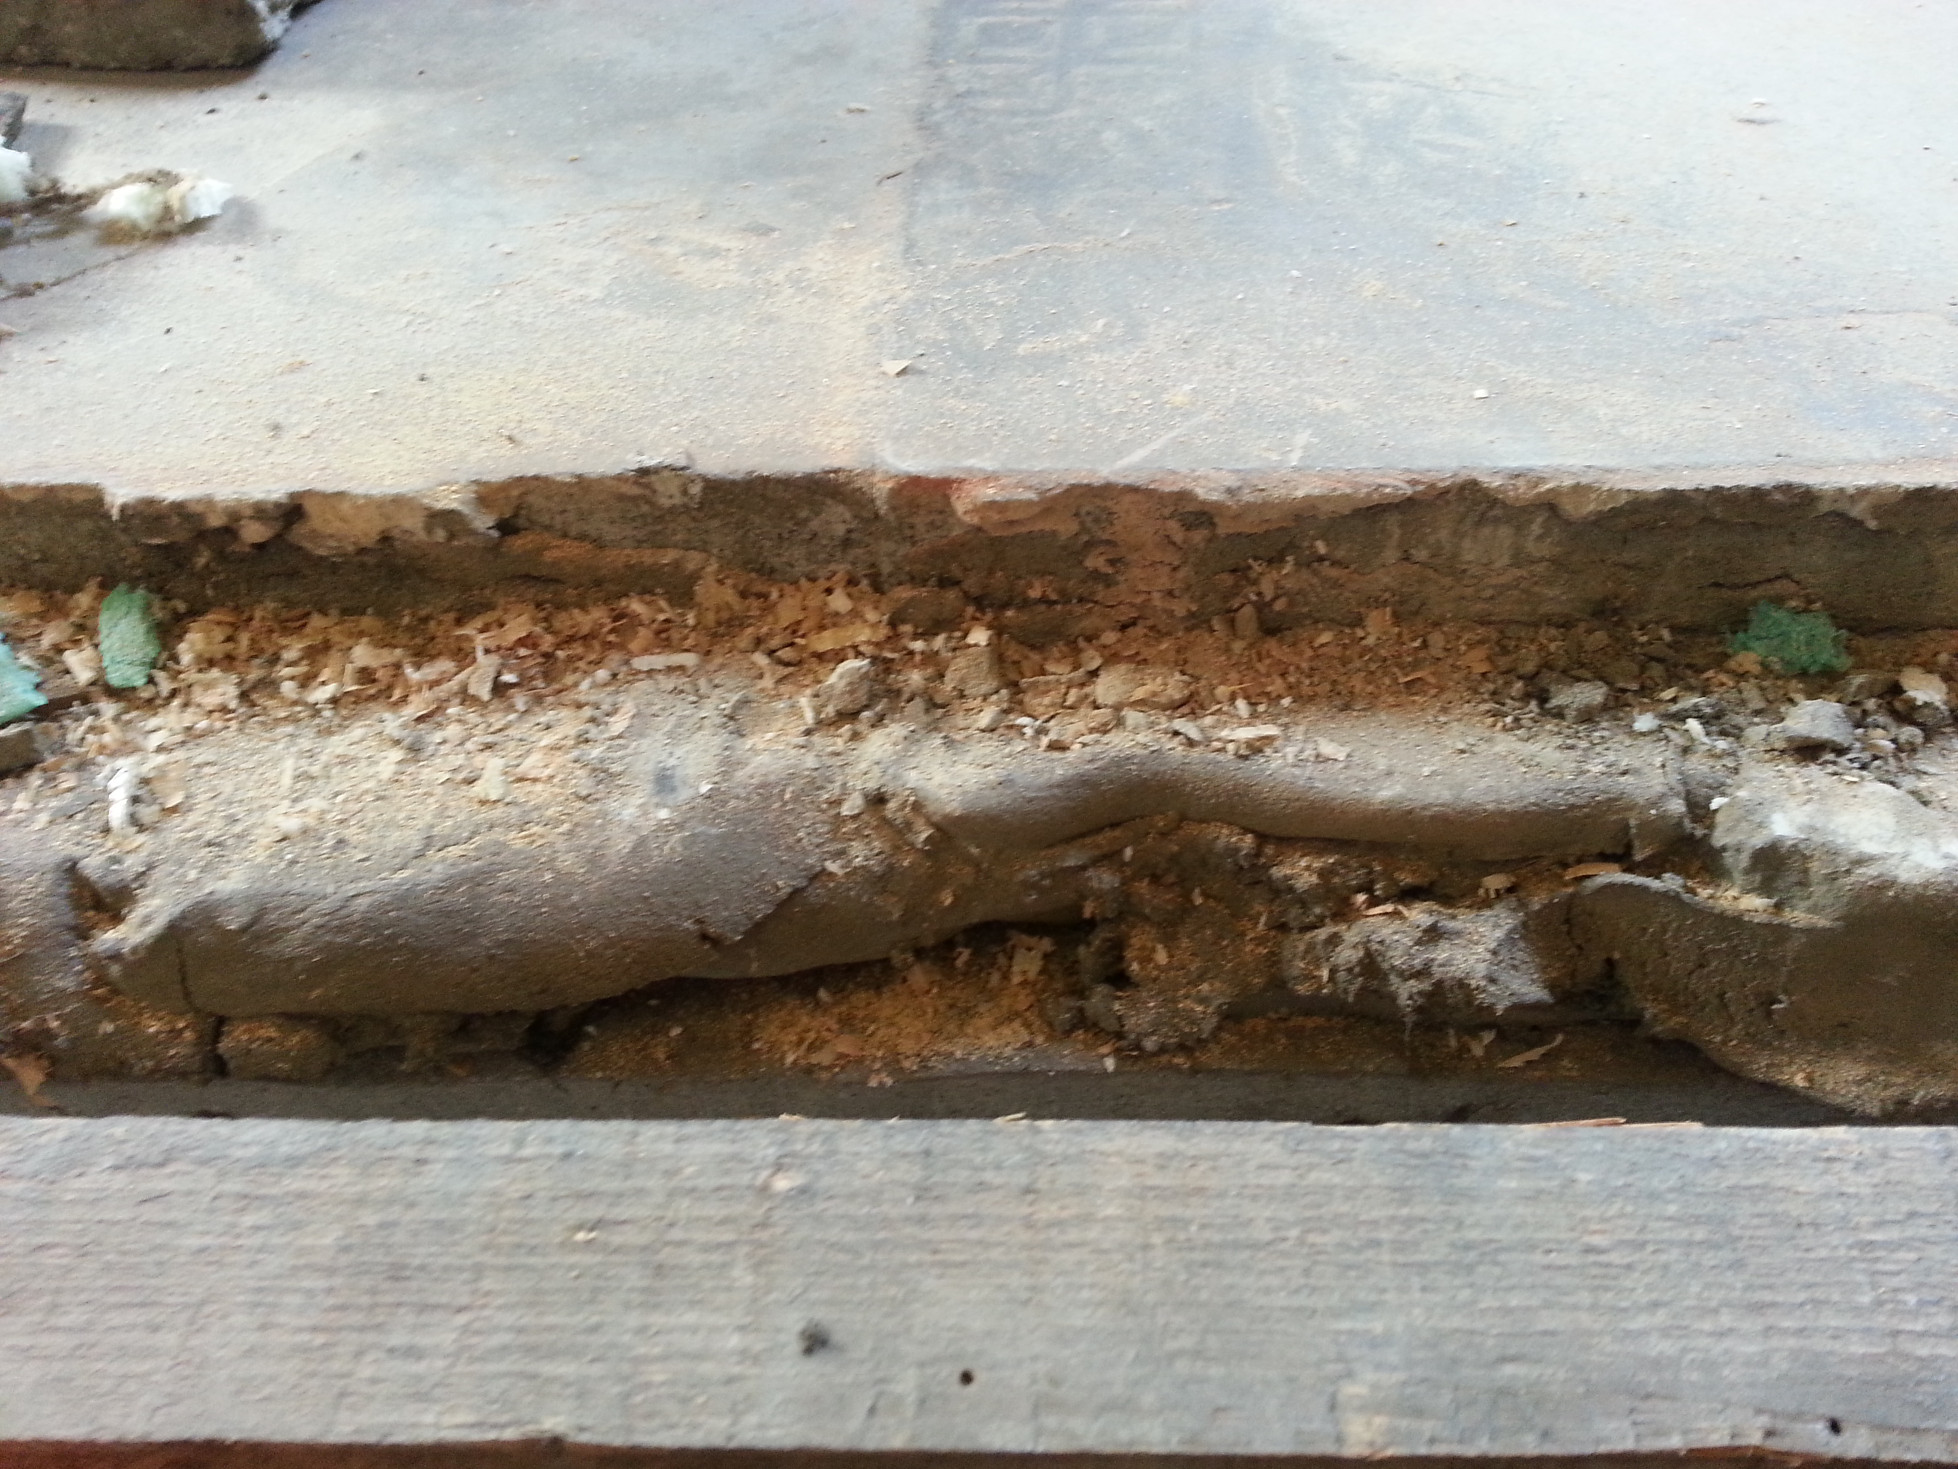
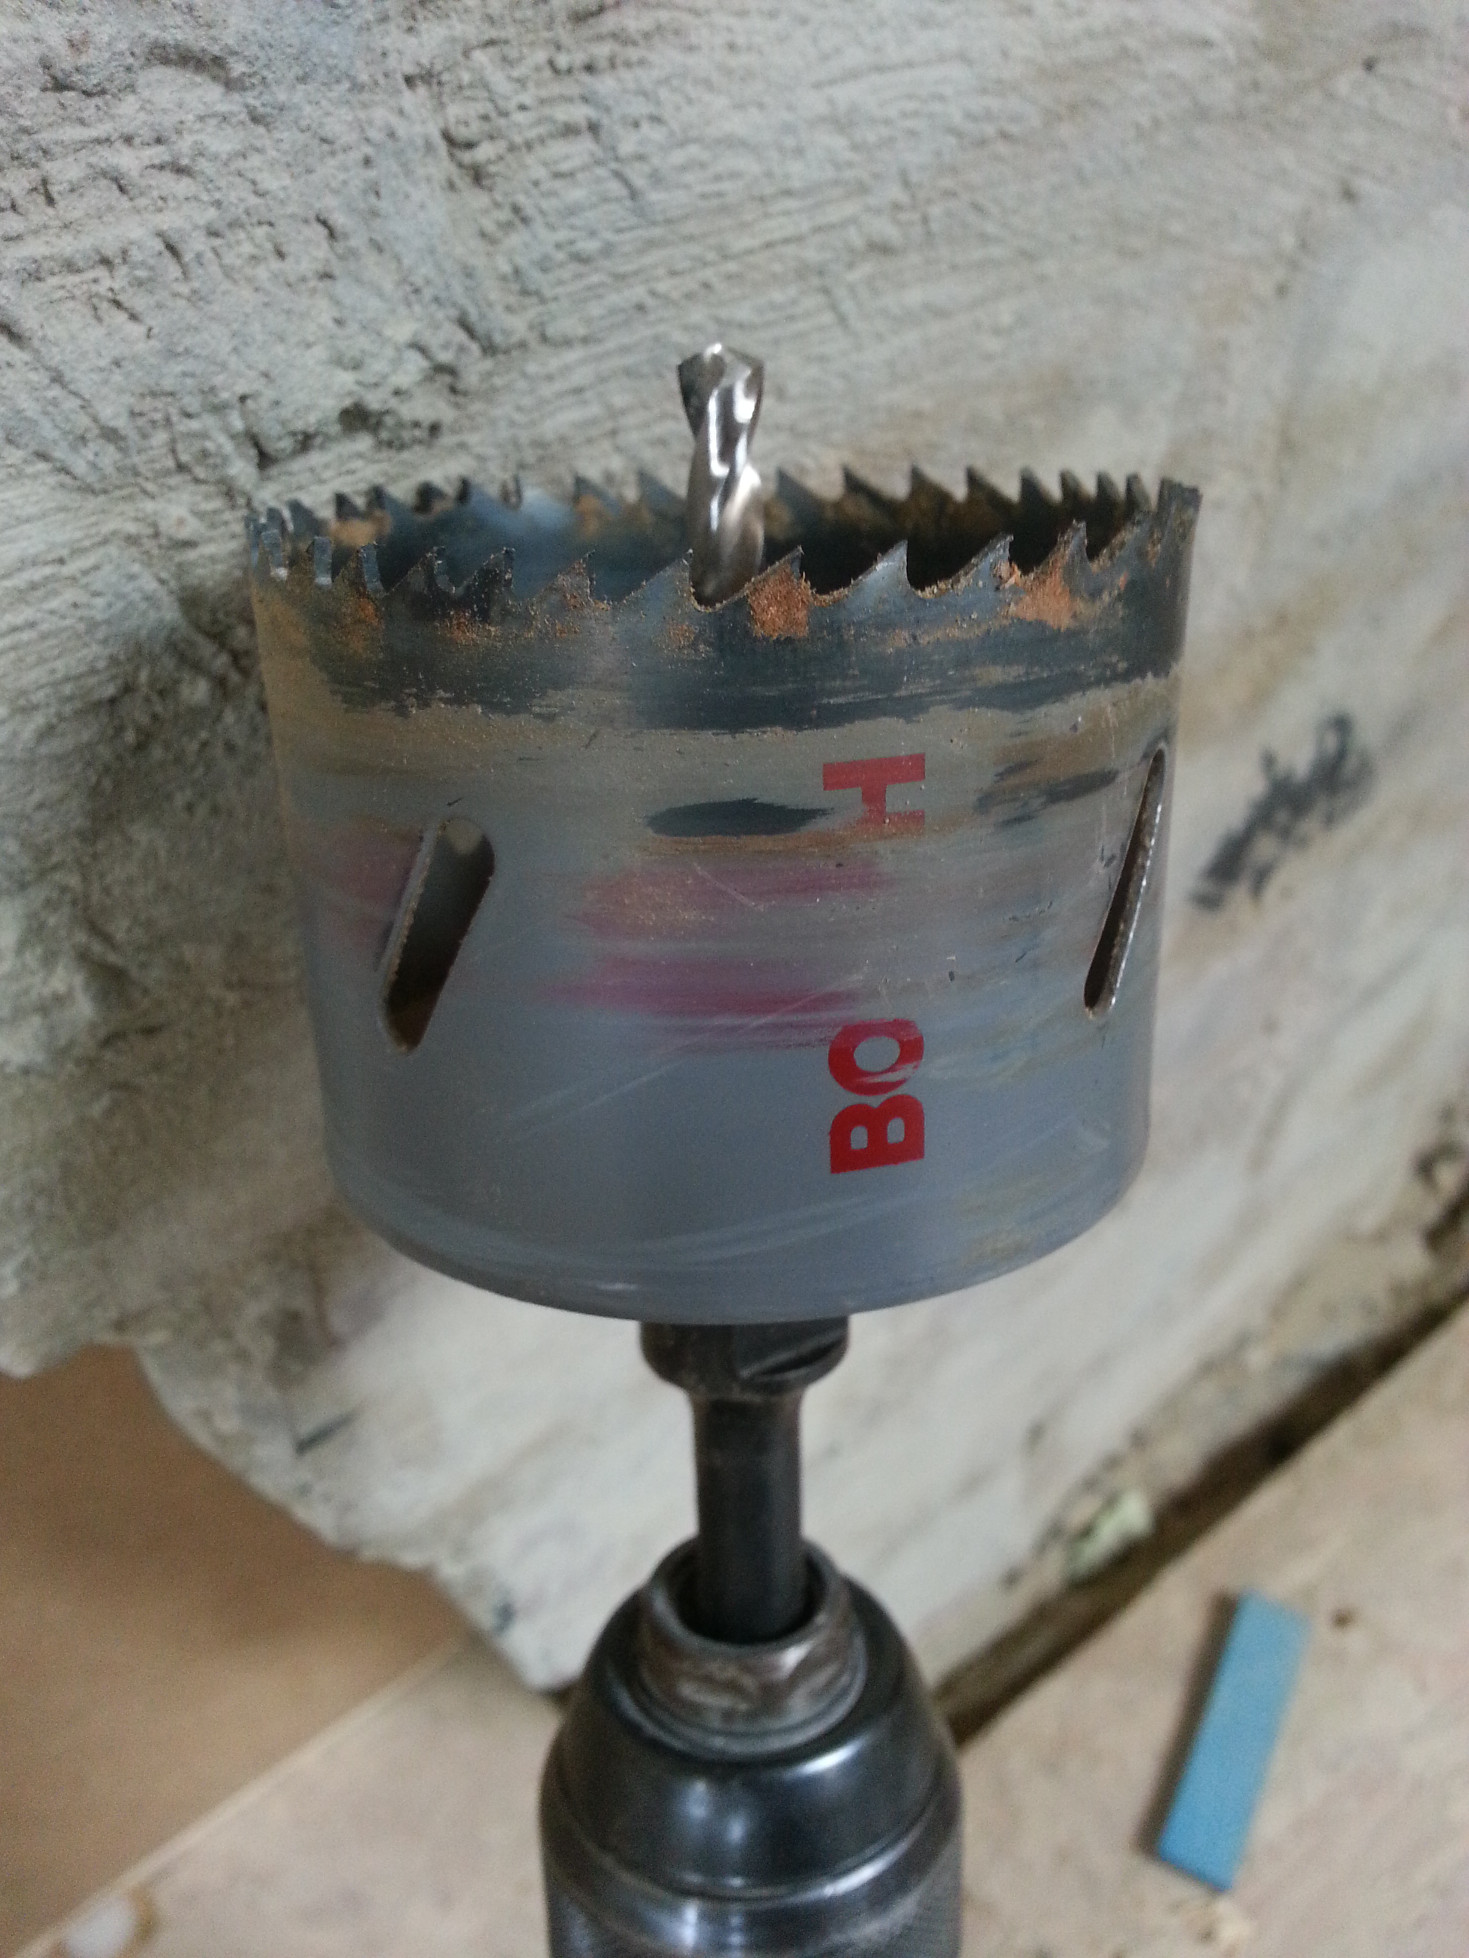
We levelled out the concrete beams and installed an OSB sub-floor. The panels are tongue and groove so we don’t have to match the sheets to the concrete beams. The sheets are easily cut to size using my new circle saw. In between the beams we put glass wool insulation to mute air sounds (e.g. speech). Industrial grade rubber is used on top of the beams to reduce the contact noise (e.g. walking). The OSB floor is not connected to the beams (it’s floating). The weight of the floor on its own keeps it from moving. I like to play the guitar and we don’t want to get on the nerves of our neighbours. Better is a neighbour who is near than a brother who is far away.
I marked a zero-level on all the walls with a levelling tube. I don’t know if it is used a lot in the rest of the world but it’s just a see-trough plastic tube that you fill with water and a little bit of colour additive (or just coffee). It’s working is based on the principle of communicating vessels. You make sure the height of the water on one end is at a random reference line on one wall. You use the other end to go around the room and mark the height of the water on the walls every couple of meters. From those reference lines you measure down to the desired height for your floor to be. Get some nails in and get some masonry cord across the room.
I then built a frame for every beam just a hair beneath the masonry cords and filled it with concrete. There are a couple of important things to get a good connection between the existing concrete and the new part. First of all the beams should be cleaned with a brush. Before pouring the concrete, the beams should be made wet and a little bit of cement should be sown directly over it. The concrete shouldn’t be made to wet and kept moist for it to cure properly. This can be done by putting some sort of plastic on the levelled concrete.
If you don’t have the restrictions we had (weight and height restrictions), I wouldn’t recommend the way I did it. It was a really cheap way to do it but it was also time-consuming. There’s a system with steel sheets to directly put over the beams. On those sheets you can pour concrete for a sturdy floor construction. With the amount of concrete you need, it’s best to order pre-made concrete in a truck with a pump to save your back.


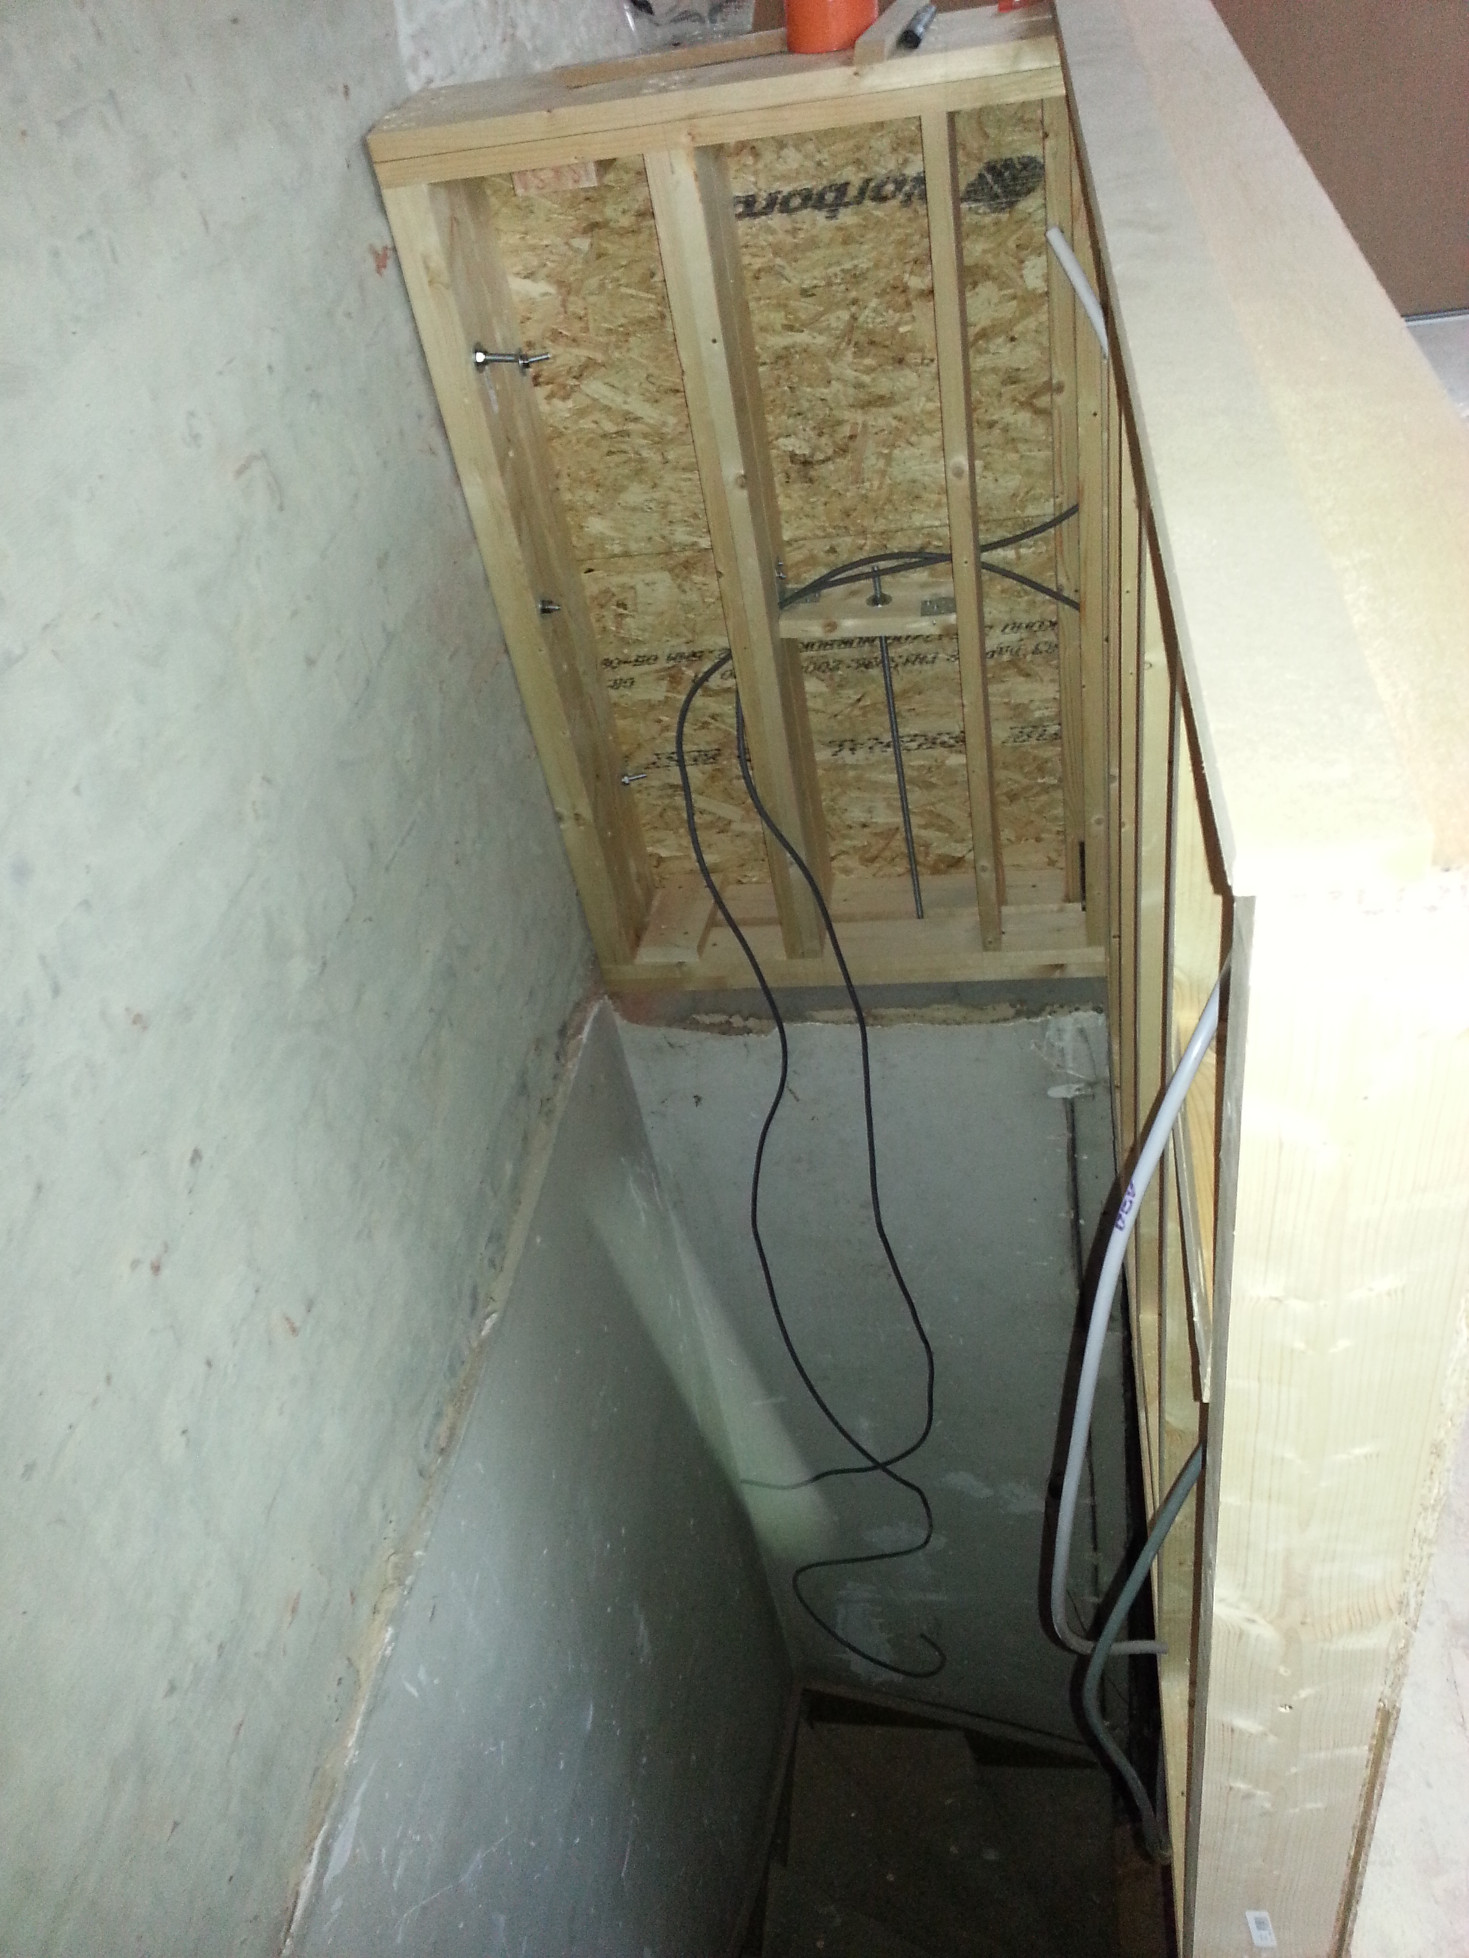
Half wall at the stairs
A half wall was put where the stairs are. It is as much a safety measure as it is a handy way to put the future radiator in a central position.
In order to make it strong enough, we doubled the studs. On one side we added some OSB to stiffen it up. I still found that it was a little bit to wobbly towards the end so I decided to put in some steel rods. The rods are anchered to the wall and the floor with a chemical binding agent. It’s rock solid after a couple of hours! I made the rods longer towards the end of the wall so the downward pressure would be high in the wall. It made it really solid. I eventually put on a sheet of MDF with mitred corners so it would be smooth to paint. The mitres give it a professional look (no edges visible).


Heating and electricity
We then installed heating and electricity. The standard heating system is hot water flowing trough radiators. We installed the water hoses but we are still calculating the heating requirement for the attic. It will eventually depend on how much insulation will be put on the outside walls.
As far as electricity goes, I was doubting if I would be able to install it myself but it has been really easy. The plastic containers for hollow walls are a pleasure to use. You just need to drill a hole, insert the container and put tension on two screws. There are two metal pieces that pull it tight. Split the wires, put them in the right place in there is light! Just make sure you install a four-wired-cable wherever you want two switches for one lightsource. There’s a simple schematic to wire it up.
 Installing electrical wires - Elektriciteitsdraad in holle wand plaatsen


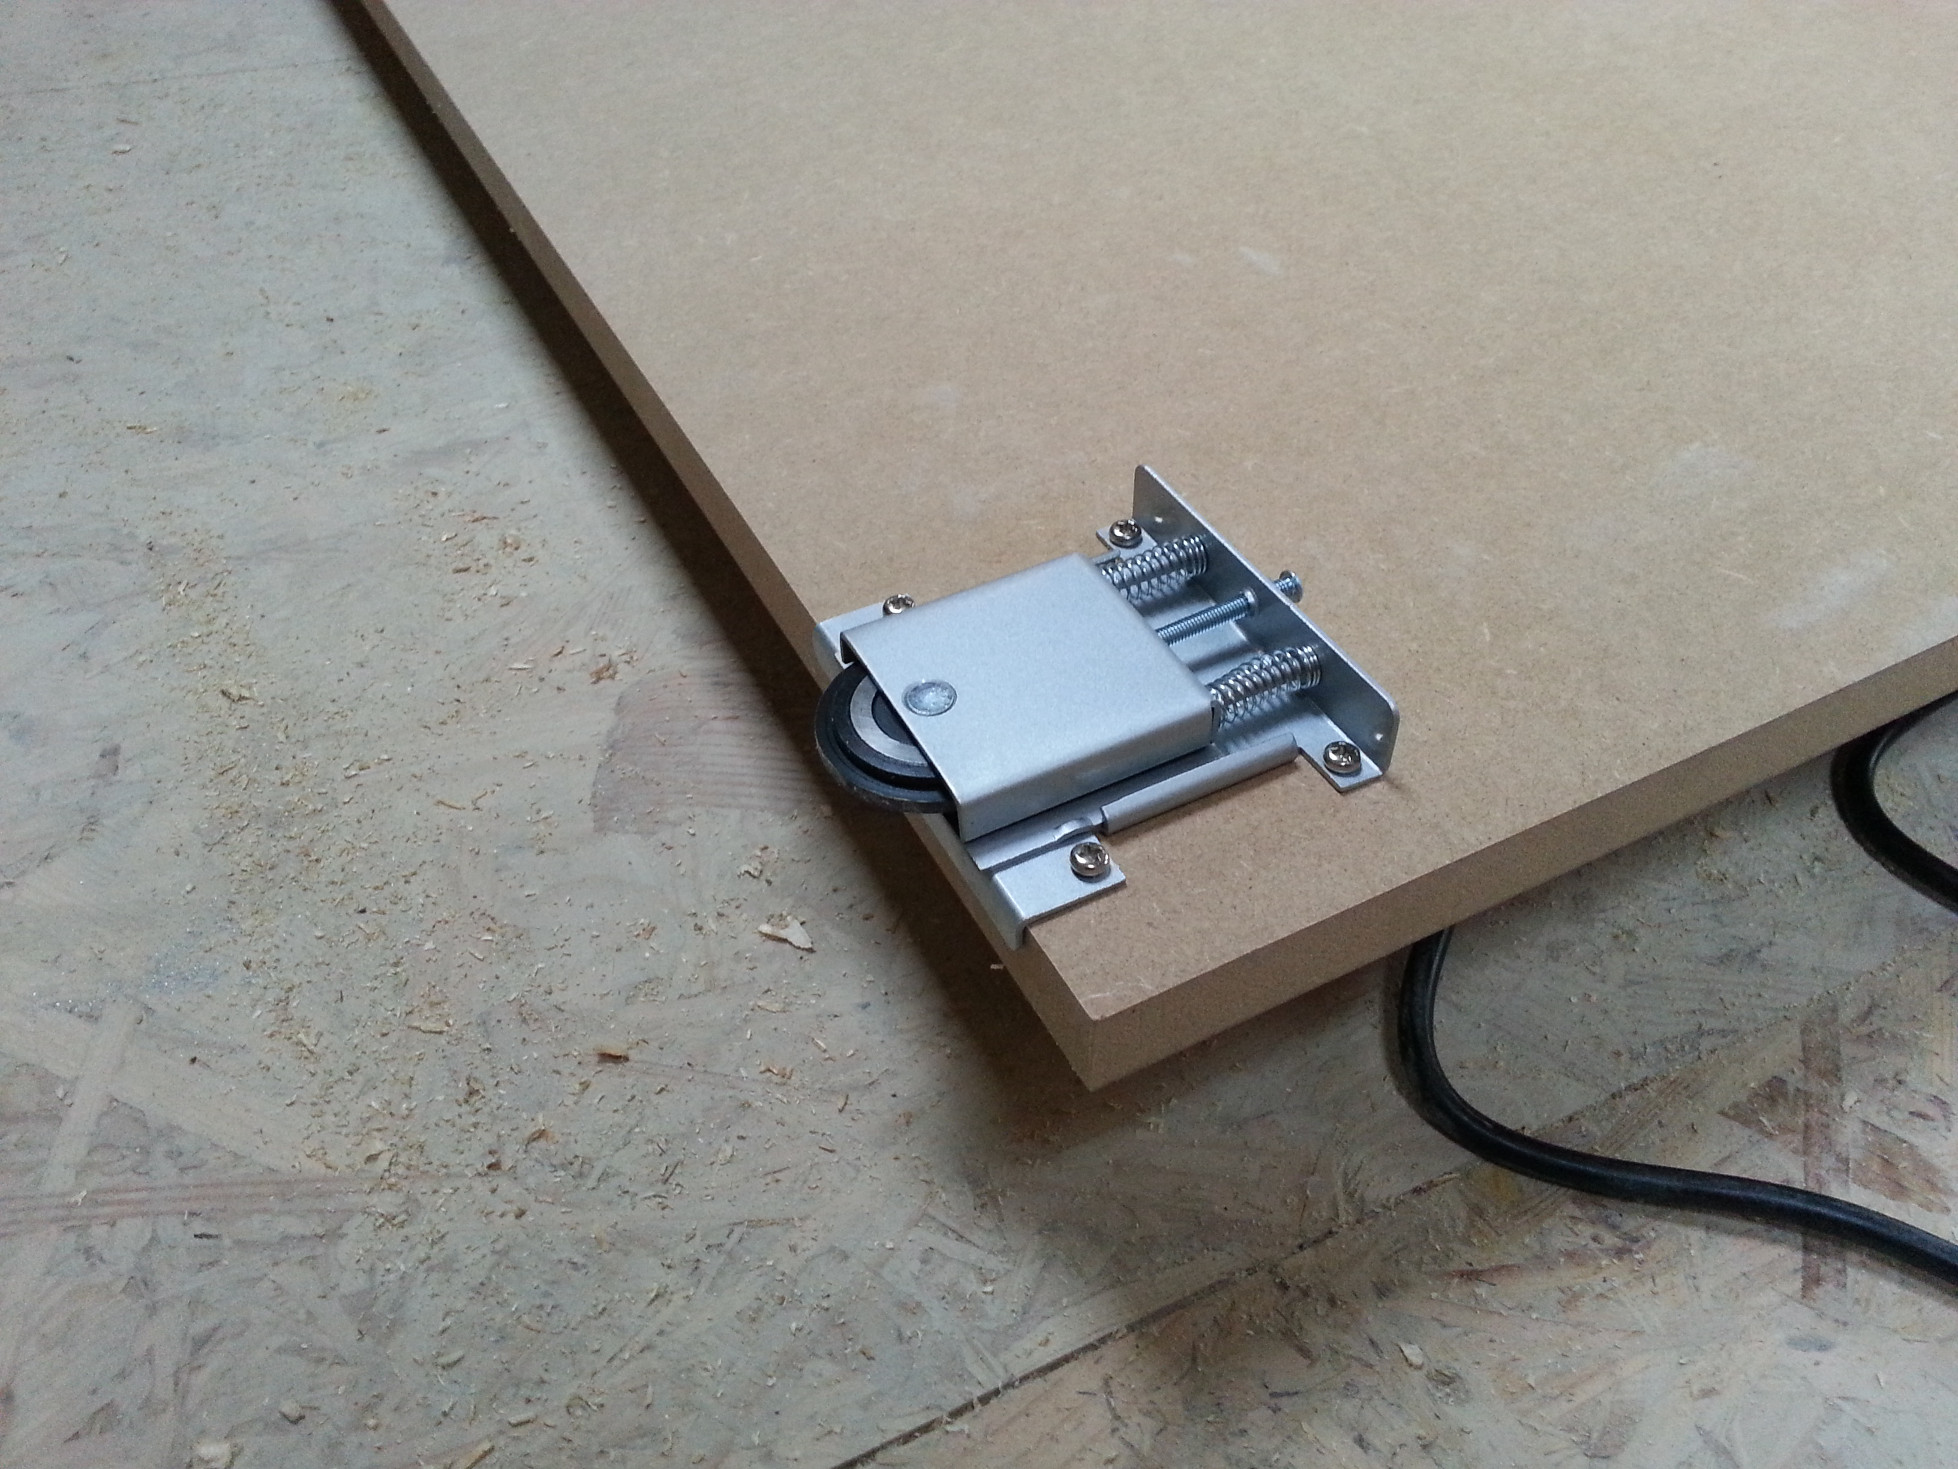
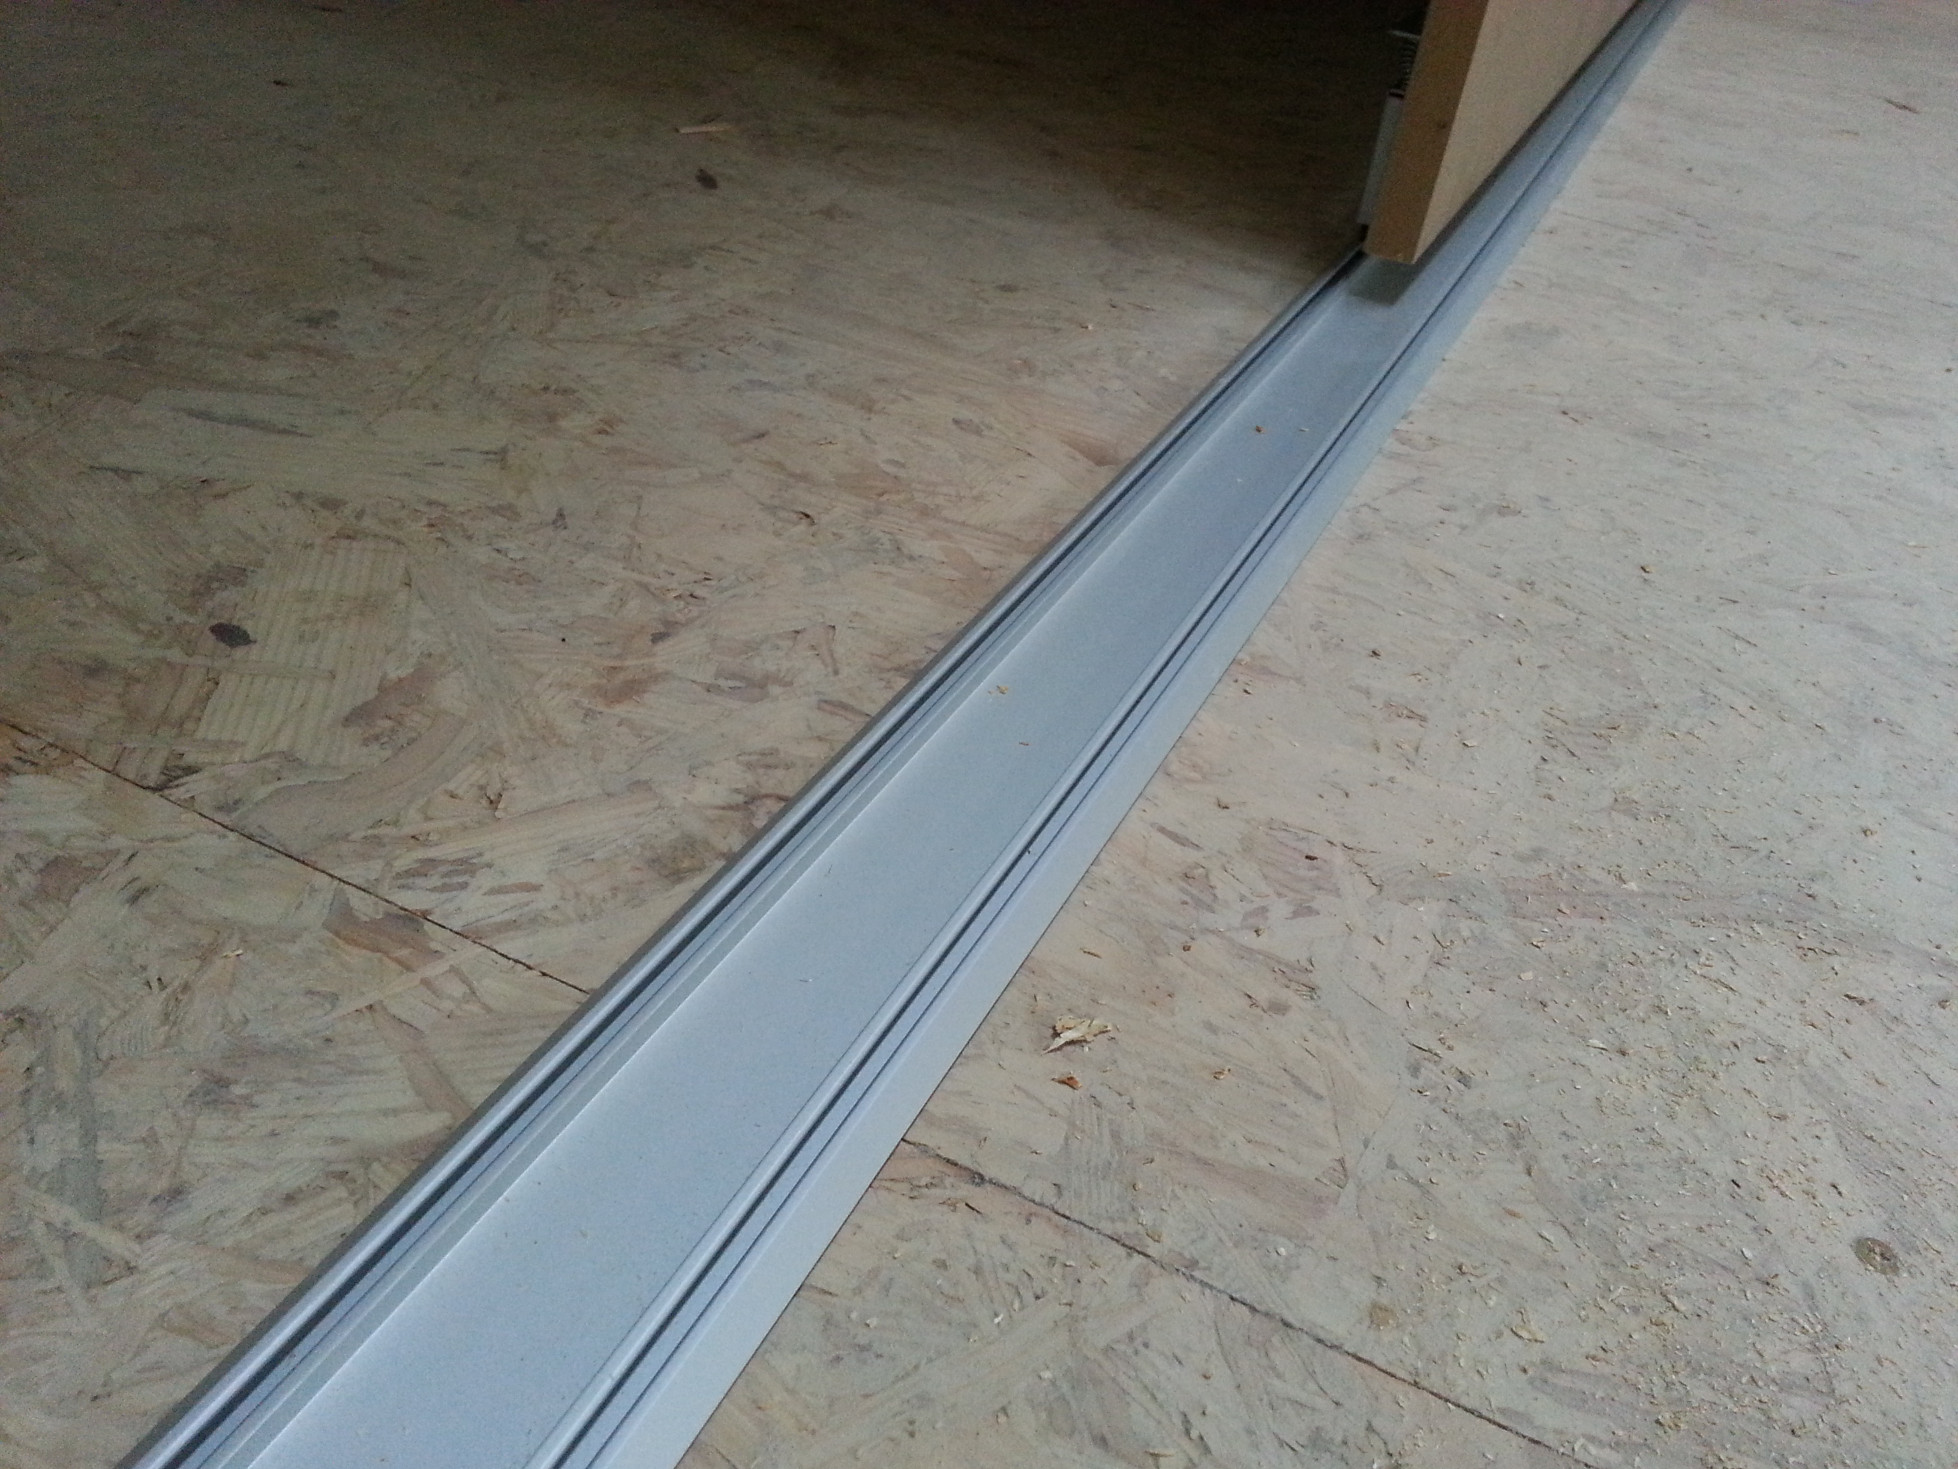
Sliding doors
In the outer corners of the attic a lot of space is wasted. My girlfriend wanted some sliding doors so I installed them. The system I bought consisted of an upper and lower rail. Wheels ride in the lower rail and other casters that are side to side in the upper rail. It’s not a hanging system. The reason is the wooden beams of the attic have settled over time and are not really straight. The sideways casters on top allow for a change in height.
I made the doors out of some 18mm MDF. The local lumber yard has a new fully automatic sawing machine so I had them cut to the right size. That edges are just as perfectly cut as the factory edges so I’m really happy I paid the small fee.
The doors have to be finished and painted white later on. I don’t like painting that much but that’s something my girlfriend will be happy to do.
 schuifdeur onder dak - sliding door under roof


Floor finishing
To bring in some character, we choose a rustic oak flooring. The defects match the wood beams. At first I wanted a real hardwood floor but eventually I had to agree with my other halve: laminate flooring installs easily and it’s maintanance-free. Weekly cleaning with a moist cloth and it’s done. No back-filling of the wood, no sanding, no staining. I can almost start selling the stuff because I’m so convinced of the benefits :).